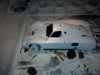
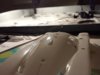
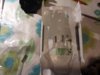
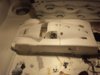
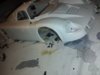
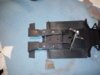
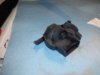
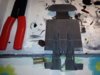
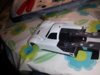
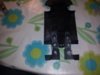
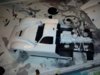
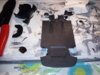
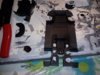
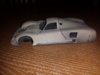
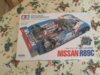
Ok onto my next build. Just having a look at the kit, there are a lot of decals to place, so thats a new challenge.
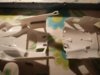
Just deciding if it's worth painting the body or not due to the high volume of decals on the shell.
Might give it a thorough wash and apply decals right onto the body and then gloss coat/satin coat the top. Not decided yet.
View attachment 101187
View attachment 101188
View attachment 214210
View attachment 214211
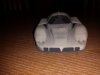
")