Theme editor

Scale Model Shop

Zvezda 1/72 Panther Ausf.D

flyjoe180

Joe
Joined
Jan 18, 2012
Messages
15,300
Reaction score
4,270
Points
113
First Name
Joe
Location
Earth
1/3
Thread owner
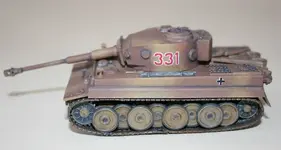
I have wanted to try a tank, having seen many of the excellent armoured vehicles being built. I did try one in 2015, which was my first try at an armoured vehicle, a Hasegawa 1/72 Tiger I. Here it is:
IMG_3222.webp

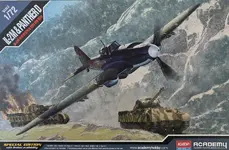
I have an Academy IL2 Stormovik kit which happened to come with a Panther Ausf.D (whatever that means). The Academy IL2 is theirs, but the tank is a Zvezda snap kit.
IMG_3713.webp

So thought I'd give it a go, to experience something different, and also to use my experience to see if I can achieve something a little better than the poor old Tiger.
 
Thread owner
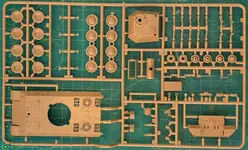
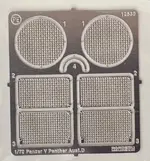
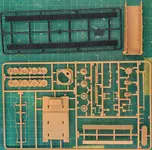
The kit is a "snap kit", that is, they claim you don't need glue. The parts look nicely moulded, and a little bit of PE is provided for the things at the rear of the tank (engine intakes/cooling fans?). The plastic is shiny and feels greasy, so some cleaning will be required before paint.
IMG_3706.webp
IMG_3707.webp
IMG_3709.webp


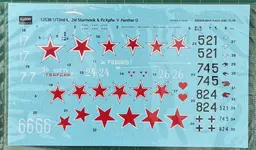
Decals look good, printed on the same sheet as the IL2.
IMG_3708.webp


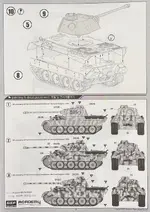
The options are seen below. I like the idea of Panzer Yellow, Green and Red Brown camouflage.

IMG_3712.webp
 
Thread owner
Made a start. Out of my comfort zone here, so I'm just following the instructions unless there is something that I know I can do earlier or later for ease of painting.

IMG_3714.webp

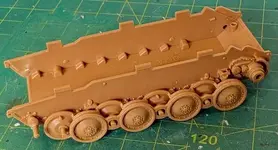
The suspension is very well thought out. Everything snaps into place as advertised; once fitted they can't be removed, so I have already learned that to read the instructions very carefully, as a dry fit turns rapidly into a permanent fit! I added cement to a few places just to make sure.

There is a third layer of wheels, which I will add once painted. The tracks look like they fold over the wheels and sprockets, clipping in to various lugs on both the first and final rows of wheels.

This Panther is quite small in 1/72. Each of the squares on my mat is 10 x 10mm. I imagined these tanks to be larger.
 
Thread owner
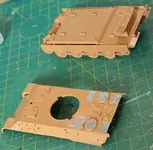
Got the PE on. Never seen PE this colour before, it's usually a brass colour. Bit of residue to clean up, had a wee incident... I'm going to have to clear some of the holes in the mesh, but I will do that after painting, because I'm almost certain that they will clog with paint anyway.

The side armour skirts (?) are dry fitted to see how it mates with the main vehicle.

IMG_3716.webp

In the meantime I've given the tracks a paint coat of burnt iron. I'll add a brown wash and some dirt towards the end.
 
Thread owner
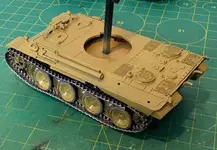
The main body was mated, and the tools and accessories were fixed in place. I painted everything in Mr Color "German tank yellow". Once dry, I fitted the tracks and outer wheels. Again, the wheels have very specific positions, and slot into place tightly. The tracks wrapped around the wheels and cogs with some difficulty.

IMG_3814.webp
 
Thread owner
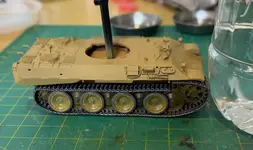
In the previous post you can see the track at the rear doesn't mate with the end of the upper level. On the other side, the same problem but at the front. Luckily I think the side skirt will hide these gaps.

IMG_3815.webp

The tracks have loops with holes which plug into pins on the wheels, so they can only go on one way and on specific sides. It looks good for keeping the tracks hard against the wheels, but with no positive way of securing them at one end, I can't see how I could have avoided the issue. For the future, does anyone have tips for fitting these sorts of track systems? As I said, this is all new to me.
 
Thread owner
As hoped for, the gaps in the tracks have been hidden by the side skirt. I had also already cut the front track guards off, as reference photos show these were removed most of the time. I'm not sure it would have been any easier or possible to fit the tracks with those still in place. Now for some fun with the camouflage pattern!

IMG_3816.webp
 
Back
Top