- Joined
- Jan 26, 2017
- Messages
- 2,836
1/3
Hello all,
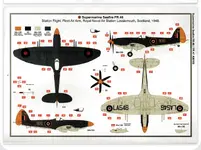
Well with the Beaufighter finished and a few days to go before the next GB I was looking for something in the stash to start and decided to pull this one out.
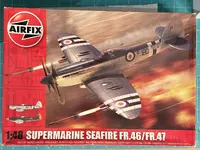
I’ve been wanting to build one of these for a while, I just love the contra-rotating propellers .
No surprises on opening the box everything is stuffed into one big bag typical of most Airfix offerings.
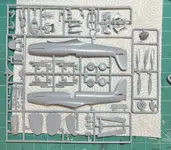
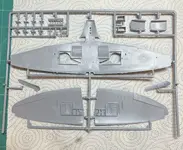
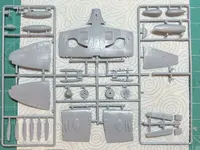
The kit comprises of x3 frames of Airfix’s softer grey plastic.
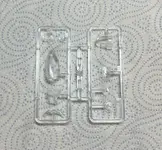
And one frame of clear plastic.
Also a nice big decal sheet.
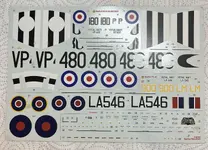
The decals look ok, I’m not sure if they are Cartograph.
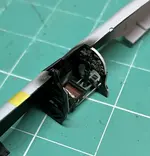
It starts as nearly always with the cockpit which is made up from x7 parts if you include the gunsight.
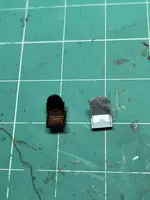
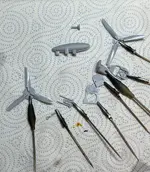
These have been cut from the frame and cleaned up ready for painting along with the propellers and fuel tank.
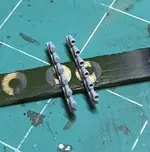
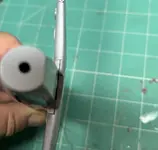
One thing I was a bit disappointed with was the control column spade grip was solid.
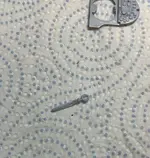
I’m pretty sure this is wrong so drilled out the centre piece.
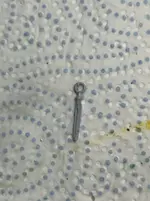
This is a bit more like it ( I think )
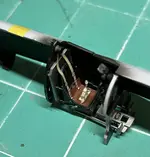
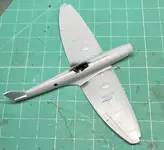
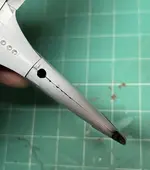
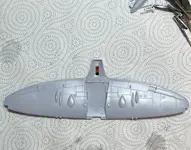
I’ve also glued the wings together after painting and gluing in the recognition lights.
So that’s about it for tonight, hopefully another update soon.
Thanks for looking
Geoff.
Well with the Beaufighter finished and a few days to go before the next GB I was looking for something in the stash to start and decided to pull this one out.
I’ve been wanting to build one of these for a while, I just love the contra-rotating propellers
.No surprises on opening the box everything is stuffed into one big bag typical of most Airfix offerings.
The kit comprises of x3 frames of Airfix’s softer grey plastic.
And one frame of clear plastic.
Also a nice big decal sheet.
The decals look ok, I’m not sure if they are Cartograph.
It starts as nearly always with the cockpit which is made up from x7 parts if you include the gunsight.
These have been cut from the frame and cleaned up ready for painting along with the propellers and fuel tank.
One thing I was a bit disappointed with was the control column spade grip was solid.
I’m pretty sure this is wrong so drilled out the centre piece.
This is a bit more like it ( I think
)I’ve also glued the wings together after painting and gluing in the recognition lights.
So that’s about it for tonight, hopefully another update soon.
Thanks for looking
Geoff.

 .