
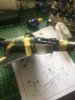
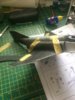
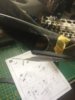
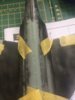
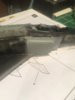
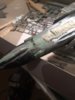
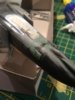
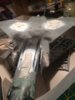
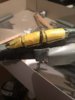
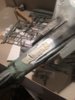
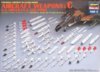
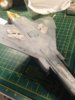
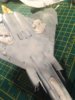
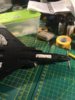
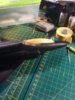
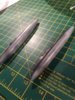
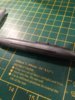
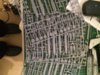
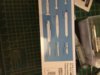
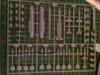
Well a bit more progress to the phantom today if not a lot . After leaving the fuselage overnight to dry and set with glue I started on the wing section or sections should I say as three parts each side make the undercarriage doors and there are also two air brakes.
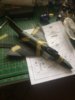
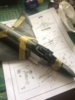
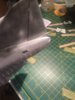
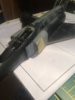
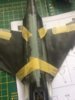
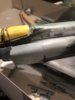
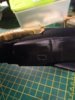
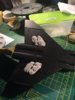
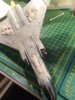
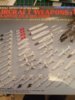
So on with clean up and black primer 74.602 negro. 2 light coats then sset to dry
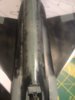
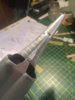
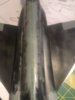
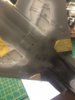
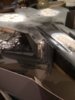
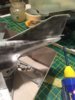
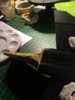
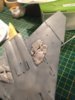
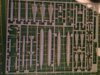
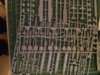
On with the filling and sanding of the fuselage.
I taped off either side of the seams so in aid to not to lose too much detail when sanding.
I still lost a lot but I'll be getting the scribe set soon in the post so I can at least know I won't lose all the detail.
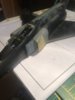
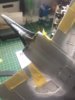
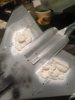
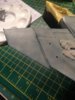
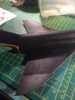
The undercarriage bays and doors got 2 light coats of thinned white model air 71.001 I may go over later with a gloss white before sealing the paint.
I'm really enjoying this even if there are a few issues here and there.
Enjoy
View attachment 275965 View attachment 275966 View attachment 275967 View attachment 275969 View attachment 275970 View attachment 275971 View attachment 275981 View attachment 275972 View attachment 275973 View attachment 275974 View attachment 275977 View attachment 275975View attachment 275981
So on with clean up and black primer 74.602 negro. 2 light coats then sset to dry
On with the filling and sanding of the fuselage.
I taped off either side of the seams so in aid to not to lose too much detail when sanding.
I still lost a lot but I'll be getting the scribe set soon in the post so I can at least know I won't lose all the detail.
The undercarriage bays and doors got 2 light coats of thinned white model air 71.001 I may go over later with a gloss white before sealing the paint.
I'm really enjoying this even if there are a few issues here and there.
Enjoy
View attachment 275965 View attachment 275966 View attachment 275967 View attachment 275969 View attachment 275970 View attachment 275971 View attachment 275981 View attachment 275972 View attachment 275973 View attachment 275974 View attachment 275977 View attachment 275975View attachment 275981
Attachments
-
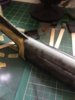 image.jpeg2.6 KB · Views: 0
 -
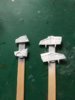 image.jpeg2.1 KB · Views: 0
 -
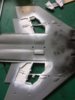 image.jpeg2.6 KB · Views: 0
 -
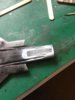 image.jpeg2.3 KB · Views: 0
 -
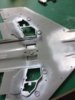 image.jpeg2.7 KB · Views: 0
 -
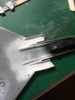 image.jpeg2.3 KB · Views: 0
 -
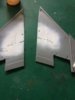 image.jpeg1.9 KB · Views: 0
 -
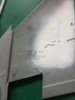 image.jpeg1.9 KB · Views: 0
 -
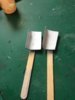 image.jpeg2.1 KB · Views: 0
 -
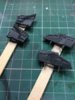 image.jpeg2.8 KB · Views: 0
 -
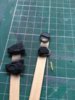 image.jpeg2.7 KB · Views: 0
 -
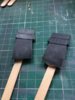 image.jpeg2.6 KB · Views: 0
 -
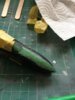 image.jpeg2.6 KB · Views: 0
 -
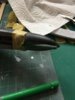 image.jpeg2.5 KB · Views: 0
 -
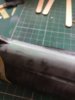 image.jpeg2.2 KB · Views: 0
 -
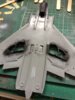 image.jpeg2.9 KB · Views: 0
 -
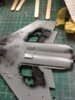 image.jpeg2.9 KB · Views: 0
 -
 image.jpeg2.9 KB · Views: 0
 -
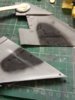 image.jpeg2.7 KB · Views: 0
 -
 image.jpeg3 KB · Views: 0


")
