Hi Ya'll,
I thought I'd keep Fernando company with his Wessex build. This though is completely different...firstly it's in a different scale and is set in a diorama. This one...
View attachment 315032
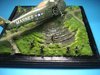
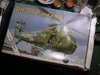
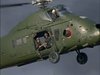
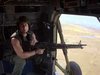
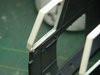
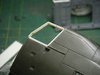
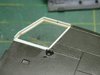
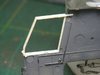
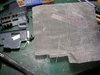
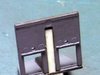
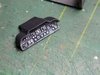
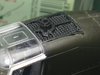
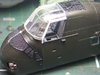
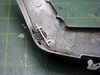
It all started when I acquired an Italeri kit of the UH-34 and on opening the box I found the details very crisp, clean and calling out to be built. At this time i was into doing something Vietnam after watching a few documentaries on the conflict. Although the Huey was the iconic symbol everyone saw of the heliborne warfare in Vietnam, I was more intrigued by the earlier variants used in the conflict such as the flying Banana and the UH-34. In the early stages of the war the ARVN or Army of the Republic of Vietnam were flown into combat with their American advisors or officers with Marine UH-34's and Huey Gunships as cover. One such mission was on a hamlet call An Bac surrounded by rice padis....hhmmm I thought I could do that so off I went...
View attachment 315028
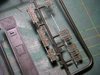
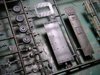
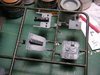
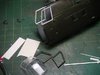
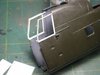
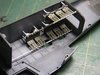
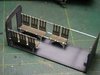
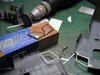
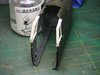
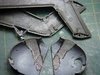
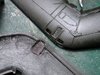
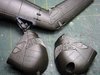
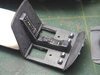
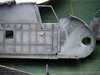
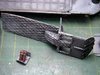
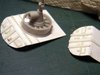
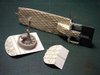
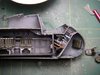
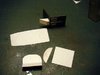
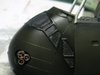
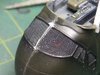
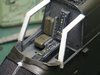
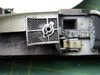
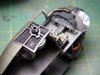
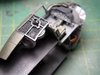
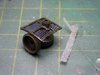
I started by painting some of the interior parts whist still on the sprue as most would be hidden from view I did basic shades. I would have wanted the canvas seats to be red but these were to be Khaki or Drab.
View attachment 315029 View attachment 315030 View attachment 315031
I hope there are those who are interested in Vietnam era subjects and helicopters and rice padi fields. Just to let you know that it is a completed build so will post more later when I can figure out the sequence of images and re-write the blog that was erased from the previous forum that shall not be named ...
Cheers,
Richard
I thought I'd keep Fernando company with his Wessex build. This though is completely different...firstly it's in a different scale and is set in a diorama. This one...
View attachment 315032
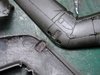
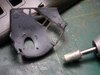
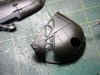
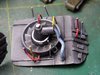
It all started when I acquired an Italeri kit of the UH-34 and on opening the box I found the details very crisp, clean and calling out to be built. At this time i was into doing something Vietnam after watching a few documentaries on the conflict. Although the Huey was the iconic symbol everyone saw of the heliborne warfare in Vietnam, I was more intrigued by the earlier variants used in the conflict such as the flying Banana and the UH-34. In the early stages of the war the ARVN or Army of the Republic of Vietnam were flown into combat with their American advisors or officers with Marine UH-34's and Huey Gunships as cover. One such mission was on a hamlet call An Bac surrounded by rice padis....hhmmm I thought I could do that so off I went...
View attachment 315028
I started by painting some of the interior parts whist still on the sprue as most would be hidden from view I did basic shades. I would have wanted the canvas seats to be red but these were to be Khaki or Drab.
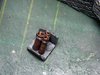
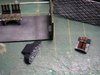
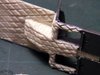
View attachment 315029 View attachment 315030 View attachment 315031
I hope there are those who are interested in Vietnam era subjects and helicopters and rice padi fields. Just to let you know that it is a completed build so will post more later when I can figure out the sequence of images and re-write the blog that was erased from the previous forum that shall not be named ...
Cheers,
Richard