Theme editor

Scale Model Shop

21st century toys Macchi mc205 Veltro 1/32

Tony. 1:32. You'll never get it finished. The temptation to add more, then a bit more detail will be never ending. I think for your own sake, and sanity, we need to set clear boundaries here. Having said that, the pilot looks amazing.
 
Another build that has slipped under my radar Tony. Just catching up with this one. Great work so far.
 
Thread owner
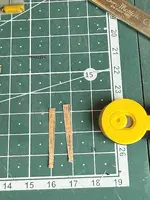
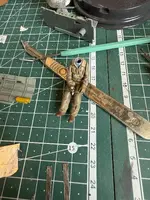
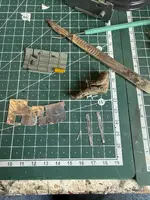
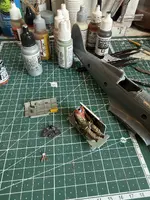
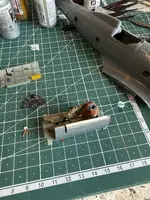
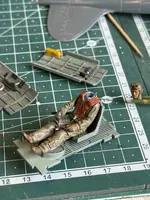
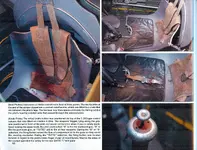
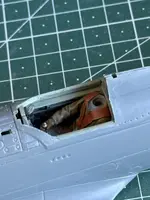
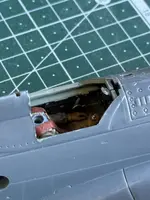
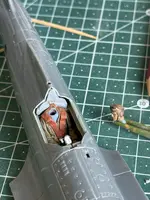
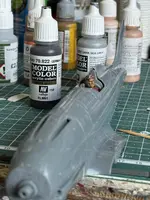
Well its been a very slow build so far , just havent been able to get in the shed much lately . Managed a few hours today though . The pilot has been finished and the cockpit and instrument panel painted . I havent added anything to the cockpit except a throttle lever as virtually none of it will be seen once guiseppe is installed. The control column was slid into his hand and was stuck to the floor when he was fitted ( looks like hes on a pogo stick for now though ) The issue of the harness has been sorted by making two shoulder belts from wine foil and a small chain coming up between his legs . Theres two more belts to add but this must be done after the pit is installed in the fuselage as they connect to the armoured headrest. Next up is installing the pit , then the fuselage can go together ( screwdriver at the ready !) IMG_8695.webpIMG_8694.webpIMG_8693.webpIMG_8696.webpIMG_8697.webpIMG_8698.webpIMG_8257.webp
 
Which still begs the question, why did the Italians have a chain in the harness?

Answers in one of my many RA aircraft books? Sadly not that I can find
 
Coming along nicely Tony. The chain is certainly a strong method of securing a five-point harness. Those crotch straps can become uncomfortable at times, but I suppose the flight time of a fighter sortie wasn't long.
 
Thread owner
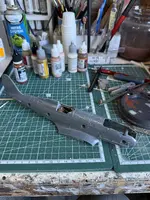
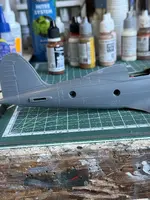
Little bit more done to this yesterday , its stalled a bit due to me being on holiday and other things . Anyways the pilot is in place and after fitting the two belts that locate onto the headrest he has received a head ! . The fuselage has been glued / screwed together and just needs a bit of attention to the seams . The plastic on this kit is really weird , normal styrene glues not having much effect on it ( probably due to it being intended as a clip / screwed jobbie ) so virtually all the gluing has had to be CA . The lower wing is now on too and I can start looking at sorting the wheel wells - the kit ones are very simplified and basic . IMG_8699.webpIMG_8700.webpIMG_8702.webpIMG_8703.webpIMG_8704.webpIMG_8712.webp
 
Back
Top