G
Guest
Guest
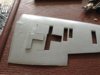
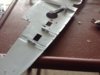
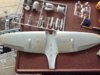
awesome progress,nice to learn of differing ways to straighten things,and nice paint job mate


")
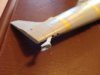
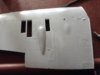
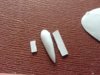
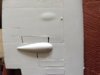
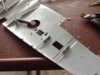
Mike you will be fine just do the fuse in stages using superglue like I've shown and it all falls into place as you go\ said:Oh crap. If I check, my first post was in September, this is looking a bit beyond my developing skills!!Wonder if it's too late to add a New Tool Tiffy to my Christmas Wish List...!
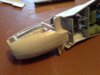
") View attachment 94242
View attachment 94242scalemodelling.co.uk is a privately operated online discussion forum. All content posted by members reflects their own views and opinions and does not necessarily represent those of the forum owners or administrators. While reasonable efforts are made to moderate content, no responsibility is accepted for user-generated material. By using this site, you agree to comply with UK law and the forum rules.