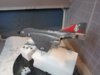
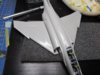
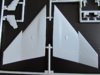
A touch more done. Starting with canopy making. Not my favourite pastime, but at least in 1:72, there isn't much to do. Oddly though, no raised detail, all lines were recessed on the canopy. Fujimi give the option of open or closed canopy, mine will be closed, clean lines.
View attachment 273102
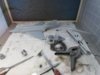
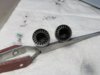
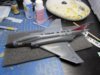
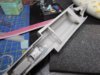
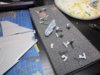
Then the kit supplied exhausts were given a few layers of Alclad. The pictures don't show it too well, but they are quite well detailed.
View attachment 273103
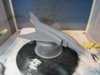
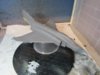
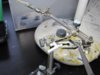
Further Alclad was applied to the metal area under the tail. I've tried to replicate the burnt metal here, not too successful in this small scale.
View attachment 273104
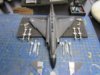
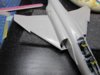
Then the top coat was applied. Humbrol Extra dark sea gray. The white underside has already been done, but I forgot to photo this. It's white, that's all really.
View attachment 273105
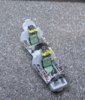
After the top coat was finished, a bit of post shading was applied. Well diluted paint and a low pressure was needed here, remembering those panel lines are really small in this scale.
View attachment 273110
And what is really nice is, it all fits in my spray booth, unlike a certain 1:32 He 111 monster, which could maybe just about fit a wing in !


")