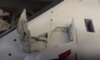
Right or wrong, I started to put the legs and doors on... Easier to repair any mess ups, than after every thing is 100% done.
So..
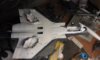
A quick over view.
View attachment 61200
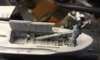
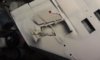
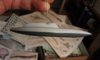
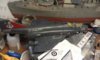
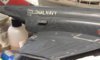
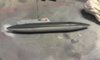
And a quick peek into the bays. I suspect that after a bit of wash and some gunk and grime, they might look OK.
View attachment 61202 View attachment 61203 View attachment 61201
Ian M
View attachment 62762
View attachment 62763
View attachment 62764
View attachment 62765
View attachment 175788
View attachment 175789
View attachment 175790
View attachment 175791
So..
A quick over view.
View attachment 61200
And a quick peek into the bays. I suspect that after a bit of wash and some gunk and grime, they might look OK.
View attachment 61202 View attachment 61203 View attachment 61201
Ian M
View attachment 62762
View attachment 62763
View attachment 62764
View attachment 62765
View attachment 175788
View attachment 175789
View attachment 175790
View attachment 175791