due to having to deal with the real world for quite some time ive not touched a kit since the start of november but i need to get back to it now things are settling down
model making has always been what i do to relax or destress and at the minute im very aware of my own mental health so ive made the effort to tidy up the bench so i can make a start on something
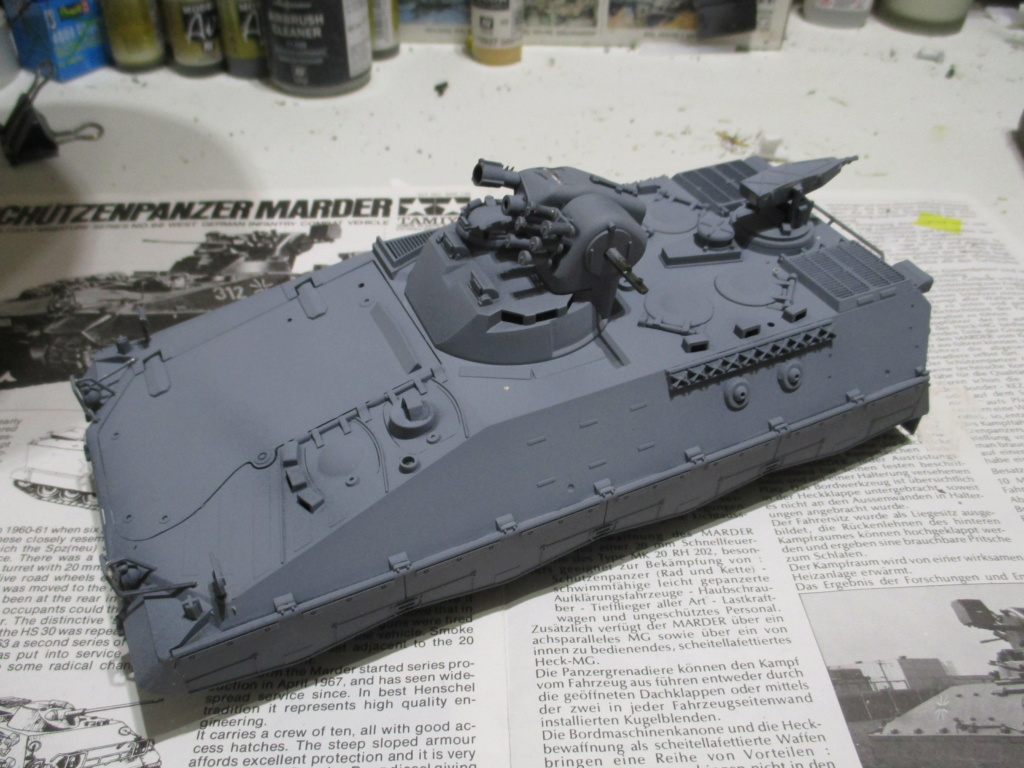
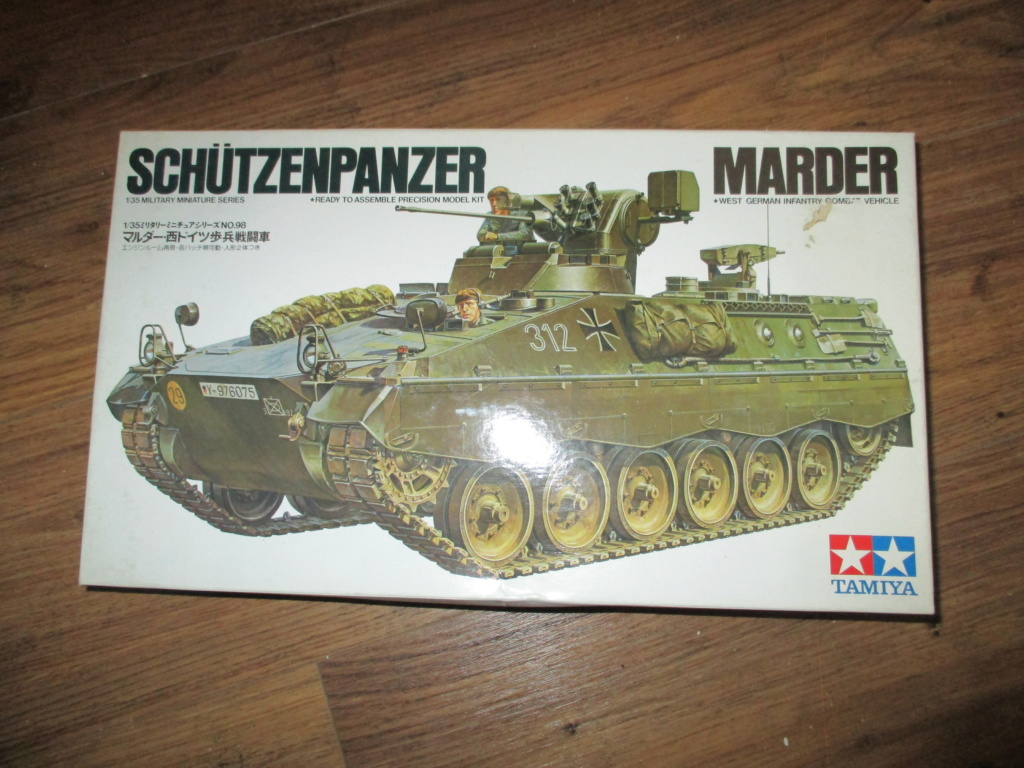
taken me a while to decide what.........its been so long i feel like im starting again!.......so nothing complicated, .........no plane with lots of masking,,,,,,,no car needing a shiny paint job,,,,,,,so a plain jane green afv is called for........and an old school tamiya to keep it simple
found this in the stash........part of what was once a project to do a lot of West German/Unified Germany vehicles.......never started the project even though theres a load of kits in the overhead stash storage facility (loft)

now theres 2 things i always do with 1/35 vehicles if i can
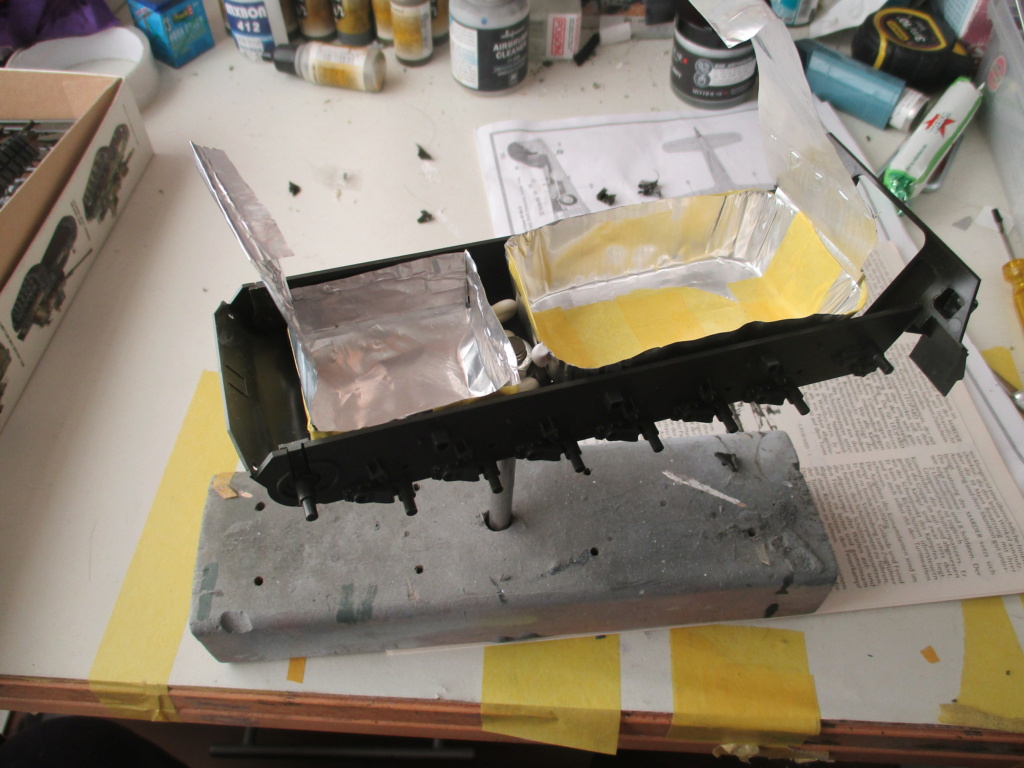
first is to use a bit of threaded rod and a couple of nuts......drill a suitable hole in the bottom and bond in a nut. with No Nails type stuff.......screw in the rod and it becomes a removable handle.....block of wood with a hole becomes a base

second thing i like to do is add some mass in the hull.........cos it makes the vehicle sit on the tracks better, also dosnt feel so 'toy like' when you handle it
somewhere i have a box full of all sorts of scrap bits of metal......giant nuts, blocks of steel, stuff like that, but i cant find it anywhere!....and just couldnt think of something else i could use that was cheap (free!)
so i thought a bit laterally............ive used a couple of new foil trays like a takeway ones......cut them up and made a couple of 'boxes' that fits just right in the hull. Bonded in with No Naily stuff
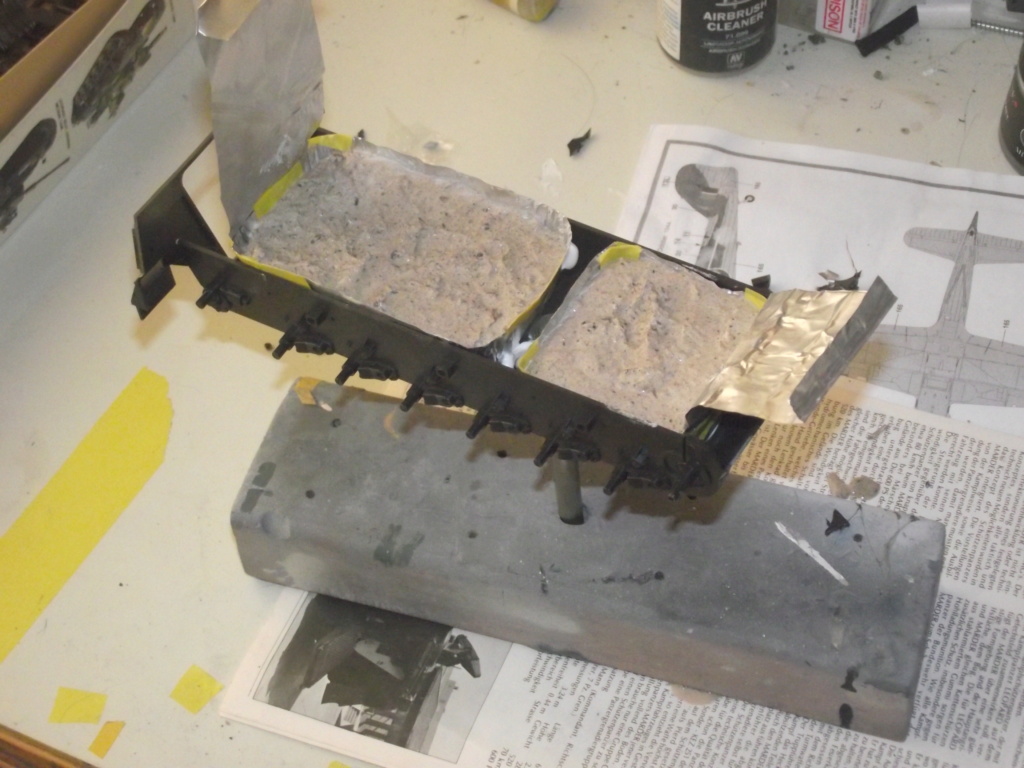
i mixed up some gloop.......50%/50% of wall filler and sand......had a bag of sand in the shed and thought it would be heavier than just the filler, filler acts as the binder to hold it together
going to leave it a day or so to harden off but i think its going to work
model making has always been what i do to relax or destress and at the minute im very aware of my own mental health so ive made the effort to tidy up the bench so i can make a start on something
taken me a while to decide what.........its been so long i feel like im starting again!.......so nothing complicated, .........no plane with lots of masking,,,,,,,no car needing a shiny paint job,,,,,,,so a plain jane green afv is called for........and an old school tamiya to keep it simple
found this in the stash........part of what was once a project to do a lot of West German/Unified Germany vehicles.......never started the project even though theres a load of kits in the overhead stash storage facility (loft)
now theres 2 things i always do with 1/35 vehicles if i can
first is to use a bit of threaded rod and a couple of nuts......drill a suitable hole in the bottom and bond in a nut. with No Nails type stuff.......screw in the rod and it becomes a removable handle.....block of wood with a hole becomes a base
second thing i like to do is add some mass in the hull.........cos it makes the vehicle sit on the tracks better, also dosnt feel so 'toy like' when you handle it
somewhere i have a box full of all sorts of scrap bits of metal......giant nuts, blocks of steel, stuff like that, but i cant find it anywhere!....and just couldnt think of something else i could use that was cheap (free!)
so i thought a bit laterally............ive used a couple of new foil trays like a takeway ones......cut them up and made a couple of 'boxes' that fits just right in the hull. Bonded in with No Naily stuff
i mixed up some gloop.......50%/50% of wall filler and sand......had a bag of sand in the shed and thought it would be heavier than just the filler, filler acts as the binder to hold it together
going to leave it a day or so to harden off but i think its going to work
") :rolling: :smiling:
:rolling: :smiling: