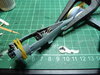
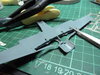
Well having finished my Spit, time to start on this one.
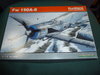
The box:
View attachment 319948
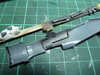
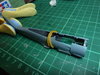
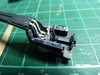
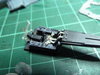
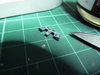
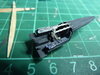
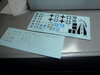
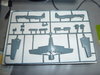
It seems to have a lot less parts than the Spitfire, just 2 grey sprues plus a clear sprue.
View attachment 319949View attachment 319950View attachment 319951
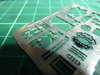
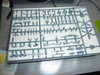
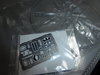
Decals look good, and lots of stencils (oh joy...)
View attachment 319953
Hope to get started later.
Pete
The box:
View attachment 319948
It seems to have a lot less parts than the Spitfire, just 2 grey sprues plus a clear sprue.
View attachment 319949View attachment 319950View attachment 319951
Decals look good, and lots of stencils (oh joy...)
View attachment 319953
Hope to get started later.
Pete
")