Hi Richard
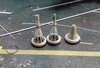
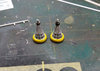
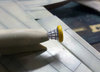
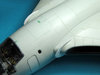
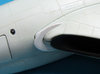
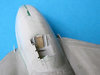
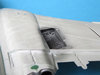
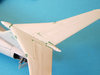
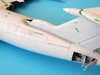
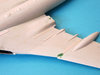
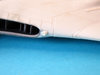
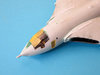
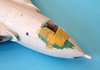
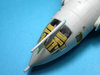
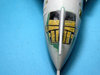
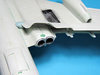
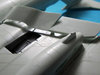
A lot of time and effort needed to fill all the poor joins. Engines and wheel wells look much better for your scratched additions. When you joined the wing halves I don't think you had enough clamps - another two or three would have had it properly sorted :smiling5: Although your clamps are pretty colours :tongue-out3:
Jim