Theme editor

Scale Model Shop

Steve's Airfix 1/72 Mig 29A Fulcrum

Just catching up Steve. Looking good, as the others have said, it's a shame the nose cone is horizontal which will create a bit of work for you
 
Thread owner
Just catching up Steve. Looking good, as the others have said, it's a shame the nose cone is horizontal which will create a bit of work for you
Cheers Joe. Fortunately its a half decent fit so not anticipating too many problems. Fingers crossed.
 
Thread owner
So with the cockpit tub fitted I was able to fit the front lower section of the fuzz.
IMGP0026.webp
Its left me with a small amount of seam work to rectify. The below picture is the worse side.
IMGP0030.webp
This side fitted better
IMGP0040.webp
With the nose fitted together I could then fix the air intakes
IMGP0032.webp
There is a lot of cleaning up to do on these parts and also the air intakes themselves
IMGP0035.webp
IMGP0034.webp
IMGP0033.webp
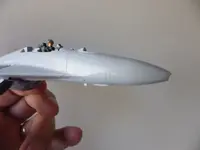
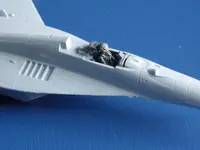
Pilot painted and fitted prior to canopy going on.
IMGP0036.webp
Thanks for looking in chaps.
 
Good work so far Steve, looks like you will have your hands full with this one though 😮

Geoff.
 
It's a beautiful aircraft in the air or on the ground, Steve. Unfortunately our members have had some issues building the Airfix kit, the same as you are facing now.
Miss the sound of these flying overhead around this time of the year preparing for our National day fly overs. Now it's replaced with F-18's and Sukhois. Soon they will be replaced by the F-50's and whatever else the budget permits.
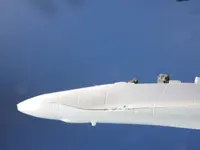
One of our modeling members here flew the Mig-29 as a wing commander for the Smokey Bandits. Can't remember if I posted an image taken from his cockpit flying over a USS carrier during a joint exercise with Harriers. Closest a Russian Mig ever got to a US carrier.

Cheers,
Wabble
 
Thread owner
It's a beautiful aircraft in the air or on the ground, Steve. Unfortunately our members have had some issues building the Airfix kit, the same as you are facing now.
Miss the sound of these flying overhead around this time of the year preparing for our National day fly overs. Now it's replaced with F-18's and Sukhois. Soon they will be replaced by the F-50's and whatever else the budget permits.
One of our modeling members here flew the Mig-29 as a wing commander for the Smokey Bandits. Can't remember if I posted an image taken from his cockpit flying over a USS carrier during a joint exercise with Harriers. Closest a Russian Mig ever got to a US carrier.

Cheers,
Wabble
I have to say it is a lovely looking aircraft, some very nice lines. I didn't know about the air intake FOD flaps until I came to build the model. What a great idea that is.
fod.webp
 
Last edited:
Thread owner
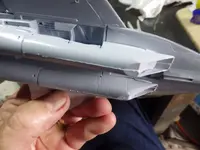
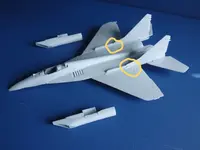
Todays work will be sorting out the following.
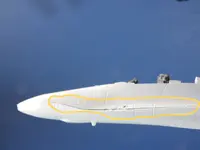
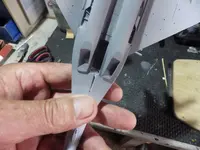
Firstly getting a better fit where the rear horizontal stabilisers join the fuzz I need to get a more streamlined connections on both sdes as they are slightly misaligned.
mig1.webp
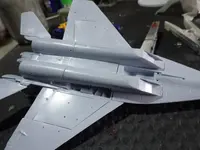
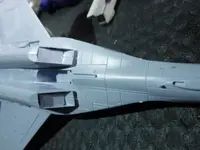
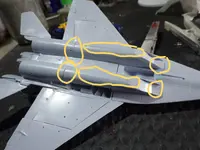
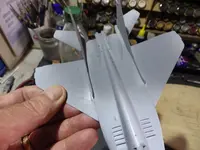
Next will be the many seam lines on the underside.
mig2.webp
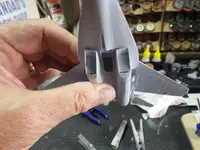
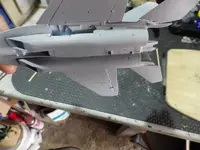
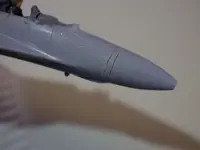
And then lastly correcting the join in the two fuzz halves on the nose section.
mig3.webp
Then it will be canopy on ready for priming
 
Your MiG will look great once you've dealt with those seams and gaps Steve. It's going to look really good in your chosen scheme
 
Todays work will be sorting out the following.
Firstly getting a better fit where the rear horizontal stabilisers join the fuzz I need to get a more streamlined connections on both sdes as they are slightly misaligned.
View attachment 1291567
Next will be the many seam lines on the underside.
View attachment 1291568
And then lastly correcting the join in the two fuzz halves on the nose section.
View attachment 1291569
Then it will be canopy on ready for priming
Steve, the misalignment with the panel lines on the nose should align if you press the nose down. it should have a downward canter and that will lessen the gap of the whole length of this section.

Cheers,
Wabble
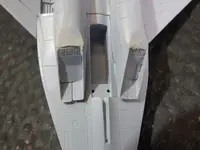
 
Thread owner
Steve, the misalignment with the panel lines on the nose should align if you press the nose down. it should have a downward canter and that will lessen the gap of the whole length of this section.

Cheers,
Wabble
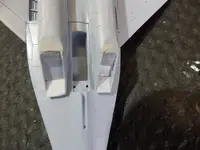
Not sure why but they look worse in the photo than they actually are. Ill try it Wabble but it will need a lot of presure to get them together.
 
Thread owner
Tackled this area first.
IMGP0042.webp

Thought it easier just to cover this seam with a piece of plastic card thinned down at one end where it exits the intake.
IMGP0043.webp
Ended up with this.
IMGP0046.webp
The rest of the filling infront of the horizontal stabilisers and the engine cowlings came out OK
IMGP0049.webp
IMGP0047.webp
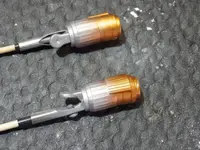
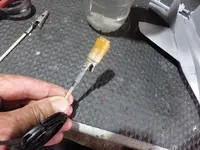
Just got the nose to sort out now but thats going to require some rescribing of the panel lines. Also been starting work on the exhaust tubes. Going to try something different for these. Started off with a grey primer then added a layer of silver. Next added a bronze with a higher concentration at what would be the hottest spot on the exhaust.
IMGP0045.webp
Next up added a amber filter
IMGP0050.webp
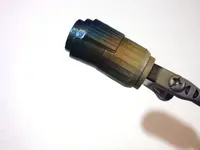
Next phase will be a clear blue at the hot end followed by a dirty oily wash over the rear. Not sure how it will look but its worth a try . Thanks for checking in.
 
The seams look good now Steve. Interested to see how your exhaust areas turn out, I have that stage coming up soon
 
Thread owner
More work on the exhausts. Added a thin layer of clear blue to the hottest end of the exhaust. These will now get a coat of varnish followed by a chestnut oily wash to mucky them up a bit. As I said this is a work in progress so not sure how they will turn out in the end.
IMGP0057.webp
And then some work on the front end. After the filling and sanding had some panels lines to reinstate.
IMGP0058.webp

IMGP0061.webp
Just need to blend them in a bit now.

Also came to fit the canopy and found the pilot was sitting too high so he has been taken out, trimmed down on its backside and glued back in place. Canopies on next and then into primer.
 
Nice progress, and to my untrained eye, that looks like a good exhaust nozzle.
 
Back
Top