I have been working on the wing sub-assemblies...
Now I am aware that some modellers love a challenge, they love nothing more than taking an inaccurate poorly fitting 'old tool' kit and knocking it into shape, they love a fight with plenty of cursing involved.
Well, if you are one of those, then this Tamiya 1/32 scale Spitfire is definately not for you.
This, well, it just fits, it works, far from fighting you it wants to go together, it wants to be built and built well.... No stress, no swearing, just the sheer joy of a great fitting kit with lots and lots of thoughtful touches designed to facilitiate the build.
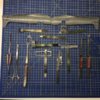
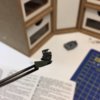
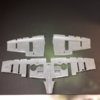
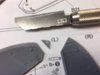
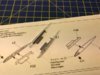
Look at these:
View attachment 264829
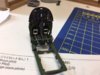
OK - you do have to know your left and right I suppose but there is no mixing up these parts.
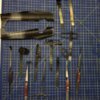
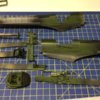
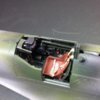
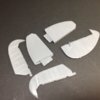
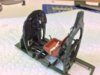
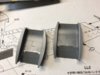
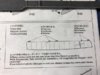
The instructions are so thoughtful.... A Spitty of course needs to be built with its flaps up unless you are depicting an aircraft during maintenance.
View attachment 264833
View attachment 264834
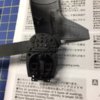
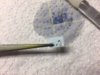
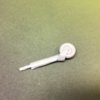
The surgery is simple enough, one done, one left to do... just a swipe or two of the sanding stick to finish the first piece.
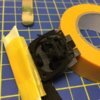
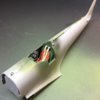
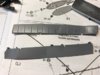
Then there are the wing tips - as transparent parts with mask supplied for the light itself. They have nice inserts to help fix them to the wing. I will paint the inside of the parts the clear green or red as appropriate, then apply the mask before cementing them into place on the wing.
View attachment 264832
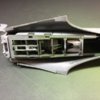
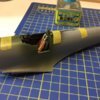
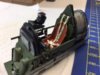
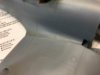
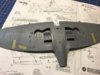
Now just look at these pics. The wing is just dry fitted into place as I am not ready to cement it yet but with most kits the wing/fuselage join is where you get gaps or fit issues but not with this Tammy...
View attachment 264830
View attachment 264831
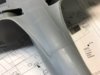
Here is the wing with flaps etc in place.
View attachment 264835
I have a few more sub-assemblies to build for the wing before some painting and then attaching the wing to the fuselage.