
G
Guest
Guest
Yesterday I was asked to build a 1/32 Tam Spitty Mk8 for a friend.
Need;ess to say I was interested to see how well it builds after my recent experience with the Tam Mustprang.
I woke at 0600 to pouring rain and with all my plans shot to hell I started this kit expecting another longterm build.
However I was surprised how quick it is going sofar.
Here is the basic components of the cockpit sofar.
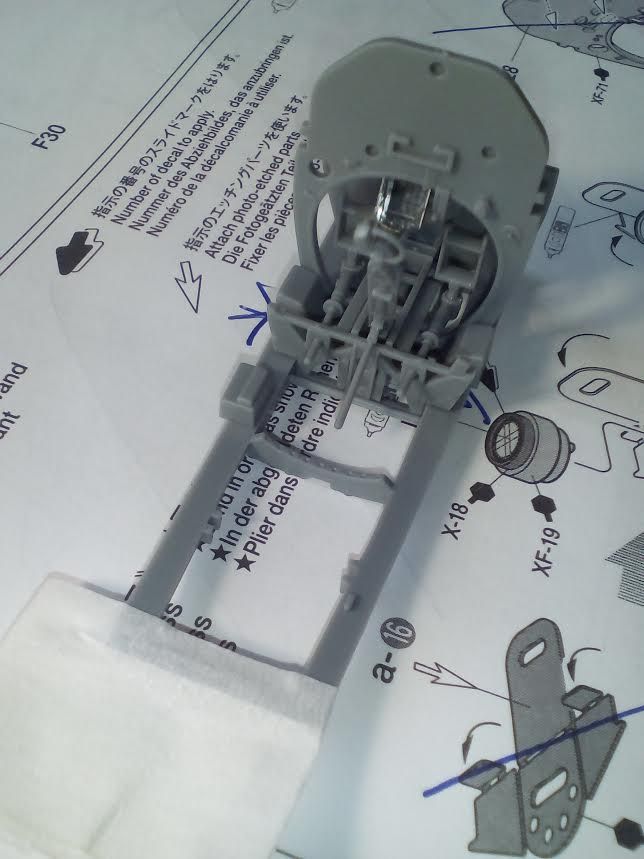
Painted in Humbrol RAF interior...
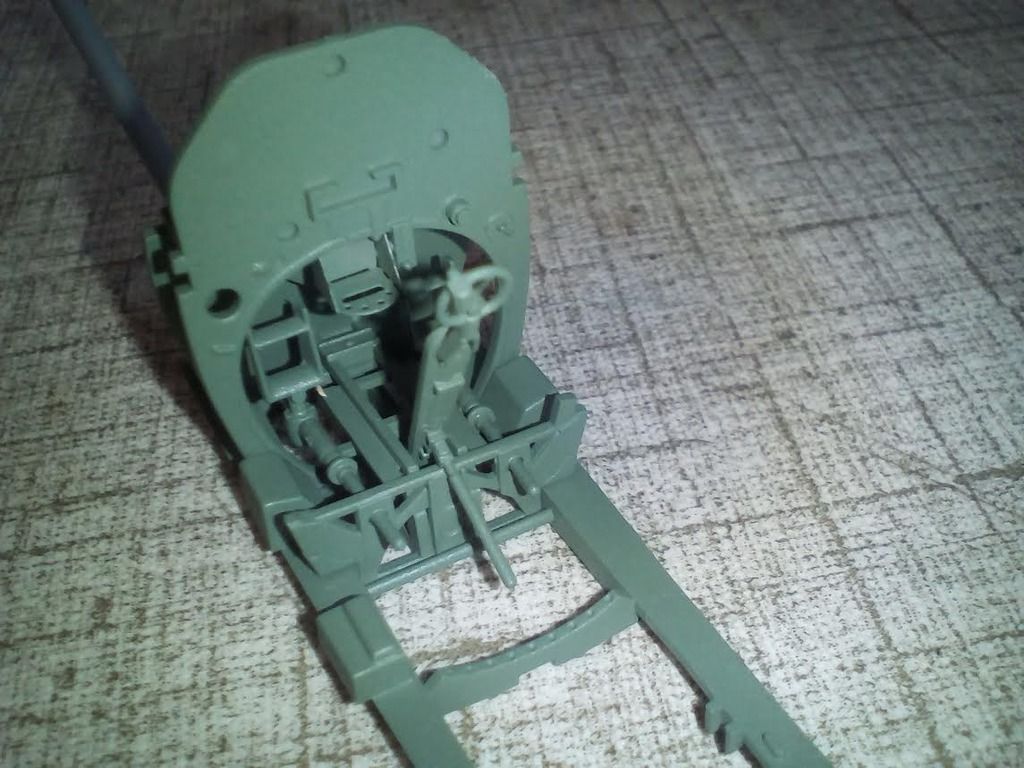
The parts take very little if any cleanup compared to the damn revell 1/32 Spit Mk2 I am busy with.
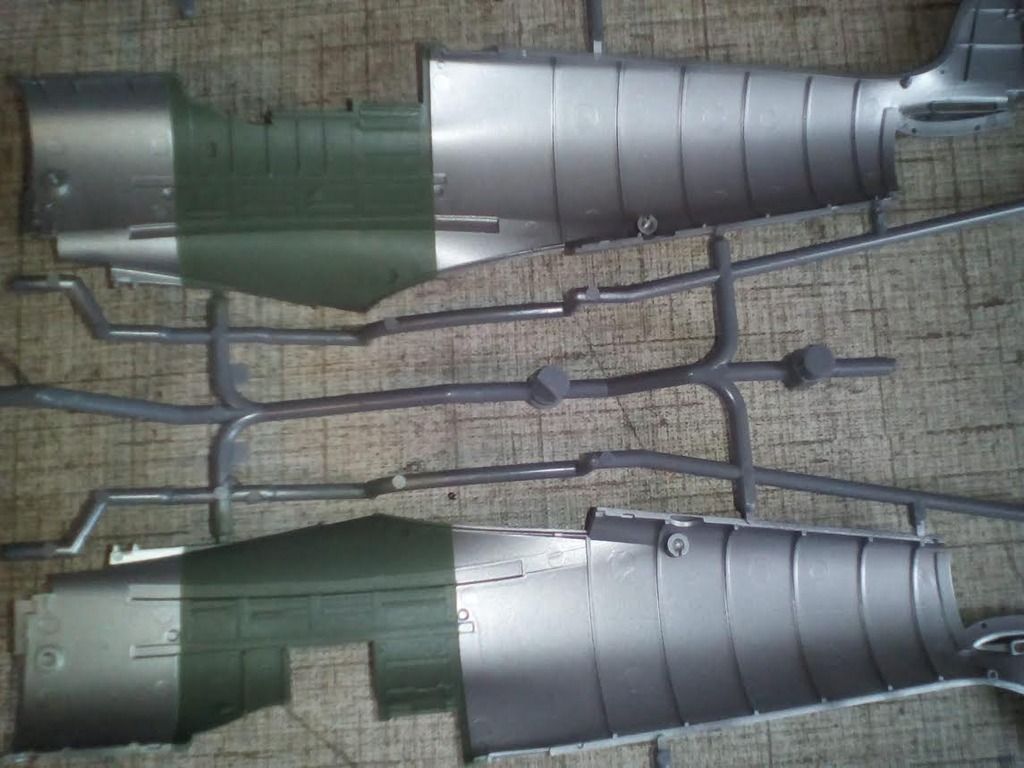
It will be in the colours of the USAAF in Italy 1944.
Theuns


")


")