Theme editor

Scale Model Shop

Tonys Tamiya bf 109 -e7 in 1/72

yak face

Moderator
Staff member
Moderator
SMF Supporters
Joined
Jun 13, 2009
Messages
15,148
Reaction score
2,842
Points
113
Age
61
First Name
Tony
Location
Sheffield
1/3
Thread owner
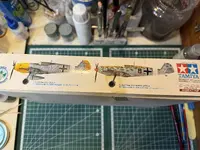
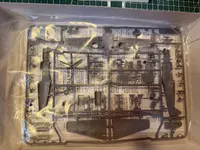
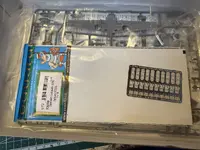
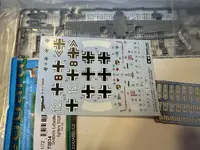
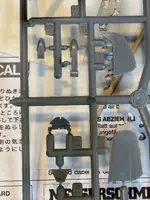
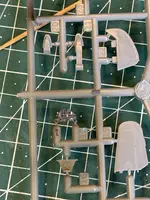
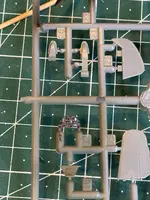
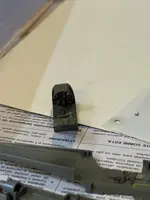
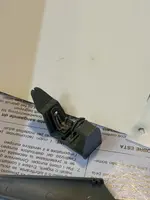
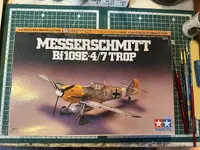
Heres my entry to this GB . It was a toss up between this or the SAS pink panther land rover , and the 109 won . Its the 1/72 bf109 e- 4/7 trop , a beautiful little kit ive done before a few times and always really loved it . I intend to do the e-7 trop version with the desert camo and green mottle . I’ll be using some Eduard belts but thats all the extras it needs as the pit is nicely detailed as is. I made some templates for the green mottle ages ago and will be using these again . Heres the sprue shots . IMG_8847.webpIMG_8848.webpIMG_8849.webpIMG_8850.webpIMG_8851.webpIMG_8852.webp
 
Wonderful looking kit Tony, and good that you kept the templates for the mottle. Makes sense to do the 109 first, or there is nothing for your SAS raiders to blow up
 
Cool, templates for camo seem like a very organised kind of behaviour. I should try that next time I do camo - but I'm not a very organised person, probably why I avoid camo.

Looks forward to this. The 109 always looks a little ungainly with the wheels down, but so much more elegant in flight.
 
Thread owner
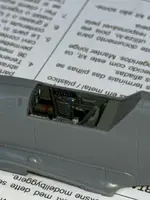
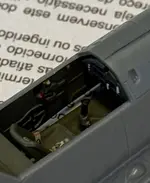
Started with the cockpit today . Even though its very few pieces it comes up lovely with a bit of careful painting . The base rlm 02 was painted then the details on the sidewalls were picked out with the various colours . I painted the instrument panel in rlm 66 first then added the yellow/red and blue with the dotting pen . Once these were dry I added black to these and the rest of the dials . A few more details with the brush were added and the dials got a dot of gloss . The Eduard belts and the control column were added and it was all put together . I cant understand why Tamiya made such a nice cockpit and then didnt supply an opening canopy to see it - the middle section and rear are moulded as one with a separate screen . I think I’m going to cut it so i can have it open , ive done it before and its easy enough . IMG_8856.webpIMG_8857.webpIMG_8858.webpIMG_8862.webpIMG_8863.webpIMG_8864.webpIMG_8866.webpIMG_8867.webp
 
Thread owner
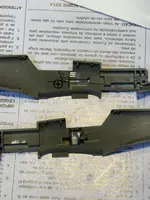
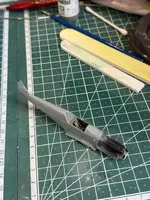
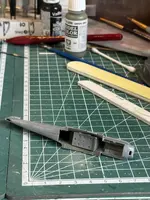
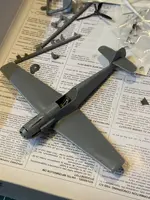
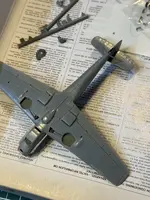
The fuselage has been glued , after bevelling the joint on the top and bottom of the rear fuselage . This was a joint on the real aircraft so needed to be visible . This kit is a superb bit of engineering - the only joints that need sanding are the small area in front of the cockpit and the underneath of the nose . All other joints fall on panel lines or are invisible so the airframe comes together quickly and with almost no remedial work . The wings and tailplanes are now on ( again no work necessary )
Next up will be fitting the canopy , as mentioned earlier I will be cutting the rear section so I can have it open . IMG_8868.webpIMG_8869.webpIMG_8870.webpIMG_8871.webp
 
The fuselage has been glued , after bevelling the joint on the top and bottom of the rear fuselage . This was a joint on the real aircraft so needed to be visible . This kit is a superb bit of engineering - the only joints that need sanding are the small area in front of the cockpit and the underneath of the nose . All other joints fall on panel lines or are invisible so the airframe comes together quickly and with almost no remedial work . The wings and tailplanes are now on ( again no work necessary )
Next up will be fitting the canopy , as mentioned earlier I will be cutting the rear section so I can have it open . View attachment 1295956View attachment 1295957View attachment 1295958View attachment 1295959
Very nice Tony. This GB is refreshing, hardly any filler used.
 
Looking good Tony 👍

It’s a shame more manufacturers don’t come up to Tamiya standards for fit etc.

Geoff.
 
Back
Top