Well I know Ian's normally the one to put things in there rightful place but I thought I had better make a proper show of it and start my own thread on this.
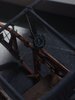
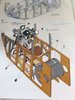
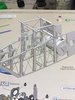
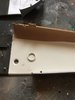
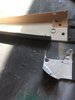
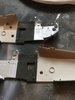
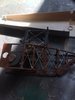
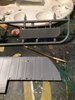
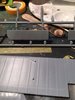
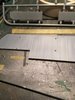
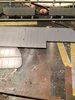
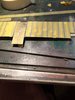
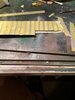
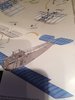
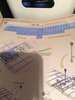
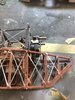
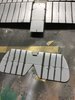
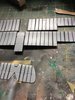
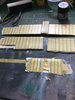
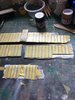
As I stated in other thread I have made a start on this with the cockpit and the minimal rigging that really won't be seen all that much once the whole thing is put together.
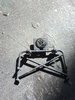
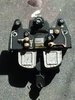
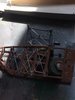
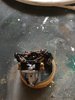
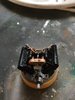
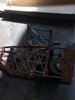
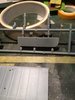
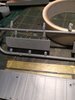
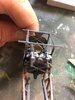
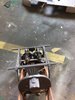
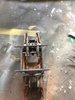
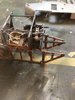
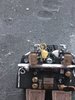
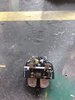
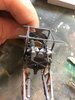
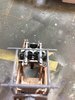
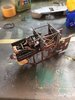
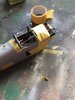
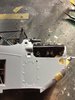
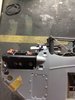
I have also made a start on the HIspano Suiza V8 Hisso engine ( basic construction ) now comes the hard part of painting and derailing the engine up to give it a lifelike appearance.
Now correct me if I'm wrong here but I'm sure I read somewhere that this same engine powered the SE5a??
I have sprayed the engine black for shadow effect( also as a primer) effect before I tackle the full engine paint scheme then it comes to weathering.
Pictures below
View attachment 308877View attachment 308878View attachment 308878View attachment 308879View attachment 308880View attachment 308882View attachment 308883View attachment 308884View attachment 308885View attachment 308886
As I stated in other thread I have made a start on this with the cockpit and the minimal rigging that really won't be seen all that much once the whole thing is put together.
I have also made a start on the HIspano Suiza V8 Hisso engine ( basic construction ) now comes the hard part of painting and derailing the engine up to give it a lifelike appearance.
Now correct me if I'm wrong here but I'm sure I read somewhere that this same engine powered the SE5a??
I have sprayed the engine black for shadow effect( also as a primer) effect before I tackle the full engine paint scheme then it comes to weathering.
Pictures below
View attachment 308877View attachment 308878View attachment 308878View attachment 308879View attachment 308880View attachment 308882View attachment 308883View attachment 308884View attachment 308885View attachment 308886
Attachments
-
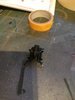 image.jpeg2.2 KB · Views: 1
 -
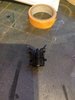 image.jpeg2.3 KB · Views: 0
 -
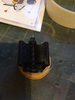 image.jpeg2.2 KB · Views: 0
 -
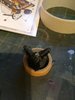 image.jpeg2.5 KB · Views: 0
 -
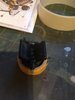 image.jpeg2.3 KB · Views: 0
 -
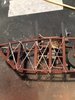 image.jpeg3 KB · Views: 1
 -
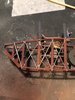 image.jpeg2.9 KB · Views: 0
 -
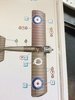 image.jpeg2.4 KB · Views: 0
 -
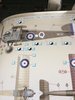 image.jpeg2.9 KB · Views: 0
 -
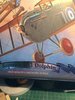 image.jpeg3.2 KB · Views: 0
 -
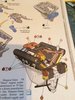 image.jpeg3.4 KB · Views: 0
 -
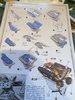 image.jpeg3.5 KB · Views: 1