G
Guest
Guest
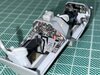
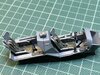
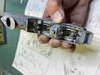
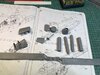
They do look good. I suppose they’re made in much the same way as Archer Fine Transfers make their Surface Detail™ (don’t forget the ™!) weld beads, rivets, casting marks etc., which I understand are printed (somehow) as resin onto decal film.

")