
https://upload.wikimedia.org/wikipe...ngs_Foundation_-_Massachusetts_-_DSC06994.jpg
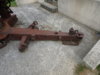
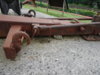
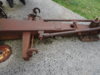
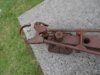
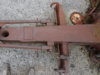
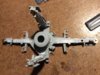
Found a nice high res photo. It looks like the welds are on the corners of the leg/beam/support thingies!
Found a nice high res photo. It looks like the welds are on the corners of the leg/beam/support thingies!

")


