View attachment 310006
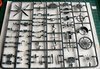
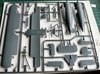
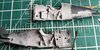
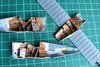
Not that many sprues, not that many parts - crisply moulded, no flash
View attachment 310009View attachment 310010
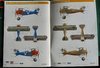
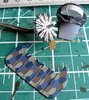
No PE, no resin two finishes.....................View attachment 310007
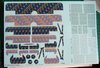
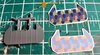
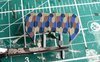
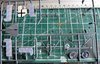
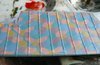
The real difficult part will be the large sheet of decals
View attachment 310008
Wings and tail covered in lozenge camo, and all those rib tapes, and rigging as well!!!
Construction will start shortly
Dave
Not that many sprues, not that many parts - crisply moulded, no flash
View attachment 310009View attachment 310010
No PE, no resin two finishes.....................View attachment 310007
The real difficult part will be the large sheet of decals
View attachment 310008
Wings and tail covered in lozenge camo, and all those rib tapes, and rigging as well!!!
Construction will start shortly
Dave