Theme editor

Scale Model Shop

DaveCov's Airfix 1/72 Sopwith Pup (01062-1)

davecov

SMF Supporters
Joined
Jul 3, 2014
Messages
888
Reaction score
193
Points
43
Age
67
1/3
Thread owner
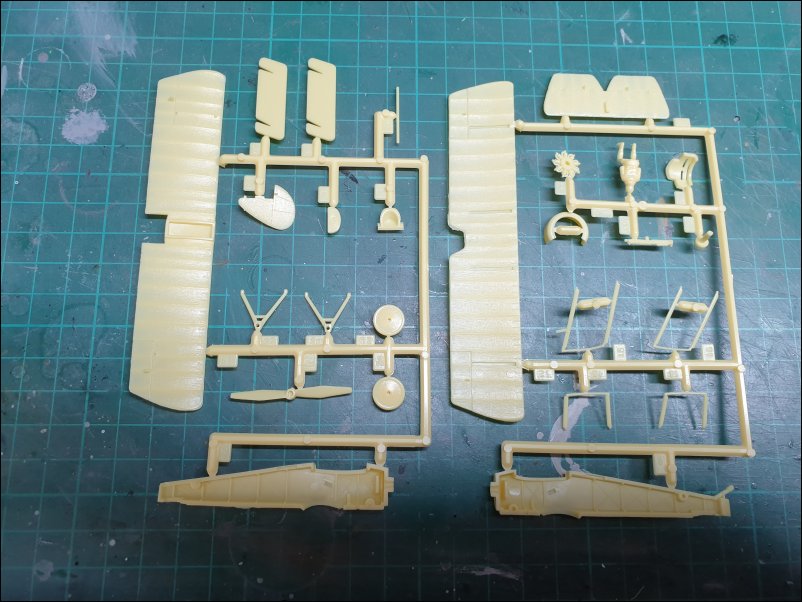
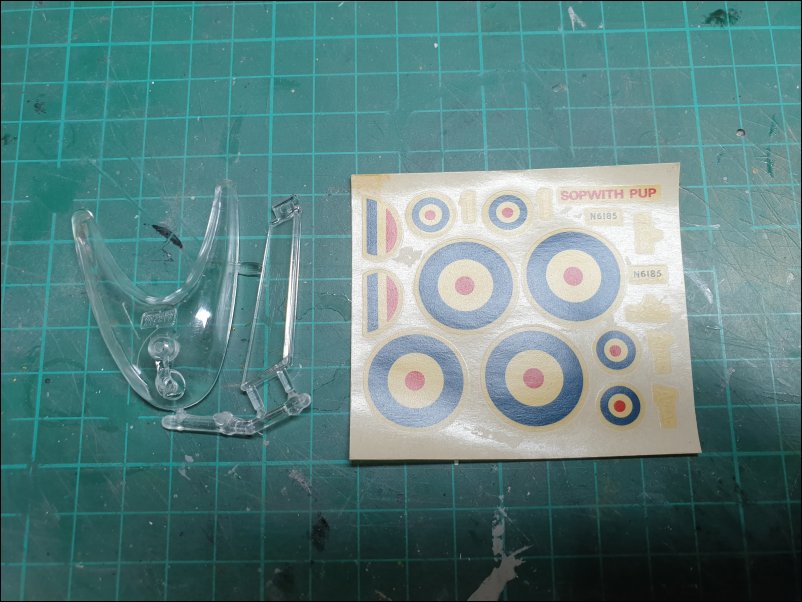
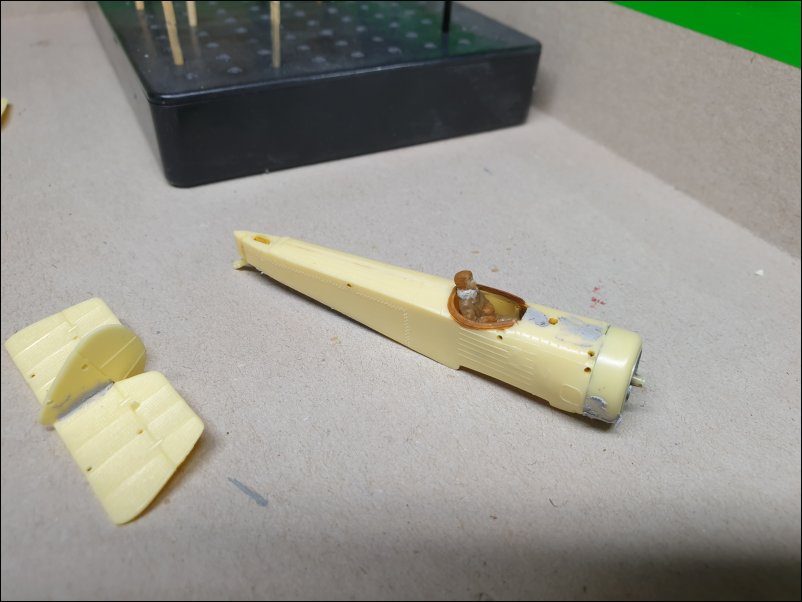
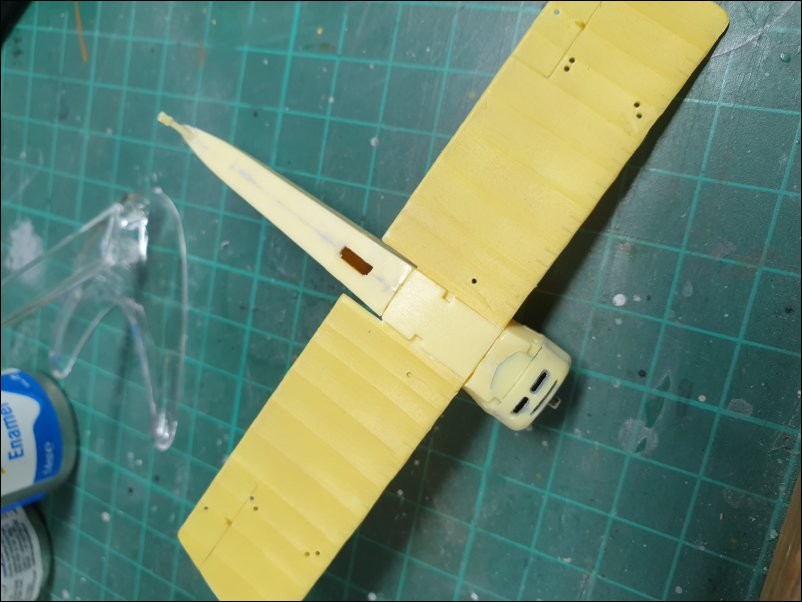
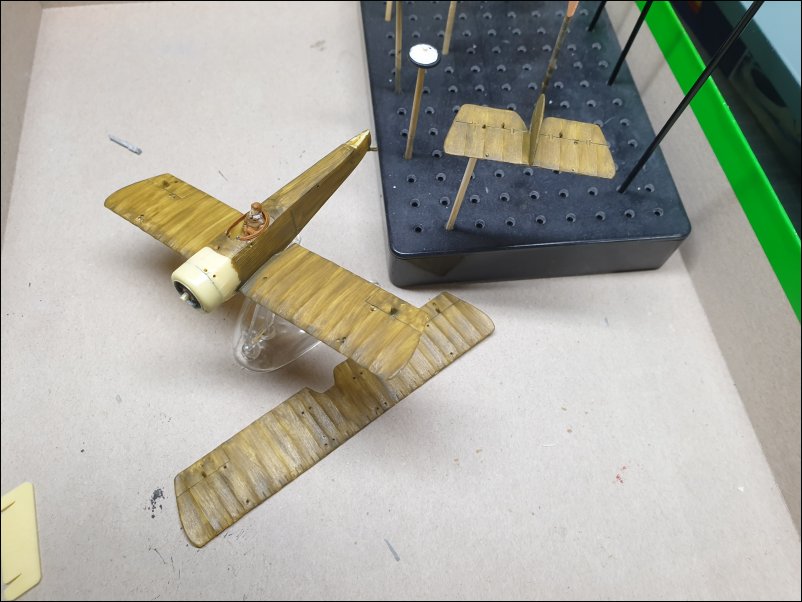
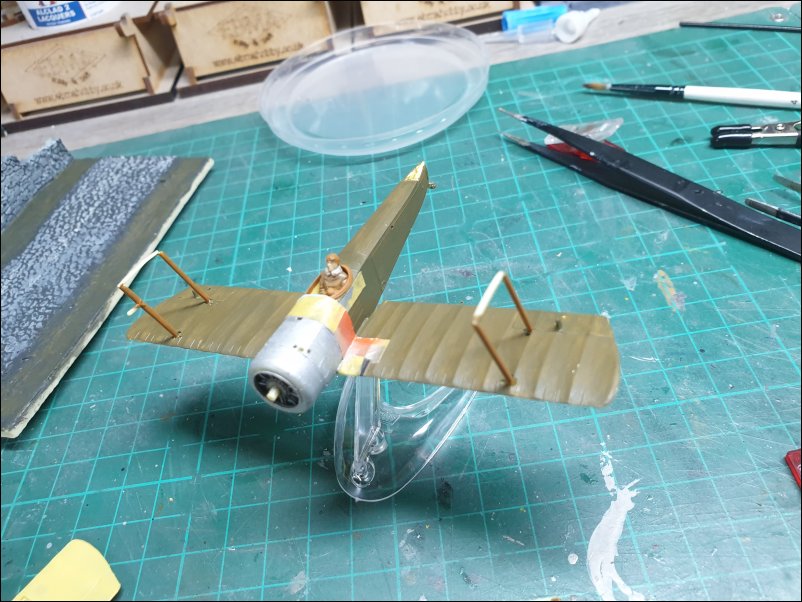
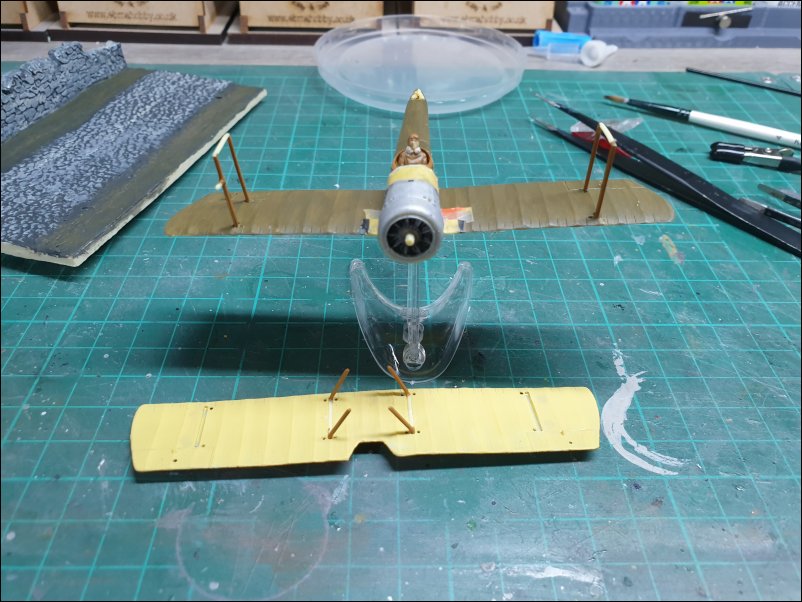
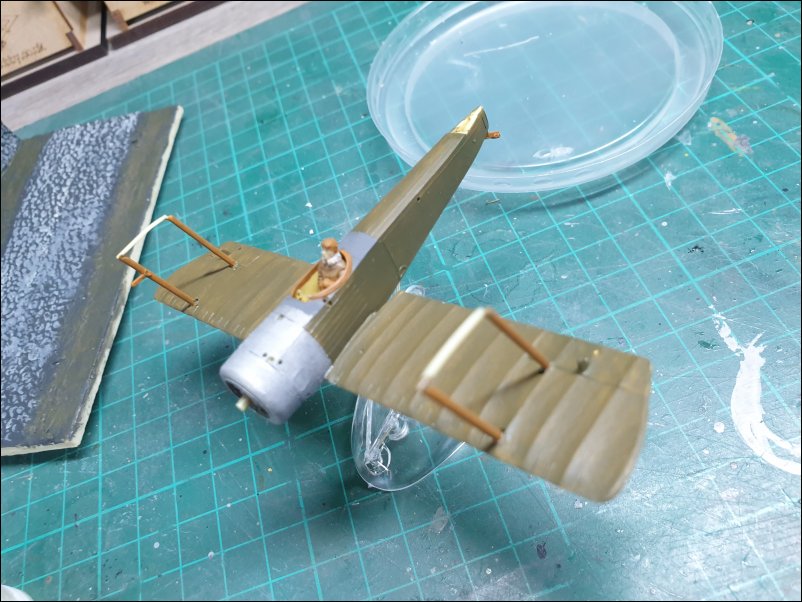
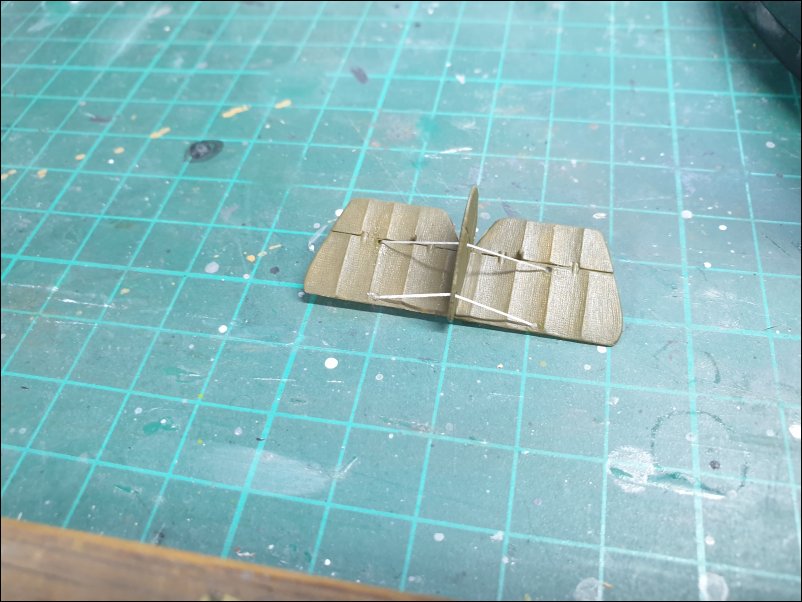
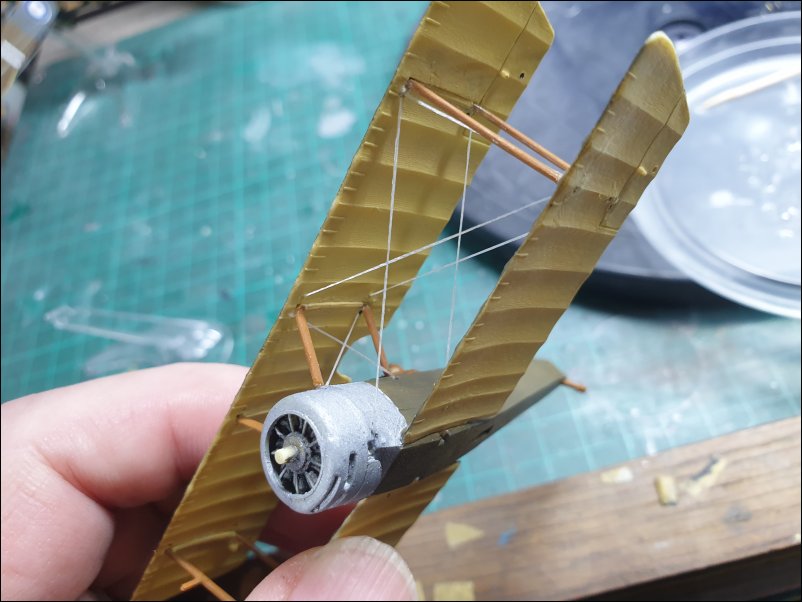
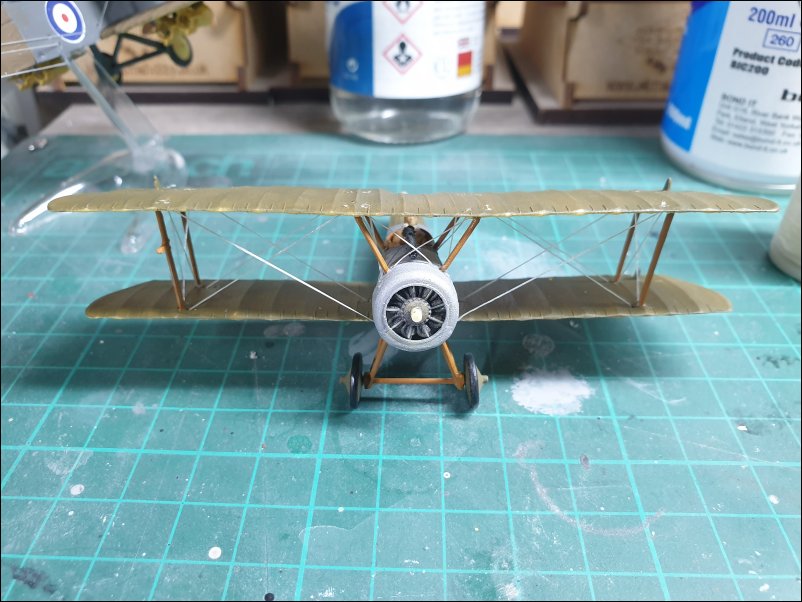
As I have been enjoying building the rather old Airfix 1/72 Airco DH4 1918 (01079) (build thread here), I decided to build a companion for it, namely the Airfix 1/72 Sopwith Pup (01062-1).

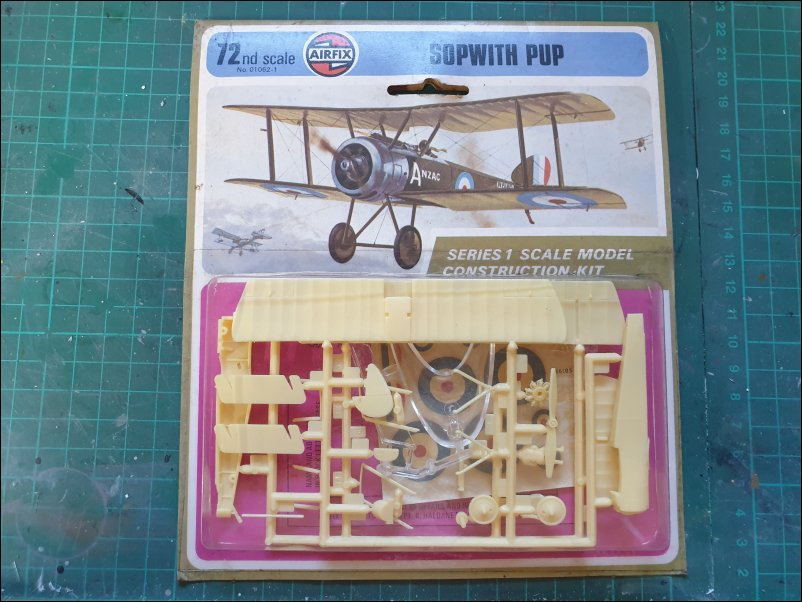
This kit was first released in the Seventies in a blister pack and includes a stand:
Sopwith_Pup_72_2024_SM_GB_001.JPG


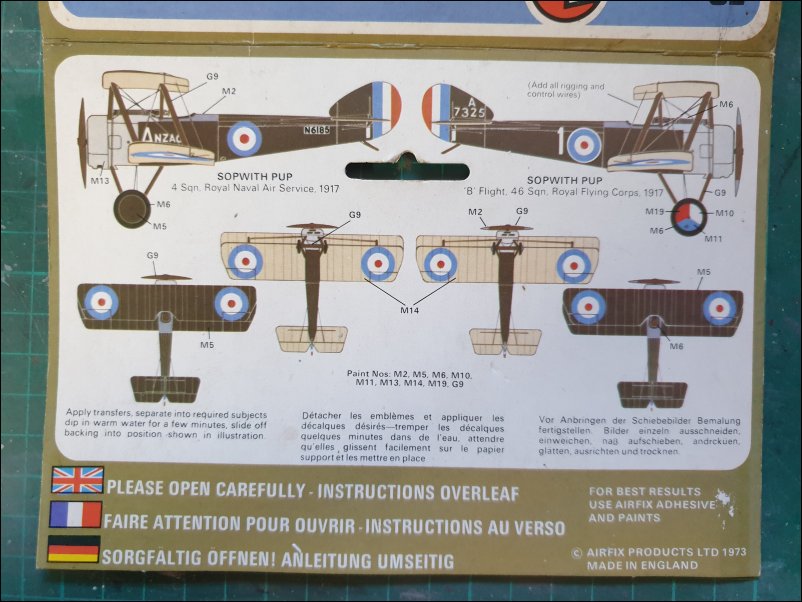
Painting and decal placement profile, showing two schemes - a 4 Squadron, RNAS, 1917 machine and a 'B' Flight, 46 Squadron, RFC, 1917 machine:
Sopwith_Pup_72_2024_SM_GB_002.JPG


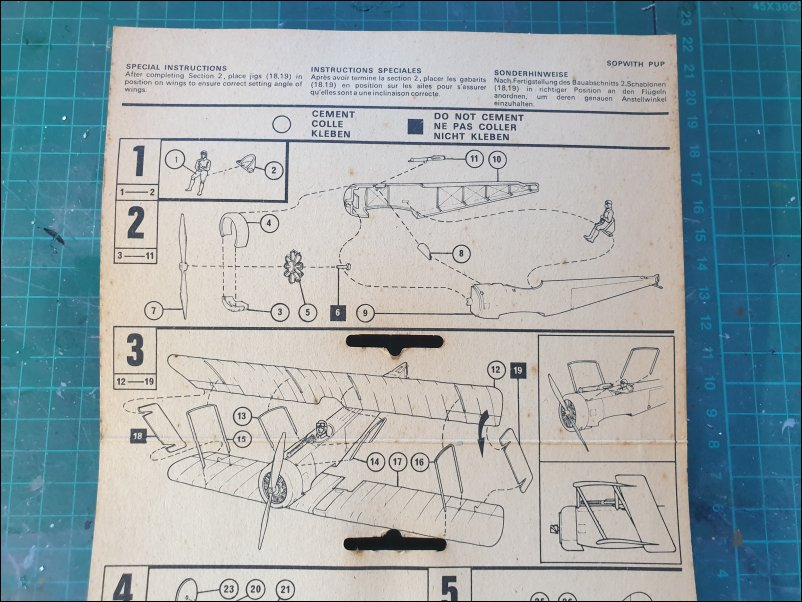
Upper half of rear of pack shows Assembly instructions Sections 1 to 3 and some special instructions concerning placement of jigs:
Sopwith_Pup_72_2024_SM_GB_003.JPG


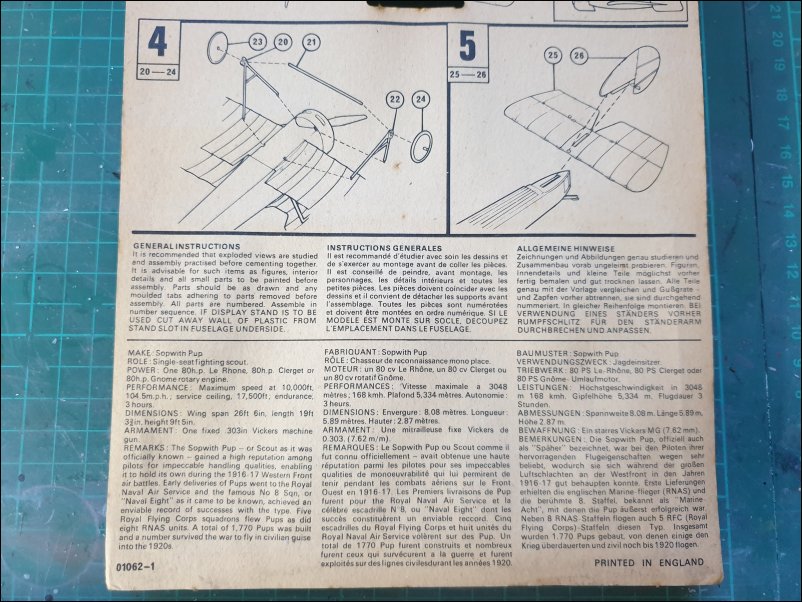
Lower half of rear of pack shows Assembly instructions Sections 4 to 5, a potted history of the Sopwith Pup, and some general instructions:
Sopwith_Pup_72_2024_SM_GB_004.JPG


I am looking forward to this build as I have only made one of these once before - when it was first released in the Seventies! Description of the contents will appear in my next post.

That is all for now

Dave
 
Interesting, I never made this back in the day so it will be good to see it come together. Like the jig arrangement, should make wing alignment easier.
 
Has it really got internal bracing detail moulded on? That's a surprise
Was this the last WWI aircraft Airfix did back in the day?
 
Thread owner
Yes it does have bracing moulded inside. The Sopwith Pup was the last WW1 Airfix aircraft until the 1/72 Fokker E.II/E.III Eindecker and Royal Aircraft Factory BE2c were released in 2016.

Dave
 
Thread owner
My latest update.

As promised in an earlier post, here are the contents of the blister pack. Parts are moulded in a pale yellow with quite a few seams and ejector pin marks to deal with:
Sopwith_Pup_72_2024_SM_GB_005.JPG


The good old days when Airfix kits came with stands. The decals are out of register and have yellowed with age. I have put them under a UV lamp to remove the yellowing:
Sopwith_Pup_72_2024_SM_GB_006.JPG


All parts have been removed from the runners and seams cleaned up:
Sopwith_Pup_72_2024_SM_GB_007.JPG


Ejector pin marks have been filled and I have drilled holes in the wings and fuselage for rigging:
Sopwith_Pup_72_2024_SM_GB_008.JPG


The inside of the fuselage halves and lower wing centre box have been painted with H74 Matt Linen:
Sopwith_Pup_72_2024_SM_GB_009.JPG


The struts, pilot, seat, gun, instrument panel, propeller and tyres have been painted:
Sopwith_Pup_72_2024_SM_GB_010.JPG


That is all for now

Dave
 
Thread owner
More progress to report.

The underside of wings and tailplanes were painted with H74 Matt Linen:
Sopwith_Pup_72_2024_SM_GB_011.JPG


The seat and instrument panel were glued inside the fuselage and I made a rudimentary control column from plastic card. The seat was problematic as it's position meant that it would not be possible to fit the pilot without chopping his legs off. The cockpit coaming was painted inside and out:
Sopwith_Pup_72_2024_SM_GB_012.JPG


The seat angle was taken out and the locating tabs modified so that the seat would fit further back and more upright. It was also necessary to trim the pilot's buttocks before he would sit correctly. The control column was glued to the floor:
Sopwith_Pup_72_2024_SM_GB_013.JPG


Then it was painted:
Sopwith_Pup_72_2024_SM_GB_014.JPG


The fuselage halves were glued together:
Sopwith_Pup_72_2024_SM_GB_015.JPG


After the fuselage had dried, I fitted the engine and cowling sections:
Sopwith_Pup_72_2024_SM_GB_016.JPG


Filler was applied to the fuselage and cowling joins. The rudder was glued to the tailplanes and the joins filled too:
Sopwith_Pup_72_2024_SM_GB_017.JPG


The upper fuselage join didn't need as much filler:
Sopwith_Pup_72_2024_SM_GB_018.JPG


That is all for now

Dave
 
Great choice dave , its a kit ive often been tempted by . For its time its considered a good kit and theres something about the pup that appeals to me , it just seems a bit better looking than its big boned sister the camel !
 
Great stuff. This takes the word 'vintage' to a new level. That pilot looks very much WW1, nice job.
 
An Airfix pilot that doesn't fit without adjustment? Who'd have anticipated that? (sotto voce - the NEW pilots don't fit unmodified either...)
 
Great progress Dave. You‘ve solved your pilot fit issues with no bother at all.
It his interesting to see a kit of this vintage come together.

ATB
Paul
 
Thread owner
Another little update.

I attached the lower wing to the fuselage but it was necessary to cut a little plastic from the front and back of the centre section in order that the wing would sit correctly. The:
Sopwith_Pup_72_2024_SM_GB_019.JPG


After filling and sanding the lower wing join, I applied the first coat of H155 Matt Olive Drab to the wings, tailplanes and fuselage. I also applied a coat of H34 Matt White to the outside of the wheel covers which will eventually be painted red, white and blue:
Sopwith_Pup_72_2024_SM_GB_020.JPG


That is all for now.

Dave
 
Thread owner
Latest update.

I have give the wings, fuselage and tailplanes a second coat of H155 Matt Olive Drab. I quite like the slightly streaky finish so I won't be applying a third. I have decided to make the "Anzac" version which means that the white wheel covers had to be over-painted with Olive Drab:
Sopwith_Pup_72_2024_SM_GB_021.JPG


I painted the cowling and front of the fuselage with H56 Aluminium. I also fitted the outer wing cabane struts to the lower wing (as opposed to the instructions which said to fit them to the upper wing). This should (fingers crossed) make the fitting of the upper wing a lot easier:
Sopwith_Pup_72_2024_SM_GB_022.JPG


The centre cabane struts were glued to the underside of the wing. I have drilled holes in the top of the fuselage to make the fitting of the struts easier:
Sopwith_Pup_72_2024_SM_GB_023.JPG


The top of the fuselage around the cockpit area was painted with H27 Matt Sea Grey:
Sopwith_Pup_72_2024_SM_GB_024.JPG


Time to start rigging. The rudder/tailplane was rigged using one piece of thread which was glued on the underside of the tailplanes and then trimmed:
Sopwith_Pup_72_2024_SM_GB_025.JPG


That is all for now.

Dave
 
Thread owner
Another little update.

I started a very long session of rigging and after doing the port wings, I thought I would stop as it had taken hours to get this far:
Sopwith_Pup_72_2024_SM_GB_026.JPG


For some reason, I couldn't stop myself and continued rigging and it is almost complete now. I still have to do the rudder and elevator rigging as well as the wheel struts which have just been glued to the underside of the fuselage:
Sopwith_Pup_72_2024_SM_GB_027.JPG


That is all for now.

Dave
 
Very cool! I love this era. You have a lot of patience and skill to deal with that rigging!
 
Back
Top