
You are using an out of date browser. It may not display this or other websites correctly.
You should upgrade or use an alternative browser.
You should upgrade or use an alternative browser.
Joe's 1/72 Airfix Boeing Chinook HC1
- Thread starter flyjoe180
- Start date
Masking putty, available from a few brands.Looking great, on the camo masking, what is the black ‘resin’ like stuff? That looks interesting to use?
Alternatives could be white tack or silly putty.
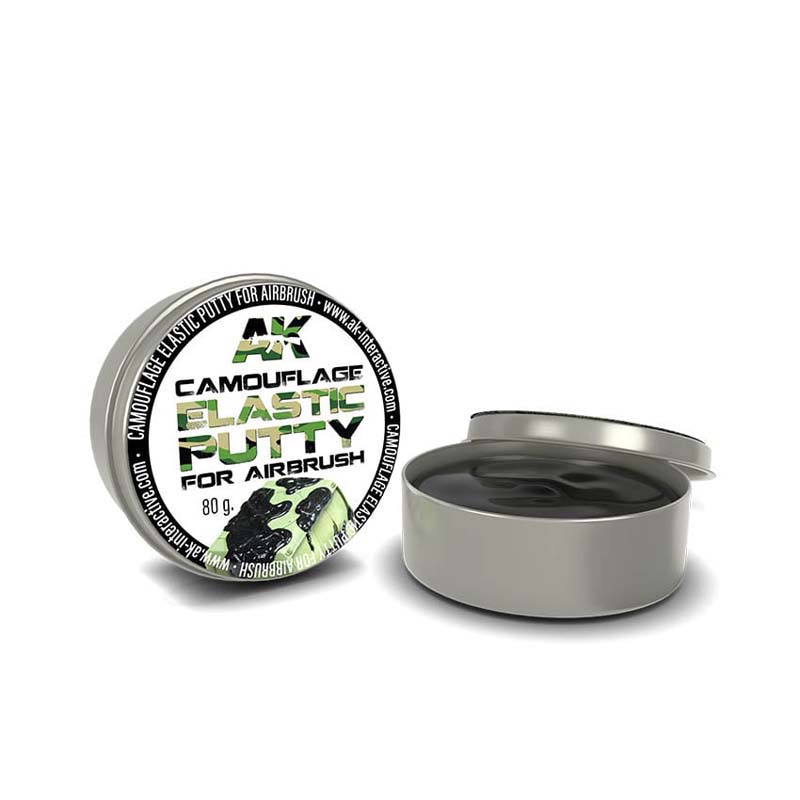
AK Interactive Elastic Camouflage Masking Putty AK-8076
Find our AK Interactive elastic camouflage masking putty and earn points on your purchase. See how you can get free delivery with your purchase. Shop today.
 www.scalemodelshop.co.uk
Cheers Peter.Looking really good....")
Thanks PaulGreat start
Cheers Tony. You're not wrong about the camouflage on awkward shapes. The masking putty helps.Looks superb joe , masking a sharpish edge on such an awkward shape is a task isnt it . Looks great now , looking forward to the masking coming off , cheers tony
Cheers Nick. I wouldn't be surprised if this kit has done the rounds over the years.Coming along very nicely Joe. I'm pretty sure I've built this same kit when it came in a Revell box....
Nick
Thanks Neil. It's masking putty, in this case AK. It's essentially the same stuff in different branded tins. After use you can roll it around/knead it which cleans it. I've used it for acrylic, lacquer and enamel paint jobs. On enamel it can leave a slight residue, but seems fine on acrylic and lacquer. I've seen Silly Putty used for the same purpose, and it's a lot cheaper.Looking great, on the camo masking, what is the black ‘resin’ like stuff? That looks interesting to use?
Yes that is the stuff, thanks Andy.Masking putty, available from a few brands.
Alternatives could be white tack or silly putty.
AK Interactive Elastic Camouflage Masking Putty AK-8076
Find our AK Interactive elastic camouflage masking putty and earn points on your purchase. See how you can get free delivery with your purchase. Shop today.
Just to update, I entered into combat a while ago with this kit's decals which I guessed would give me trouble. Silvering and fragility are the main attributes of the decal sheet. Setting and softening agents get the decals to adhere, but I resorted to a 'nuclear' option by treating each decal with a thin coat of Tamiya Extra Thin Cement, which eliminates most the silvering. High risk, not recommended until you have exhausted all other options, and I am applying it over a lacquer paint job that has well and truly cured.
In between work commitments and losing enthusiasm with it after a few decals at a time, it's taken a while but I am almost at a point where I can continue and get the Chinook completed.
In between work commitments and losing enthusiasm with it after a few decals at a time, it's taken a while but I am almost at a point where I can continue and get the Chinook completed.
Decals, wow, good luck with that trick. I think I would have bottled it and dived into the spares box. I don't mind masking too much, but not canopies. The build itself, looks great.
1/3
Top marks for battling on Joe and as always looking forward to the pictures
Yes it is not ideal Andy, but means must.Ooh that's brave. I've only done it once but it had me sweating!
It's very much a last resort. I used small amounts of Tamiya Extra Thin Quick Drying cement, and be careful not to rub it. Thanks re build Colin.Decals, wow, good luck with that trick. I think I would have bottled it and dived into the spares box. I don't mind masking too much, but not canopies. The build itself, looks great.
Cheers Steve.Top marks for battling on Joe and as always looking forward to the pictures
Did not realise I hadn't posted any photos since the paint job! Here it is, decals all applied, some before treatment.

After treatment, still some attention required but much better:

Rotors needed a quick touch up after damaging the surface on one of the blades , once dry they will get their decals and then I can move on to paint touch ups, weathering and panel washes.
After treatment, still some attention required but much better:
Rotors needed a quick touch up after damaging the surface on one of the blades , once dry they will get their decals and then I can move on to paint touch ups, weathering and panel washes.
Looking fantastic joe , i didnt realise there were so many decals on these , i thought it was just serials and a couple of roundels !
1/3
Looks great from my chair Joe.
Wish that was the case! Cheers Tony.Looking fantastic joe , i didnt realise there were so many decals on these , i thought it was just serials and a couple of roundels !
Thank you SteveLooks great from my chair Joe.

Good progress, masks removed and everything is ready for final assembly. I got the exhausts on, but clumsily snapped one of those cursed antenna masts. As I had no masts to replace it with I left it and touched it up. See you in the completed thread in the next few days! Thank you for following along during my logistic GB build.
1/3
Very nice Joe. I would imagine it is very difficult to handle with those masts.
Cheers
Cheers Steve. I left them off for as long as I could, or thought I could. In hindsight...Very nice Joe. I would imagine it is very difficult to handle with those masts.
Thanks Steven!Nice progress Joe, looking forward to the finished section, cheers

Legal Notice
scalemodelling.co.uk is a privately operated online discussion forum. All content posted by members reflects their own views and opinions and does not necessarily represent those of the forum owners or administrators. While reasonable efforts are made to moderate content, no responsibility is accepted for user-generated material. By using this site, you agree to comply with UK law and the forum rules.