Theme editor

Scale Model Shop

Ju87 Stuka - Matchbox - 1:72

pjgtech

Peter in Kent UK
SMF Supporters
Joined
Dec 28, 2023
Messages
2,533
Reaction score
3,108
Points
113
Age
61
Location
Swale Kent UK
First Name
Peter
1/3
Thread owner
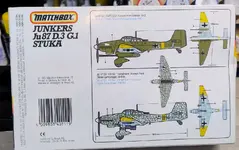
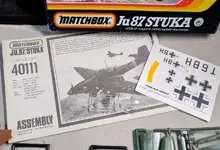
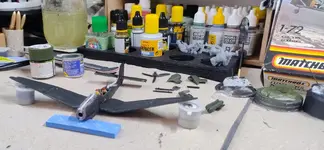
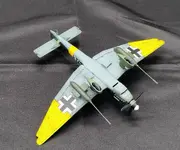
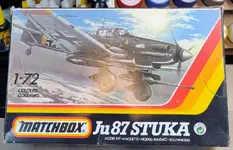
My next victim is a nice old, (not quite sure if its proper "vintage")? but its definitely old Matchbox Ju87 Stuka in 1:72 scale.
NB: This will be my first attempt at using an airbrush on one of my models [Gulp!]

This kit was part of a larger auction lot, which I bought about a year ago, which had about 5 or 6 kits in the lot. So this kit only cost me about £3!
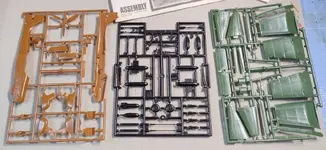
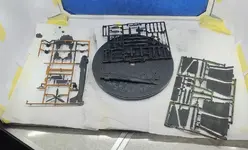
This kit has two versions, (one carrying bombs and one with the large machine guns)......but after now starting the kit, I think that one of sprue may be missing? as some of the alternative parts for the kit appear to be missing! There should be two sets of wing parts, but it looks like there is only one set?

But as this is a guinea pig kit anyway, we will plough on and see what we can do.

There are alos two paint schemes for this kit, see box art, etc, and no, I will not be doing the tinly patterned mottled camo one as my first air brushing paint job, no way, no how, I'm keeping it simple and easy for now....

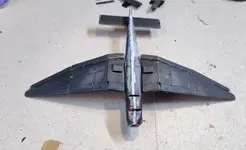
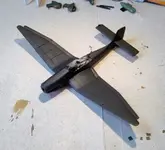
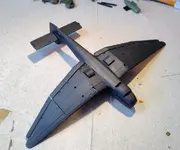
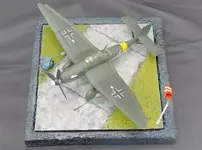
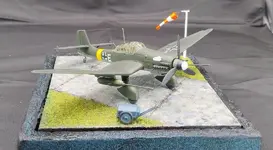
Pics...
JU87 Stuka aug26 (Medium) (1).webp

JU87 Stuka aug26 (Medium) (2).webp

JU87 Stuka aug26 (Medium) (4).webp

JU87 Stuka aug26 (Medium) (5).webp
 
Last edited:
Thread owner
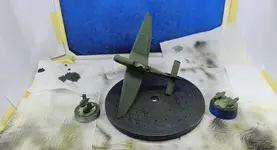
After messing with the airbrush for an hour or so, I could not put it off any longer, and I had to take the plunge, so this was my first priming session with the AB. Kept the parts on the sprue for this one, did not come out too bad, although if looking very close, I have missed a few litte areas, so need to learn to rotate the parts, make sure I cover all areas, etc, but we are learning, so its all good....
Ju Stuka aug26 pics1  (1) (Medium).webp

Parts suitably primed and left for few hours, then started on some of the assembly.
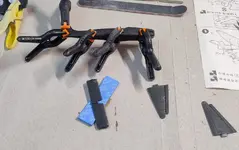
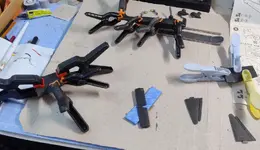
Seat in and fuselage together, some minor gaps, and it needed clamping as was slightly warped.

Ju Stuka aug26 pics1  (3) (Medium).webp

Wing sections alos needed clamping, with some slight gaps. We will deffo be needing some filler!

Ju Stuka aug26 pics1  (4) (Medium).webp

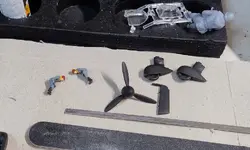
Painted up the crew and did couple of other sub assemblies, prop, wheels, etc, so we are slowly getting there.
Not sure how I'm gonna tackle the cockpit canopy yet, eg: brush paint, or mask and AB?
Also not sure why one end of the rear canopy, where both meet ion the middle) is blocked off, as the instructions show it being open ended, so I may get rid of that?
NB: instructions stated red helmets for the pilots, does not look right to me, but I went with it anyway, this is just a test kit, so not too fussed about historical accuracy....
Ju Stuka aug26 pics1  (2) (Medium).webp
 
Last edited:
Thread owner
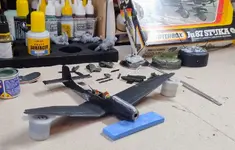
Been filling gaps, lots of gaps, Lol. Then gave it another fine mist coat of primer again.
Should be ready for a top coat tomorrow....
 
Enjoy the airbrush journey Peter. Ill be interested to see how you get on. I've always brish painted and have been tempted to get an AB but never got round to it
 
Thread owner
An update....
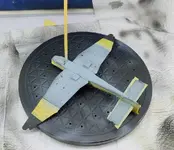
The little Stuka is coming together, mostly now assembled and had some gaps to fill, so did those and then gave the whole thing another light mist coat of primer (AK black).
Ju87 Stuka aug26 pics2  (1) (Medium).webpJu87 Stuka aug26 pics2  (2) (Medium).webpJu87 Stuka aug26 pics2  (3) (Medium).webpJu87 Stuka aug26 pics2  (4) (Medium).webpJu87 Stuka aug26 pics2  (5) (Medium).webp

Was only using the 0.3 needle on the AB for the primer, I have seen several YT vids that say you should use a larger needle (0.5) as primer is thicker, but the AK primer I was using is stated for AB use, I just went for it, and seemed to come out ok, a few little spatters, but nothing major and I'm still learning.
 
Last edited:
Thread owner
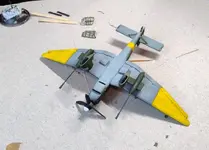
The gap filling /priming was yesterday, today we are painting top coats..... on the AB.... [Gulp!]
I deliberately picked a model for my first AB that was not just one plain colour, oh no, that would too easy!
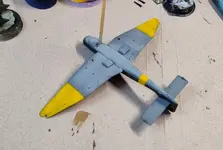
The scheme I am painting here, has a dark green top surface, a light blue under surface, and some yellow highlights (wings and fuselage band), so a (little) bit more of a challenge.
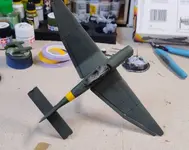
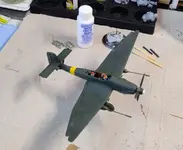
First up was the dark green (Tamiya XF59) Olive green.
Ju87 Stuka aug26 pics2  (6) (Medium).webp
Seemed to go on ok, I am impressed by how fast coats dry with an AB, much faster than the old hairy stick!

After testinga few times, i am sticking with a lower pressure on the AB, around 15-17, and setting my AB so it cannot open fully, so the trigger has about 1/2 to 2/3rds full movement, rather then the full 100% movement. This is because I found my trigger control is sometimes not consistent and I got a few full blasts of paint when I did not want them, just cos my hand twitched, so by limiting the trigger movement I am limiting the amount of paint that will come out.
This results in me getting light mist coats, and not too many splatters, spiderlegs, etc.
As my trigger control gets better I will probably increase the trigger movement to its full extent.

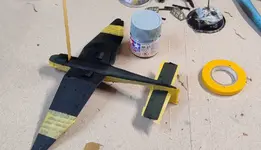
Next up was the light blue underside coat, so some masking was needed....
Ju87 Stuka aug26 pics2  (7) (Medium).webp
Then it was back to the AB and away we went.... underside was Tamiya XF23 I think?
Ju87 Stuka aug26 pics2  (8) (Medium).webp
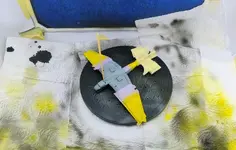
The Yellow was Tamita XF3 I think?

Ju87 Stuka aug26 pics2  (9) (Medium).webp

Ju87 Stuka aug26 pics2  (10) (Medium).webp

Ju87 Stuka aug26 pics2  (11) (Medium).webp

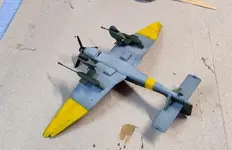
To be honest I am chuffed to bits so far, I thought my first couple of models would quite simply look awful and it would take ages to get to grips with the AB, but if I say so myself, thats not half bad for a first proper attempt! No, its not perfect, but its far better than I thought it might be, so a big sigh of relief there from me.... 8-)

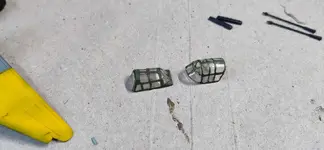
Next up was a little experiment on the two cockpit canopies.
One (the one on the left in the photo below) was masked up by me cutting out little bits of masking tape to fit each window pane, and what a pain it was, but it came out quite well.
The other one I used masking fluid, and although it worked, its not as nice and crisp as the one with masking tape?
So a bit of cleaning up was required with a scalpel, and I actually also used my AK Real Colour paint pen markers to touch up the canopies a bit.
Ju87 Stuka aug26 pics2  (12) (Medium).webp
Then it was on to fitting the undercarriage/wheels and the machine gun pods and MG's and the prop and rear wheel....
Ju87 Stuka aug26 pics2  (13) (Medium).webp

Ju87 Stuka aug26 pics2  (14) (Medium).webp

Ju87 Stuka aug26 pics2  (15) (Medium).webp

I will let this sit overnight and then fit the cockpit canopy tomorrow, and then it will be on to a clear coat.
AB Question?
Can I spray varnish, eg: matt, silk, gloss varnish through my AB? and if so is it the same as for paints, eg, thin it first....?
Cheers
 
Last edited:
Thread owner
NB: The issues I had with the kit initially were that there appears to be two wing options, one with underslung bomb's and one with underslung machine guns pods. I wanted to do the MG version, but it looks like a sprue (or some parts) are missing as it only has the lower/under wing sections for the bombs.
The main difference is where the holes are placed to attach the bombs or MG's. So it was a fairly simple job tp re-drill new holes in the appropriate places and fill the non needed holes. So I got the version I wanted in the end anyway, but yes it was still a bit of a faff.
Have just attached the cockpit canopy with the non fogging Krystal Klear stuff.
 
Last edited:
A few little splatters? Well done! The evidence of my first AB session is still on the ceiling! I think I over-tightened eveything, and the paint cup cap flew off, paint then hit the ceiling, Luckily, it was dark blue, so barely noticeable on a white ceiling :oops:
 
Back
Top