- Joined
- Jul 3, 2014
- Messages
- 950
1/3
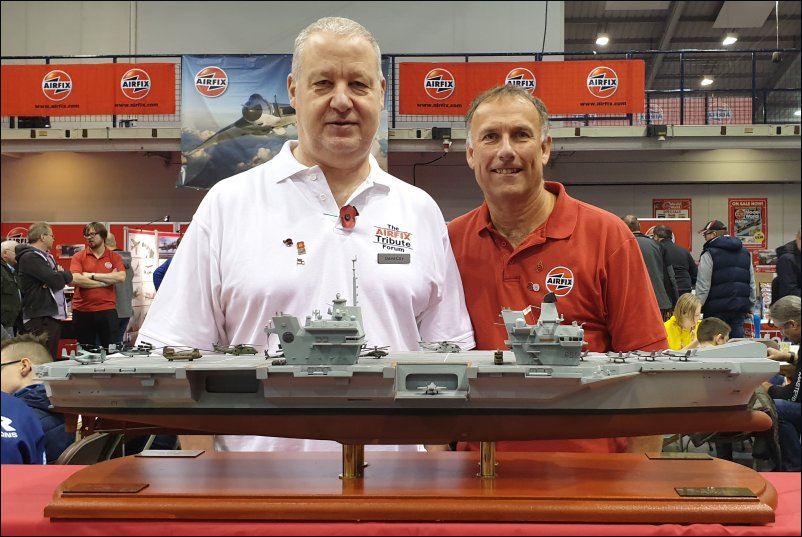
This build thread describes the construction of a 1/350 scale model of HMS Prince of Wales (R09) which was displayed by Airfix at SMW 2019, Telford where I am shown with Darrell Burge, Hornby Brand Manager:
Background to this build
In April 2014, the Royal Navy contacted Airfix to commission a model of HMS Queen Elizabeth (R08) that was under construction in Rosyth Dockyard. Airfix asked me to scratch-build a 1/350 modelwhich was subsequently displayed at the naming ceremony of HMS Queen Elizabeth in Rosyth on 4th July 2019. Thereafter it’s permanent home was the Wardroom of HMS Queen Elizabeth:
Pic 001:
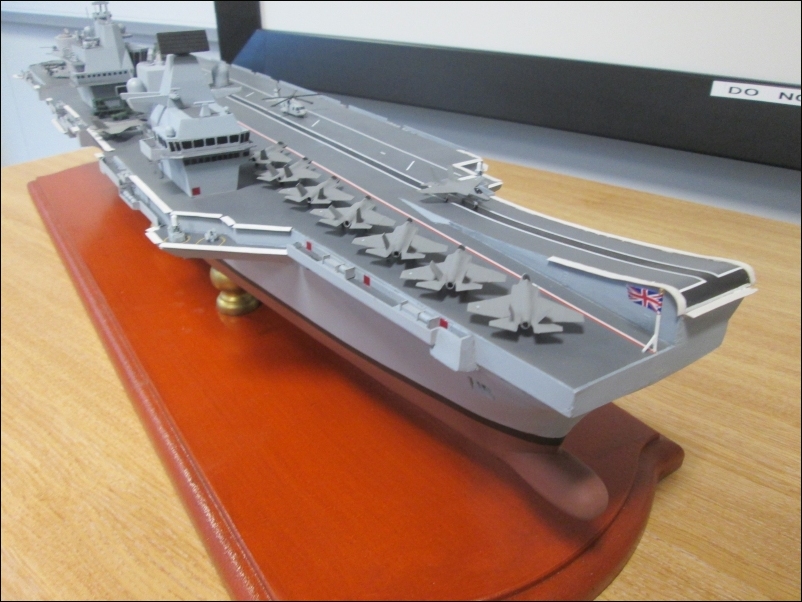
In April 2019, I was again commissioned by Airfix, this time to scratch-build a 1/350 model of HMS Prince of Wales, the second of the Queen Elizabeth Class aircraft carriers. It would be shown at SMW 2019, Telford and thereafter it’s permanent home would be the Hornby Hobbies Visitor Centre in Margate.
I hope that you enjoy following this build which may seem a bit unconventional in some parts. There were some problems to overcome but the worst difficulty was having to cope with severe concussion that I suffered five weeks before Telford. It was touch and go as to whether I would complete it in time but I only managed it by leaving off photo-etch and some other small details.
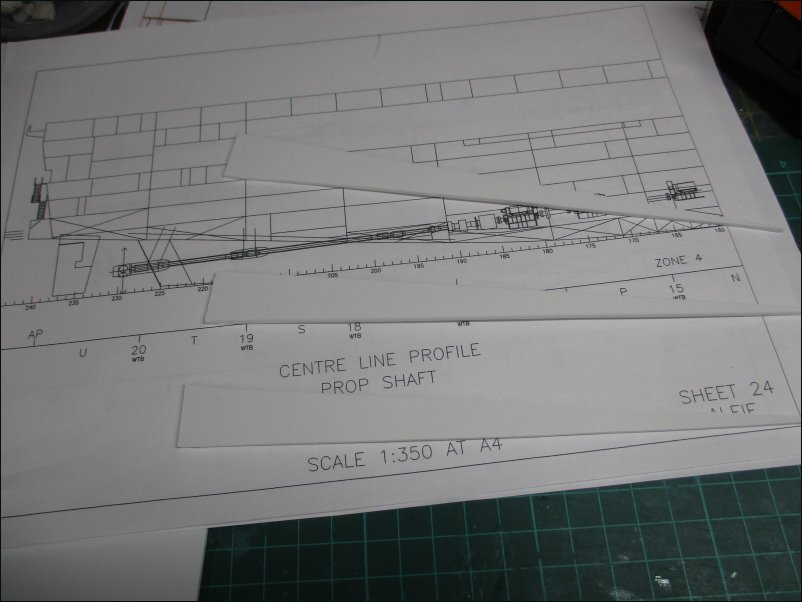
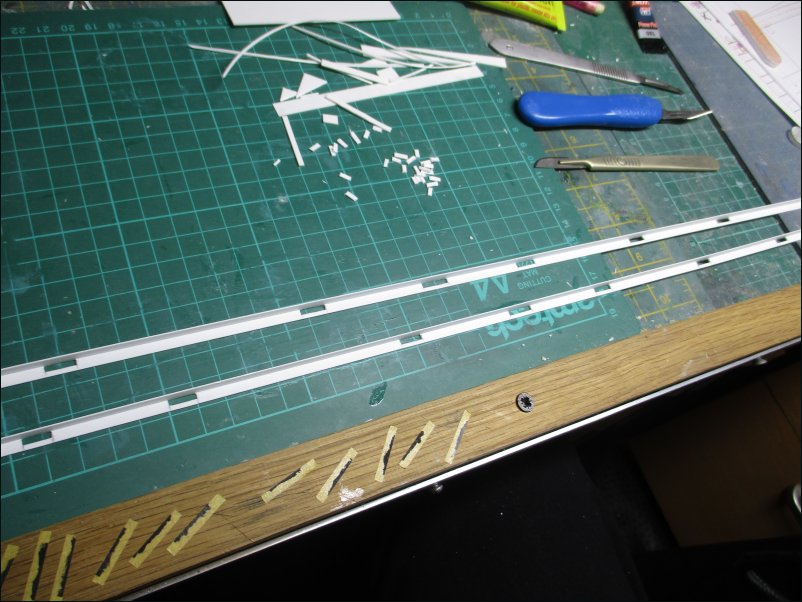
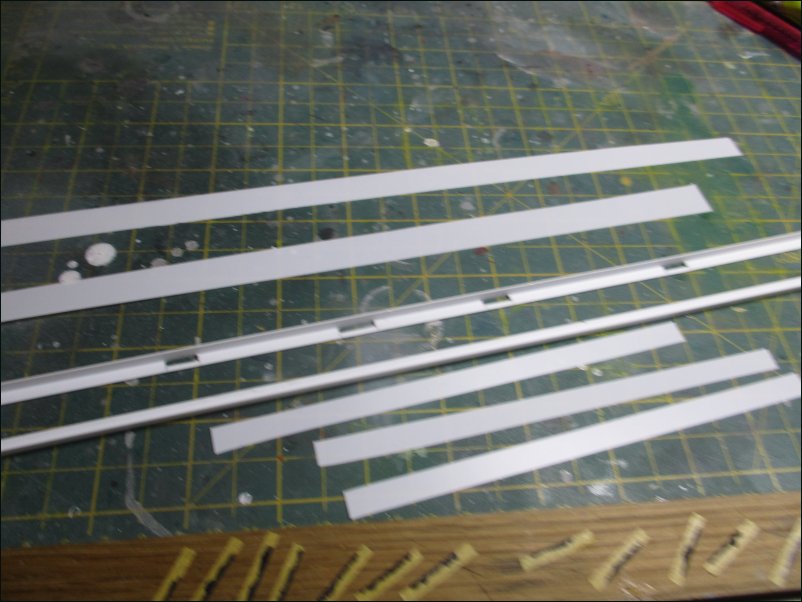
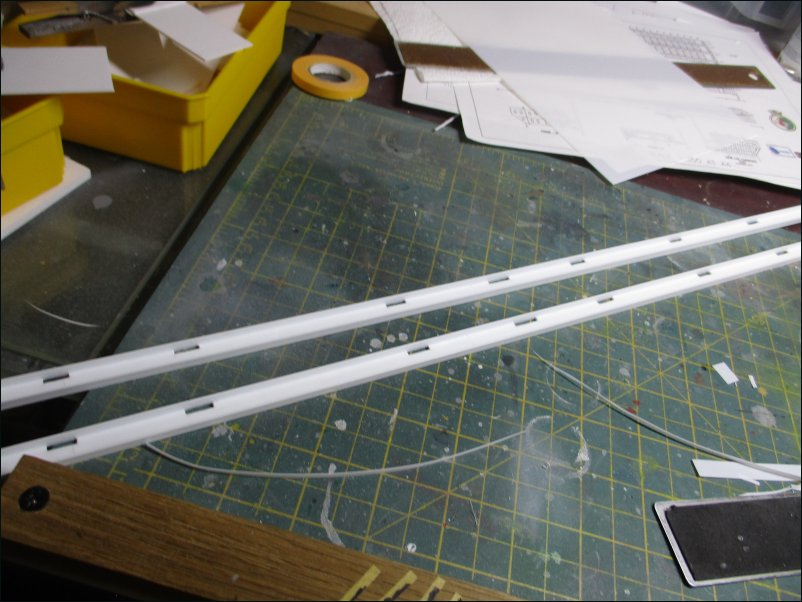
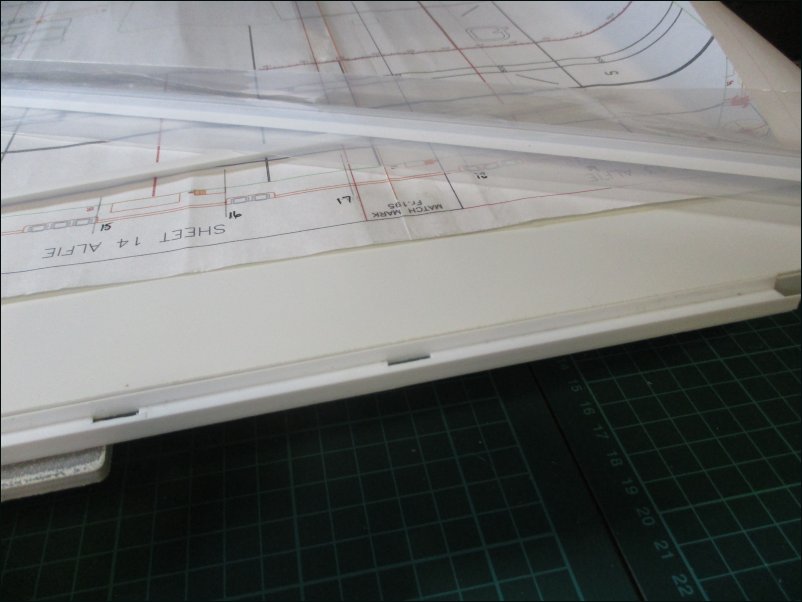
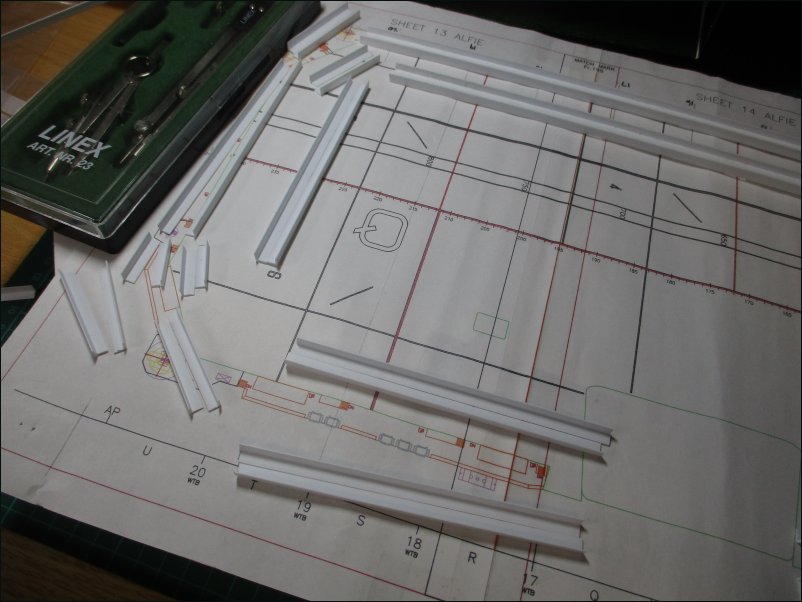
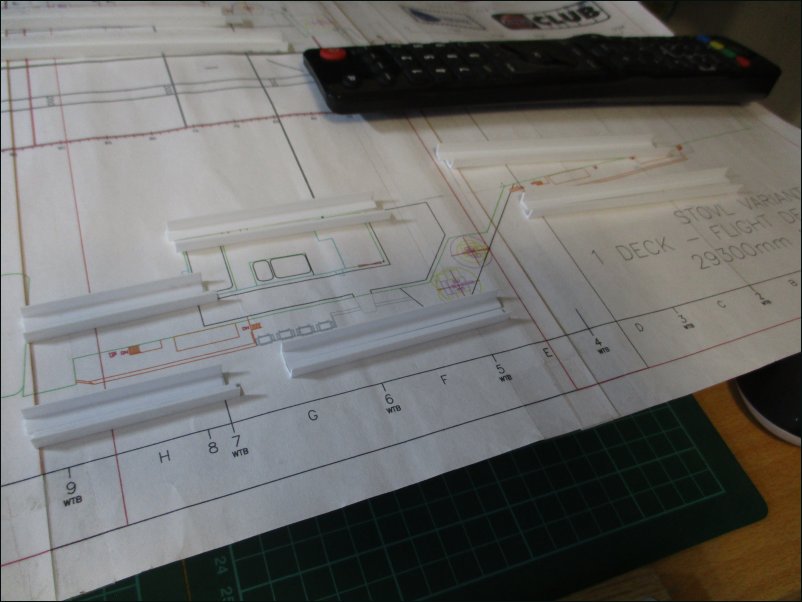
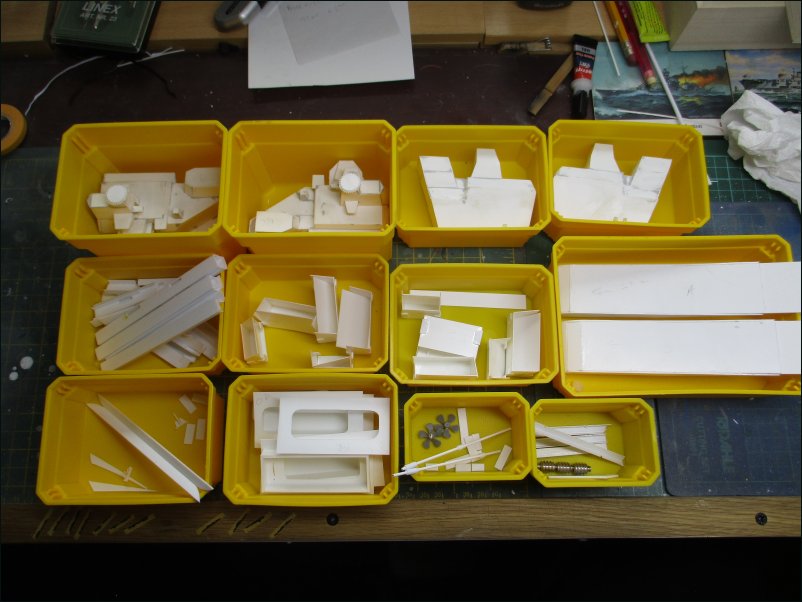
To use an old Chinese proverb “a journey of a thousand miles starts with a single step”. This is the first of many sheets of plastic card used in the build:
Pic 002:
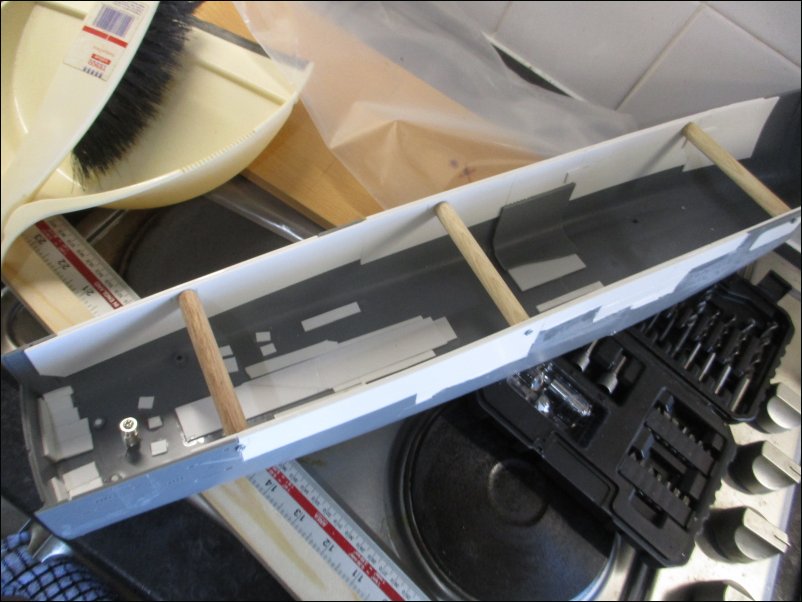
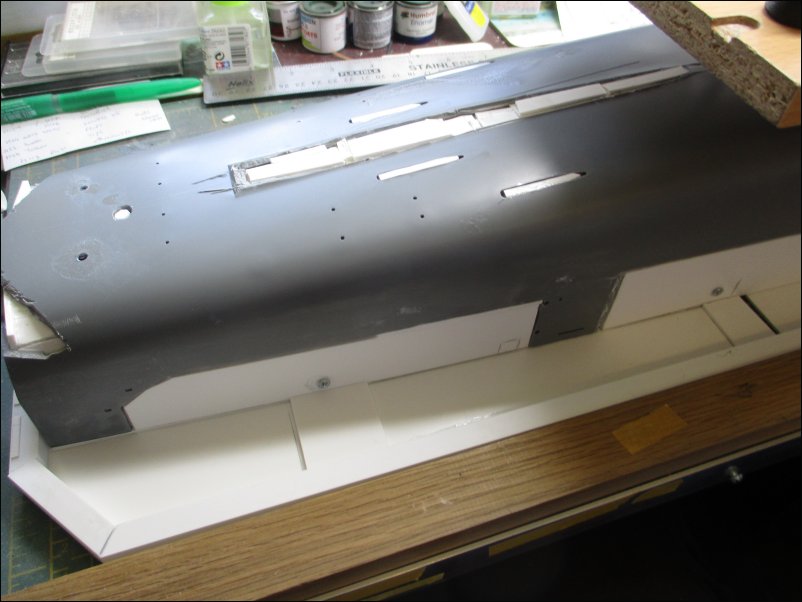
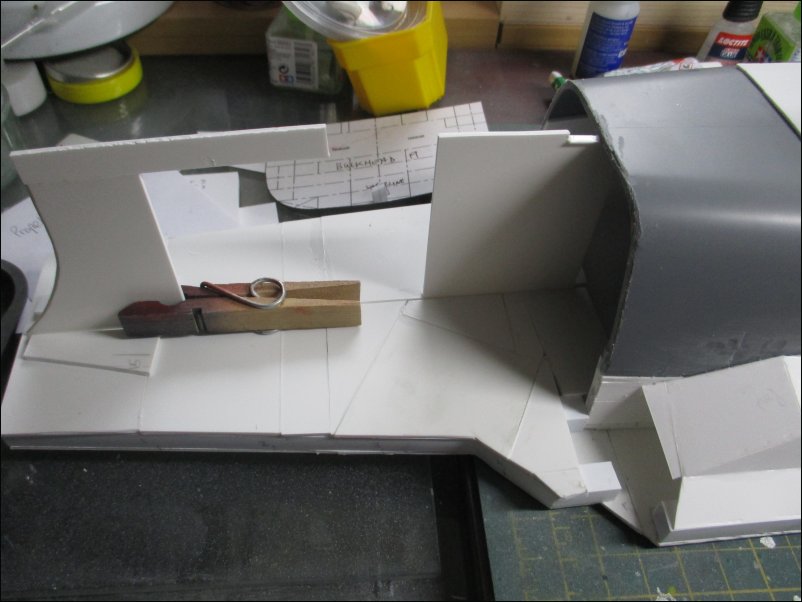
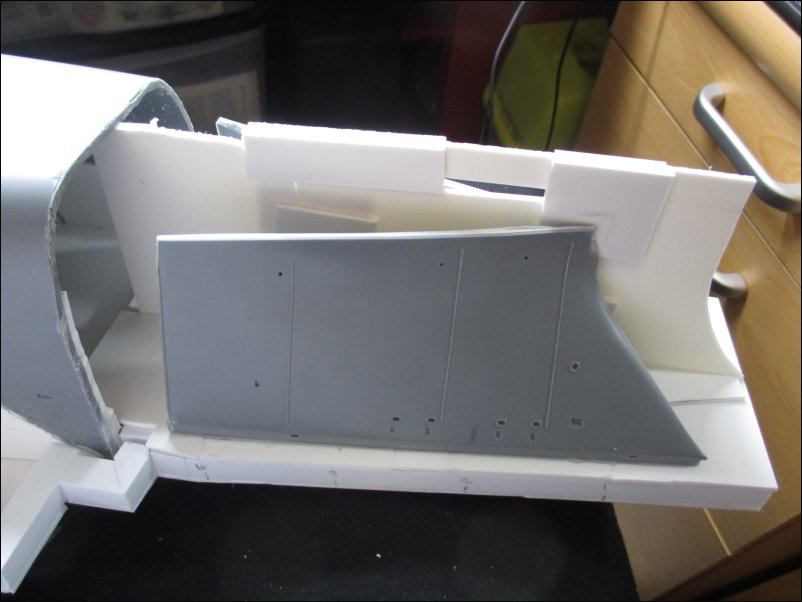
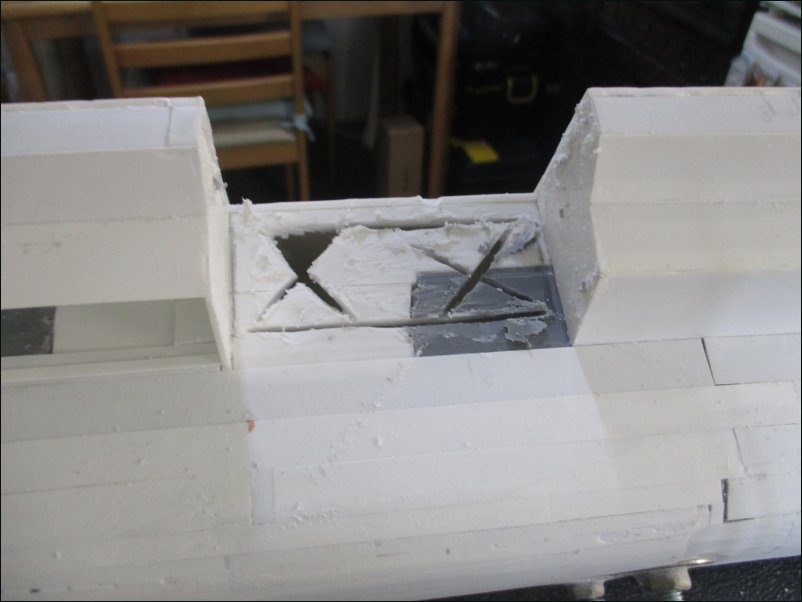
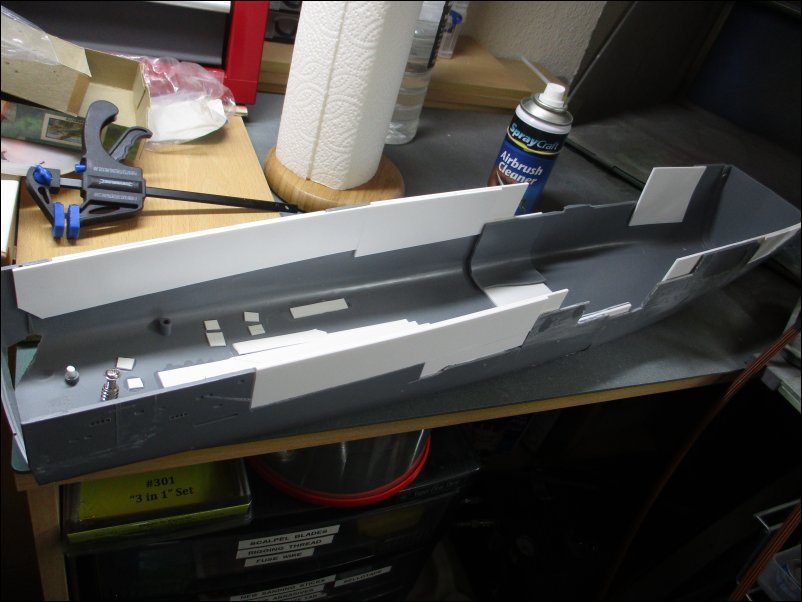
Although this build would be constructed mainly of plastic card, I would be using a Tamiya 1/350 USS Enterprise hull to give it some inner strength. The hull was shortened in length, all sponsons removed and keel removed and openings blanked off with plastic card. Plastic card was used to fill in the missing parts of the sides and clamped. Note that I have used the cut out section of hull to brace the new join of the midships and aft sections of hull:
Pic 003:

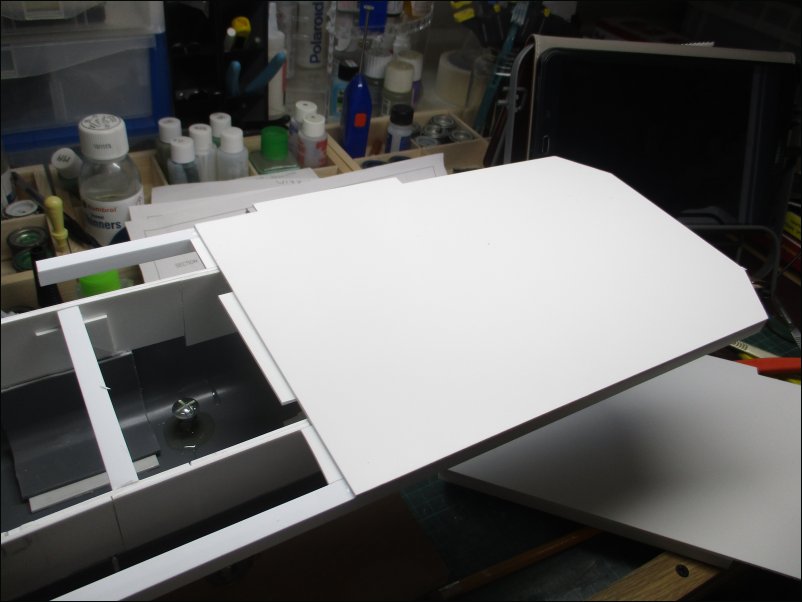
Forward section (bow excluded) glued in place:
Pic 004:
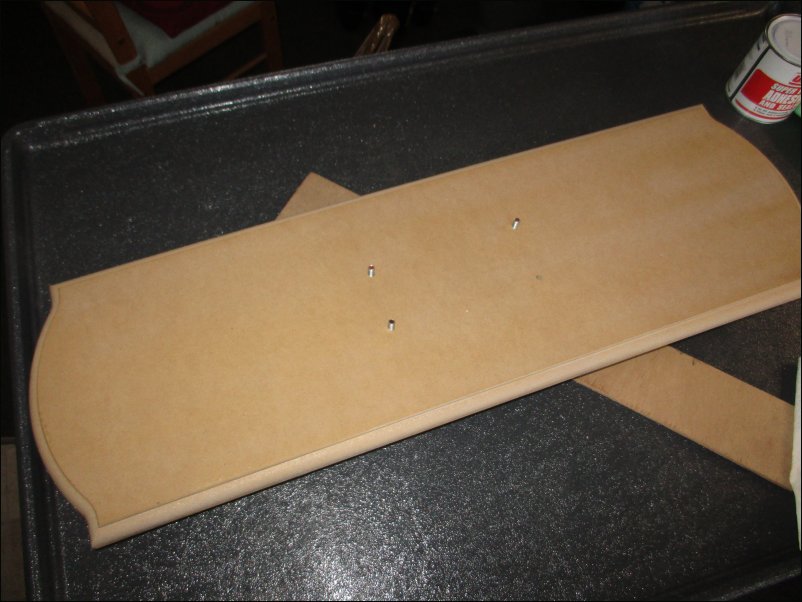
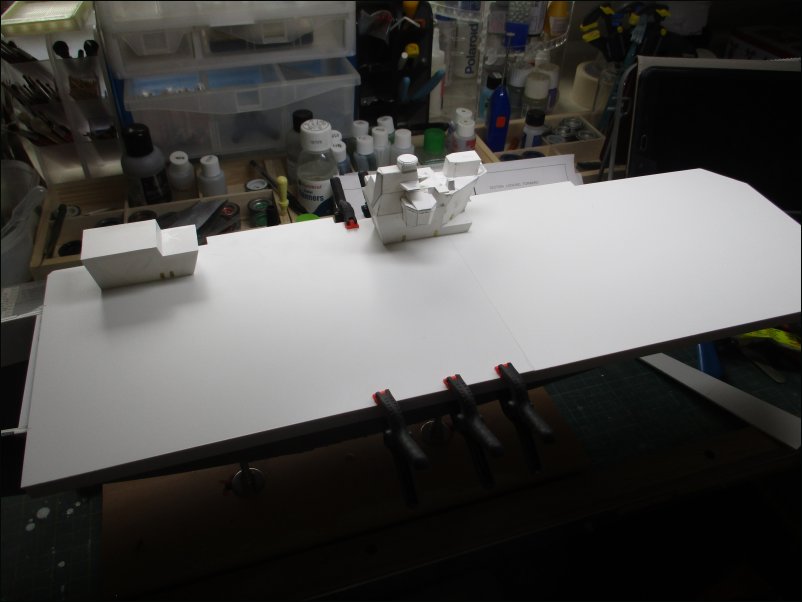
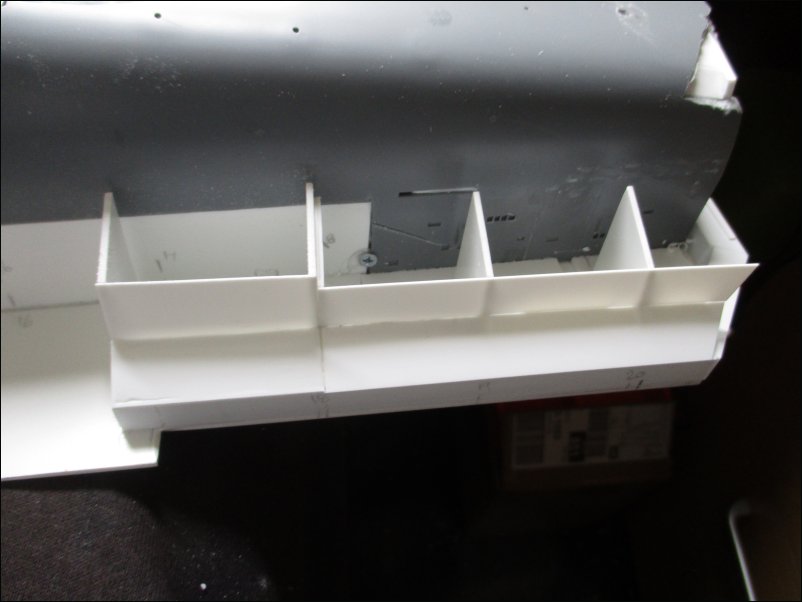
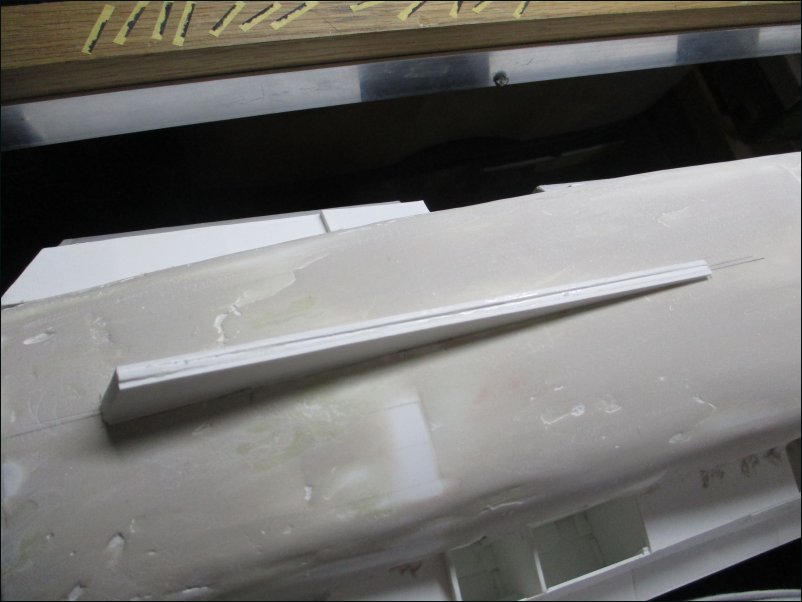
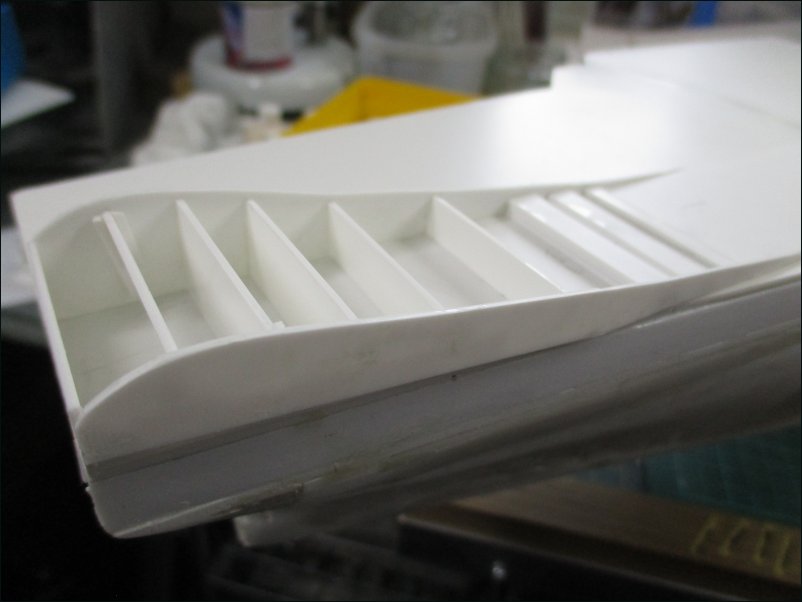
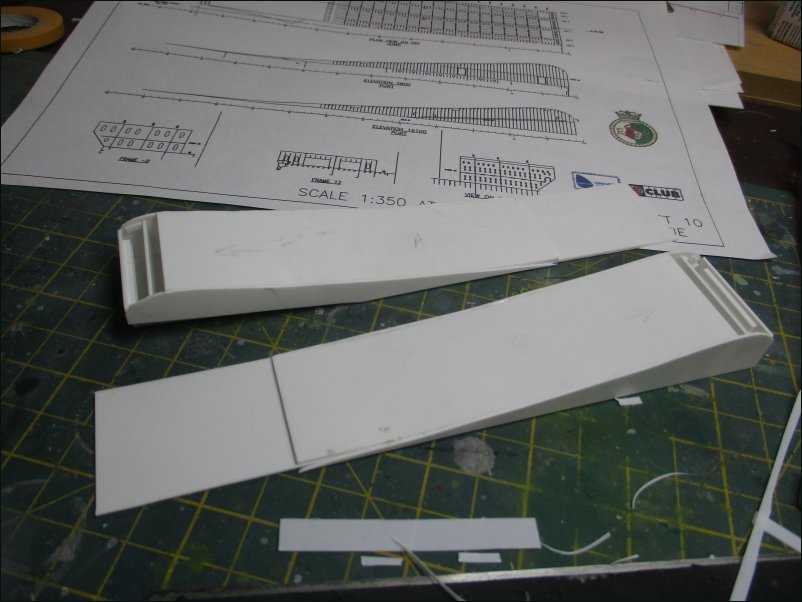
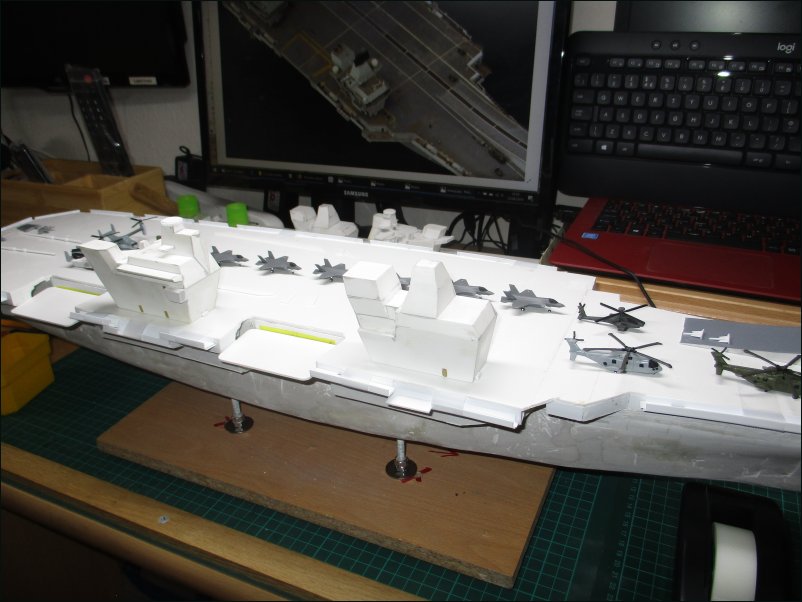
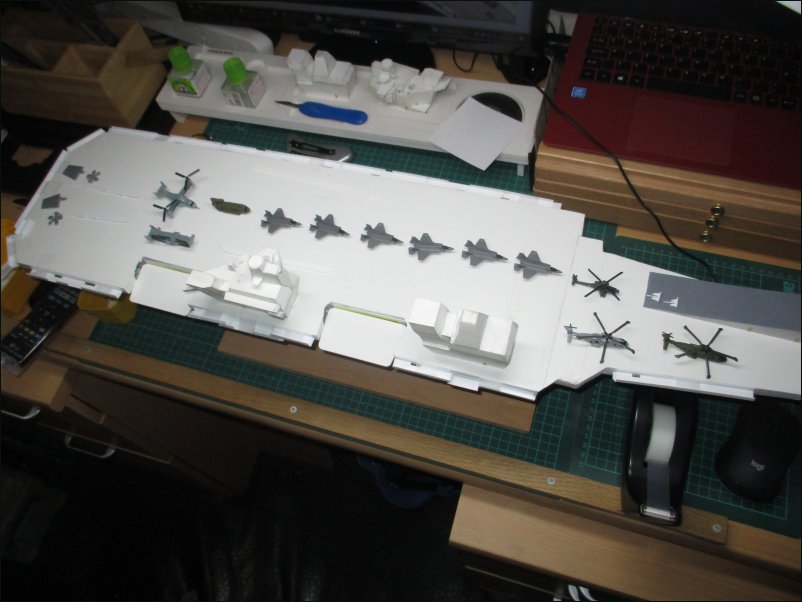
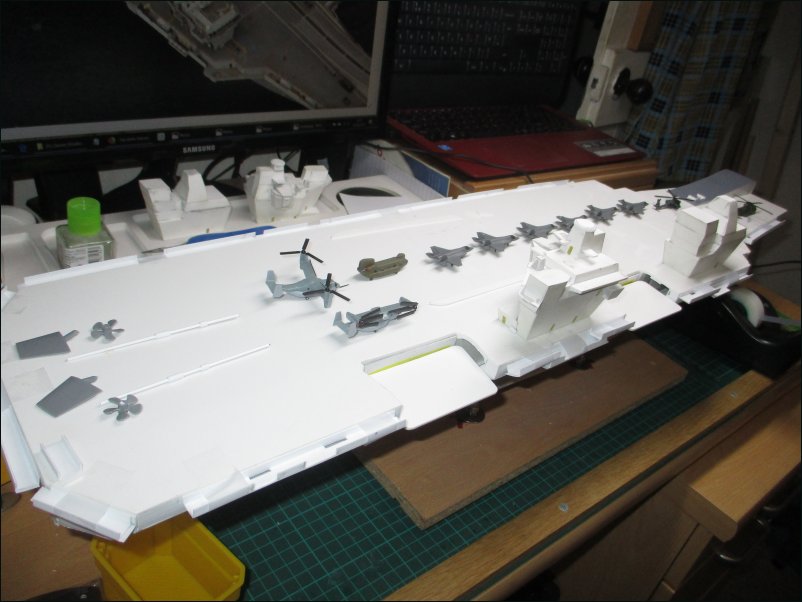
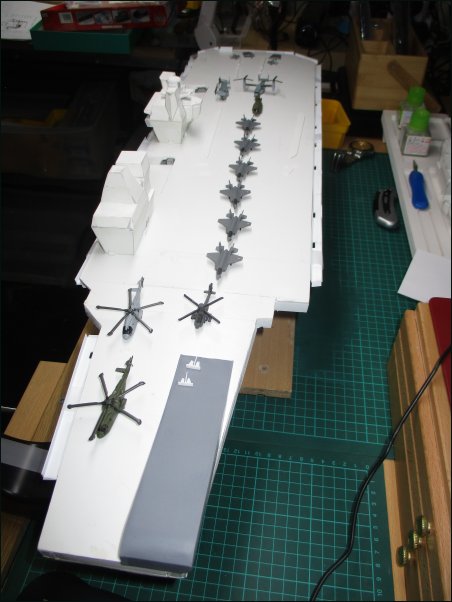
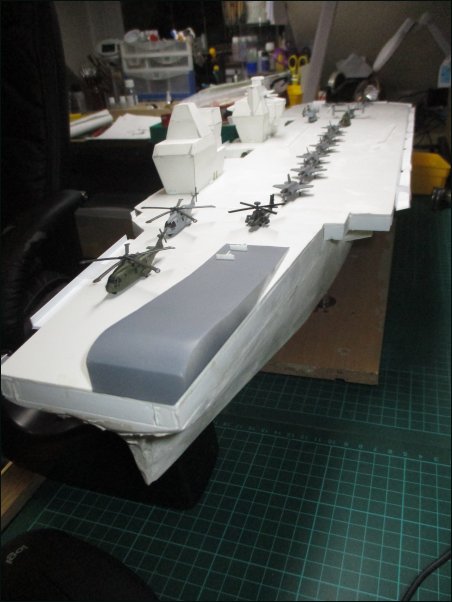
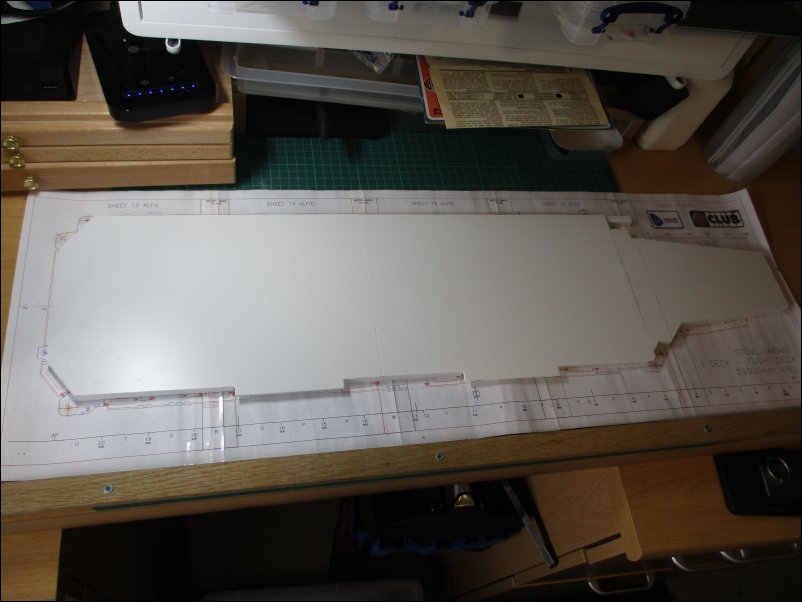
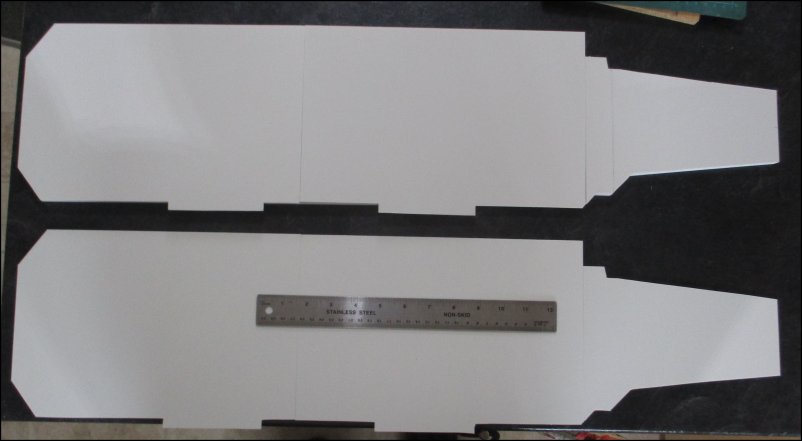
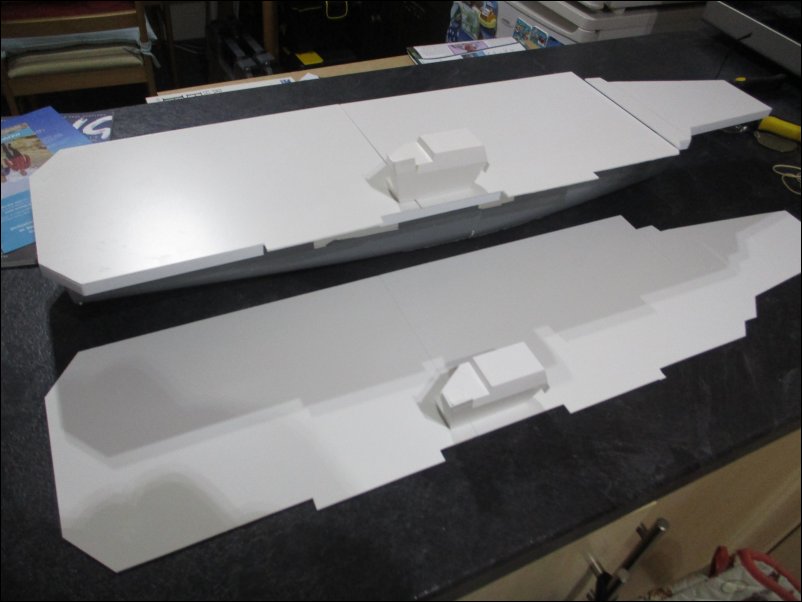
Putting aside the hull to dry, I cut out the Flight Deck. Being 80cm long, it would be a right handful in the confines of my modelling den:
Pic 005:
This situation was made worse by the fact that I was building two at once (a waterline version for myself)
Pic 006:
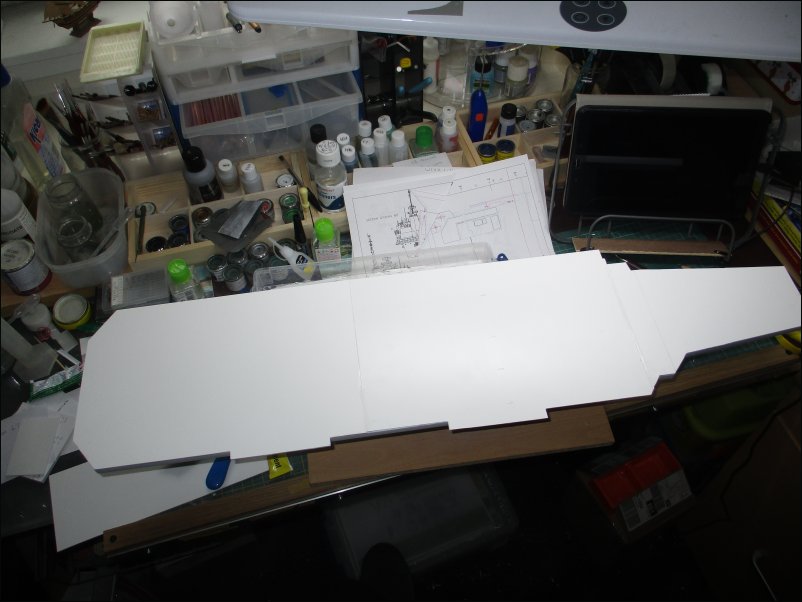
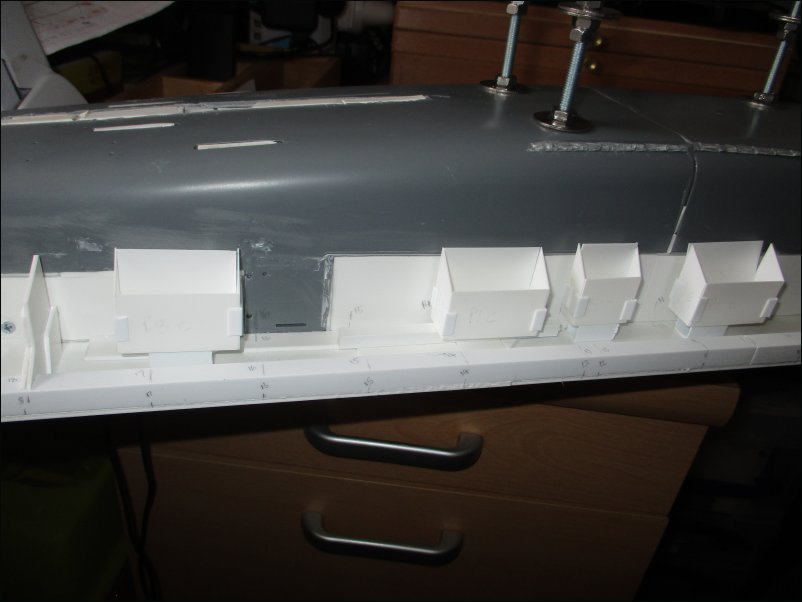
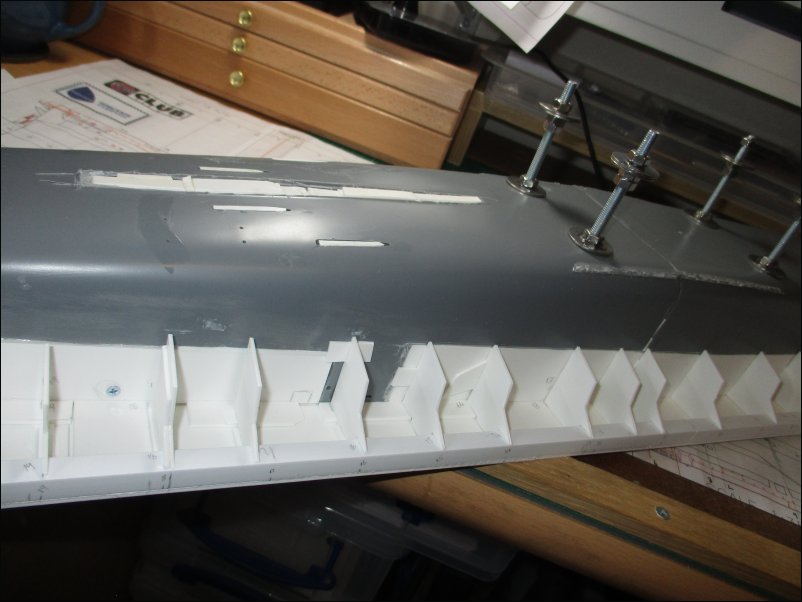
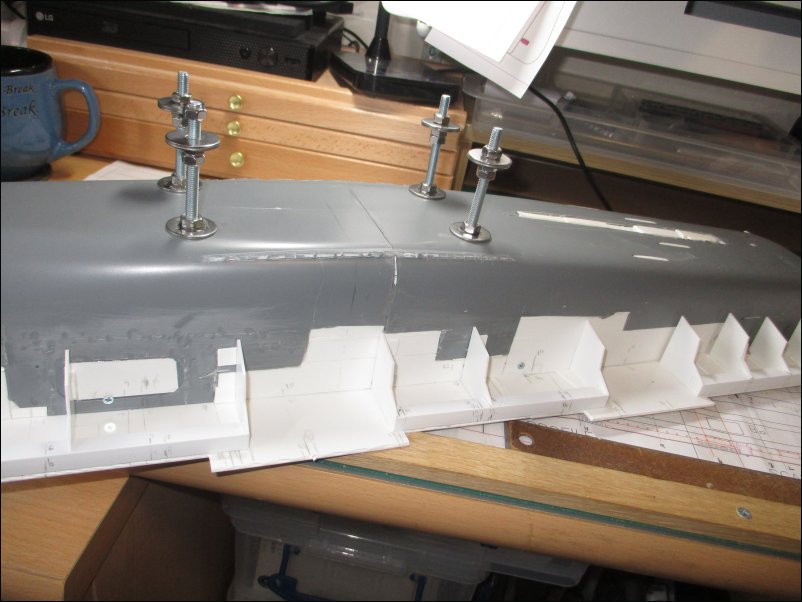
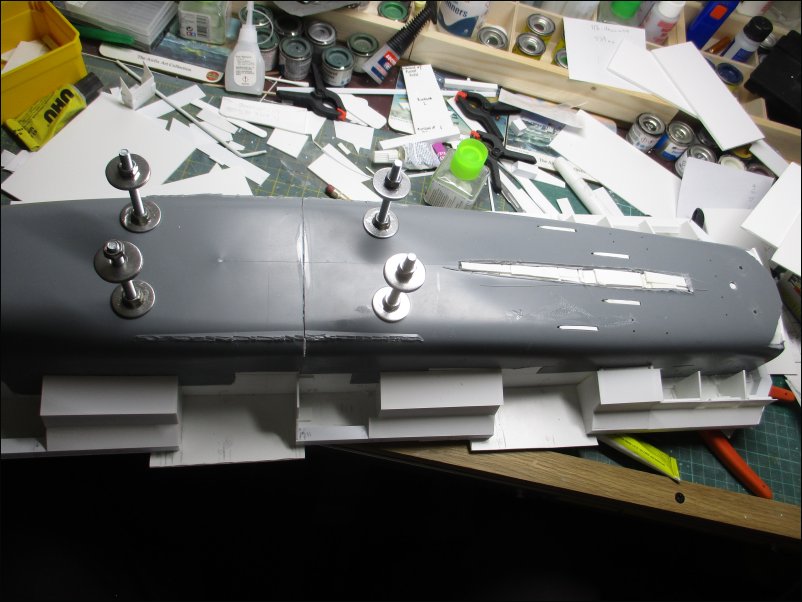
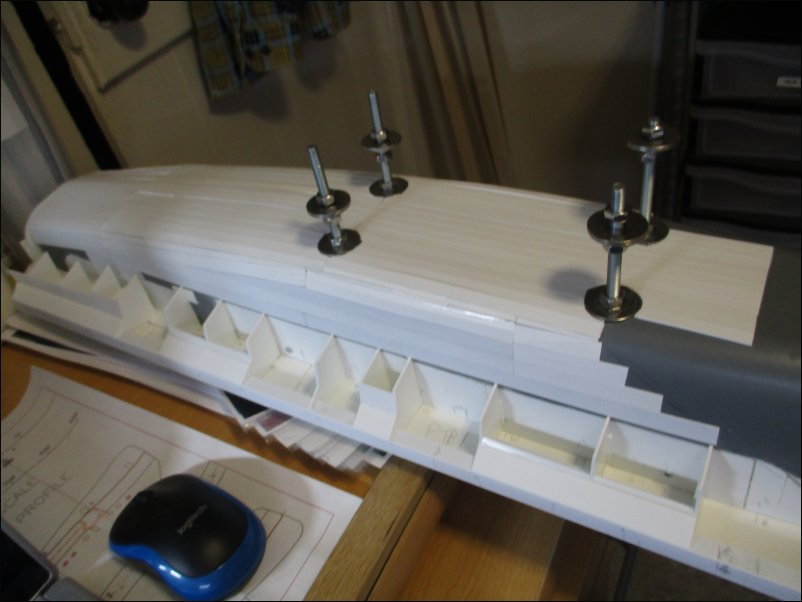
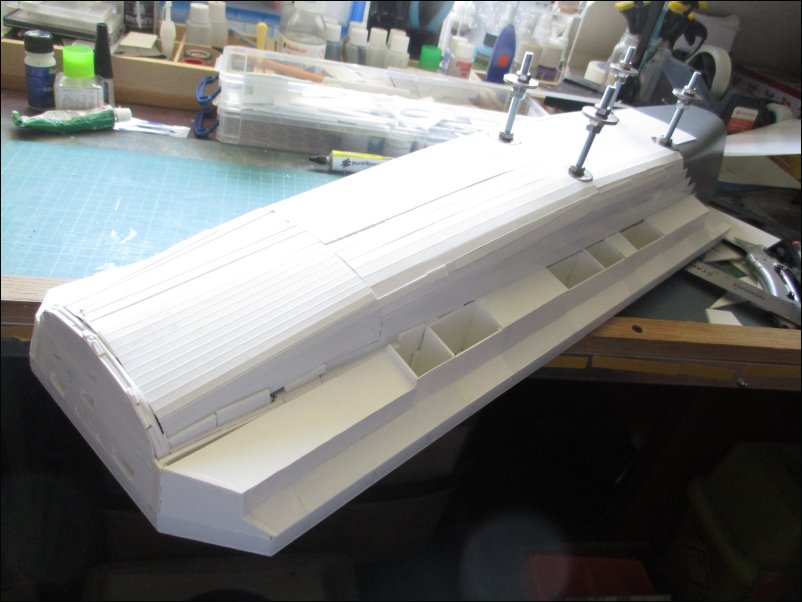
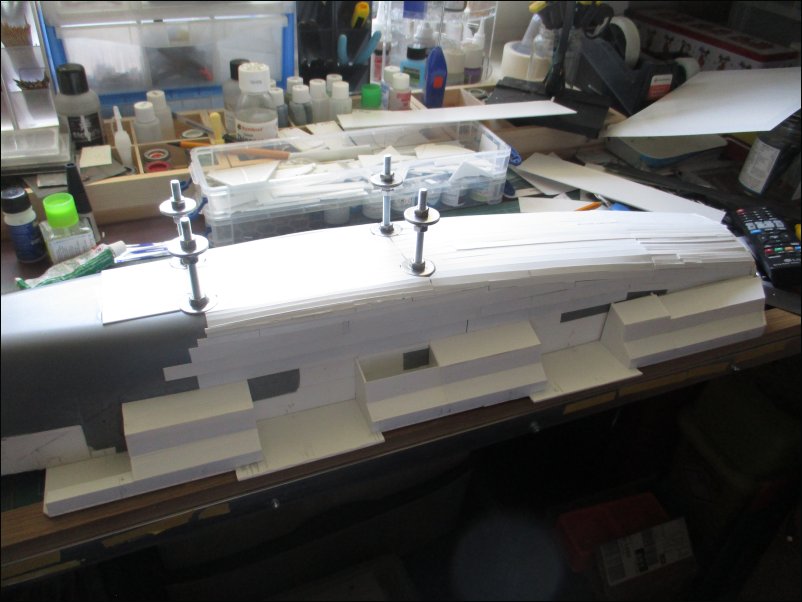
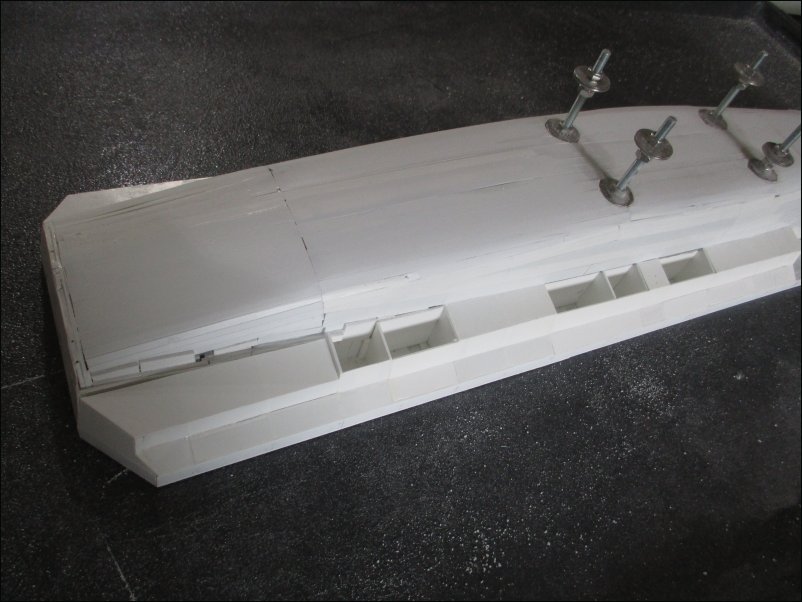
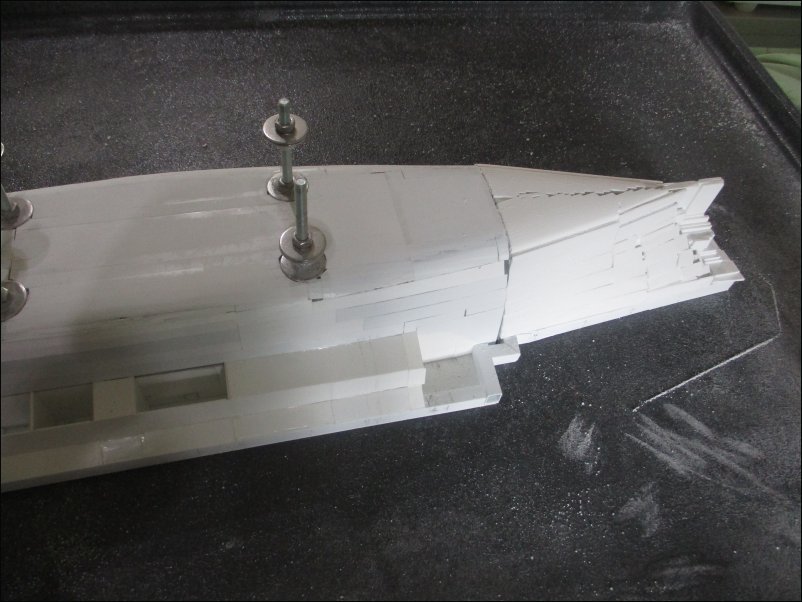
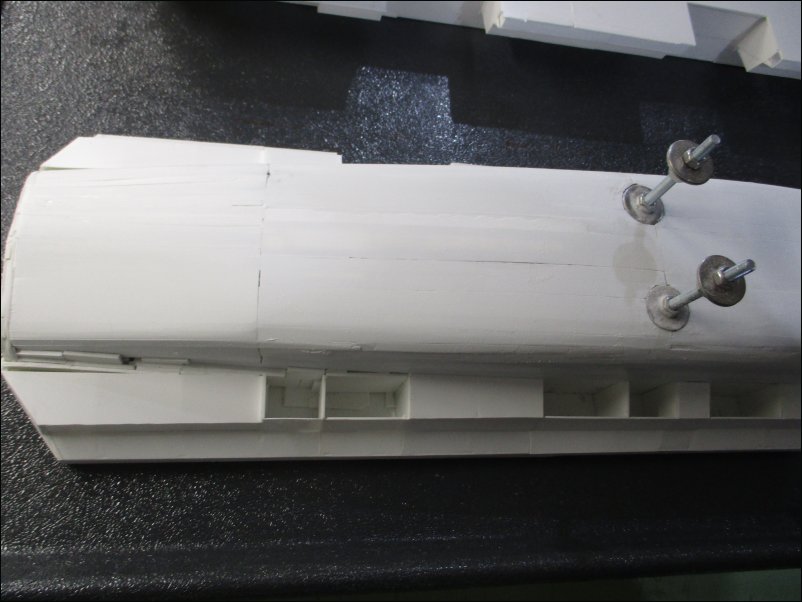
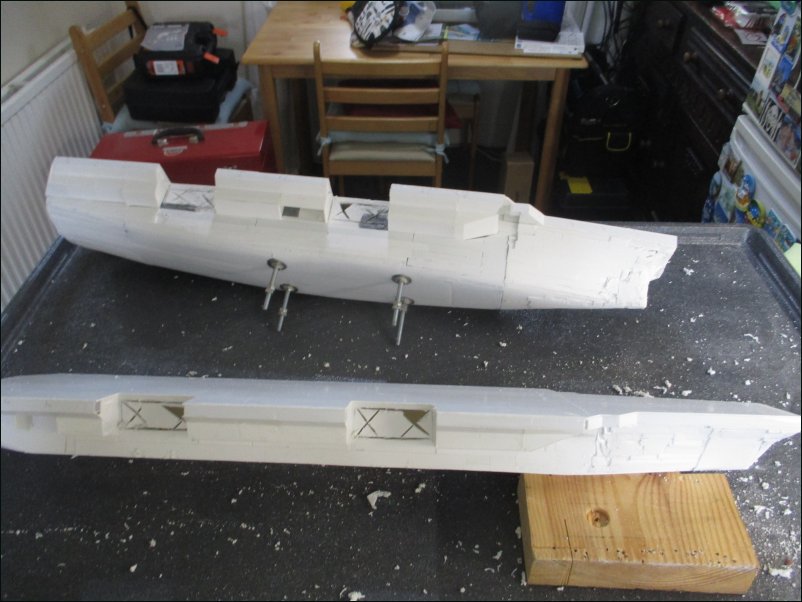
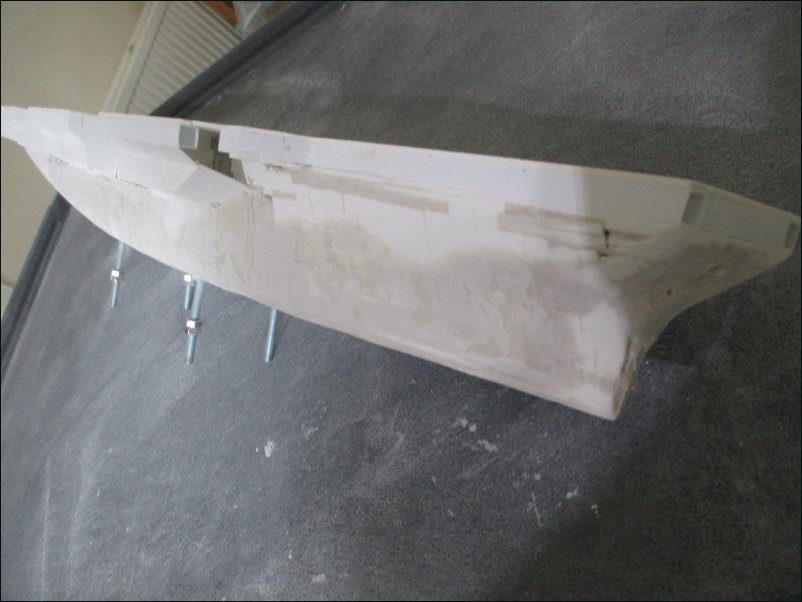
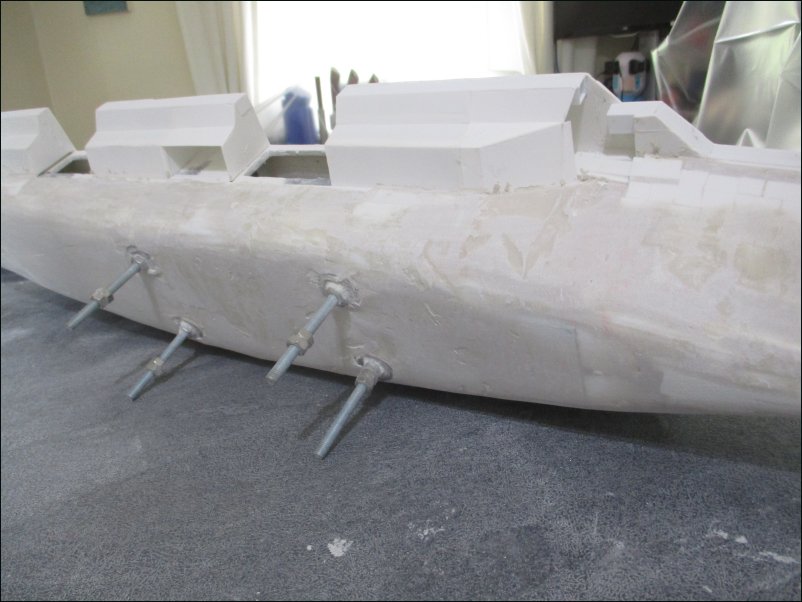
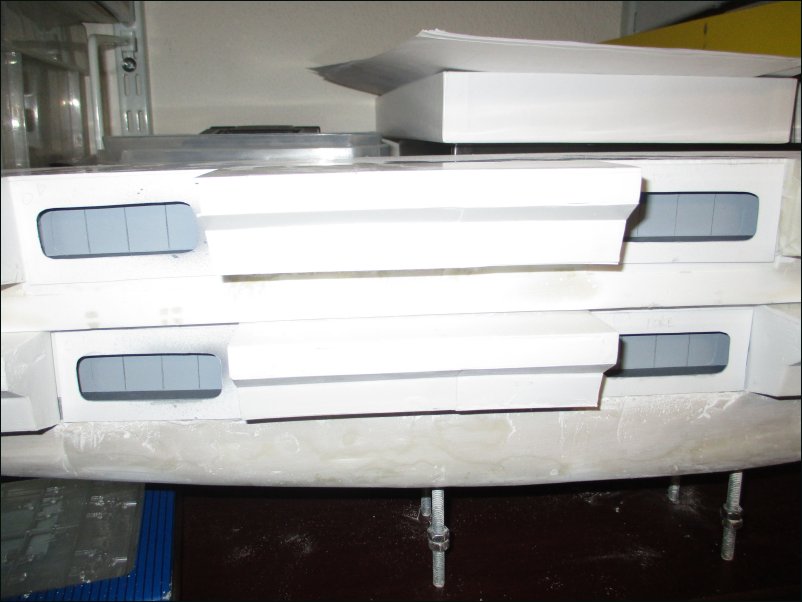
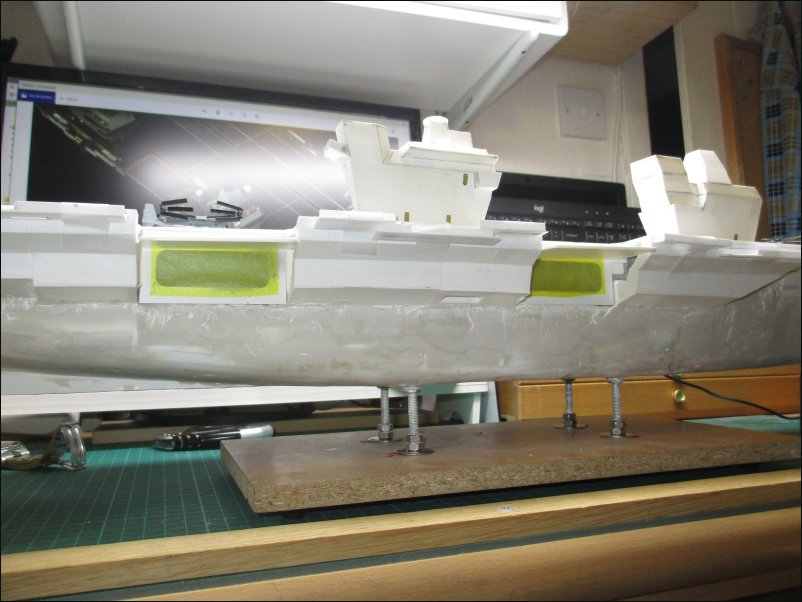
Once the hull had dried, I drilled four holes which were fitted with four 80mm M6 bolts epoxied in place. The model was then secured to a temporary chipboard base that would be used until the final day of the build (the Flight Deck hasn’t been glued in place yet):
Pic 007:

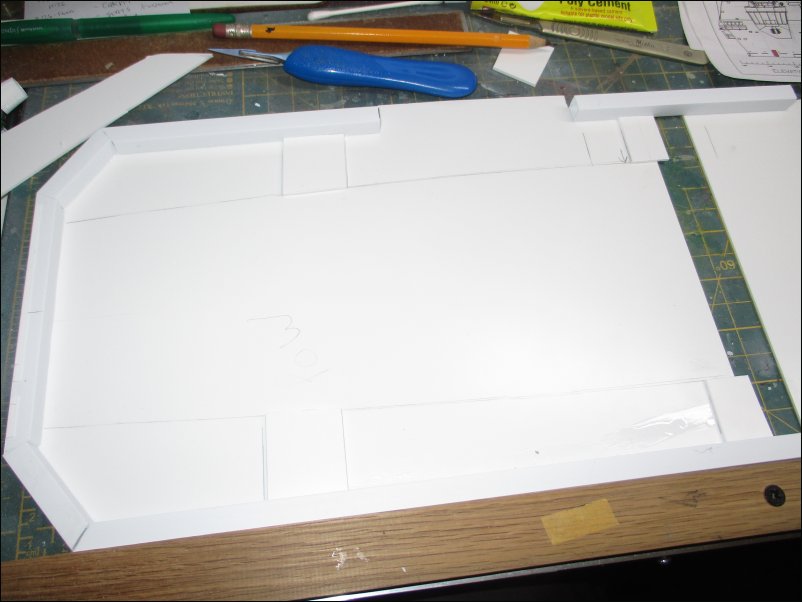
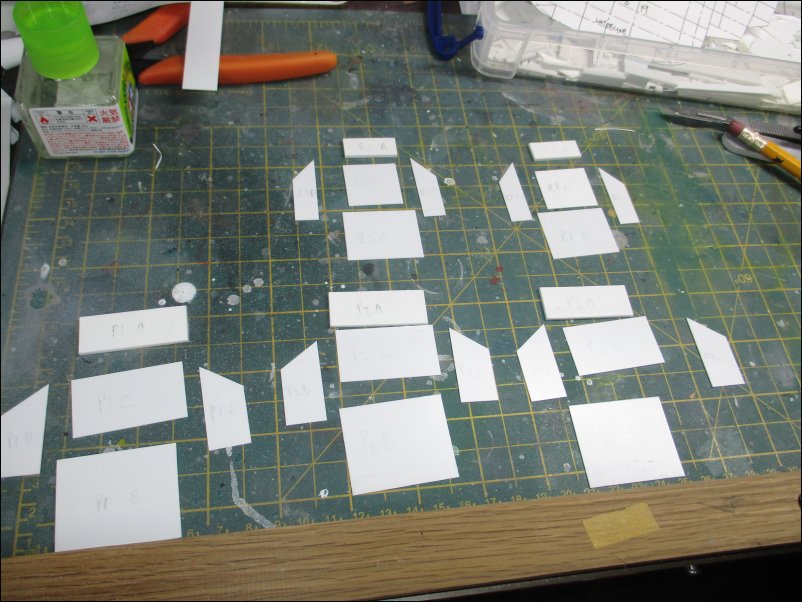
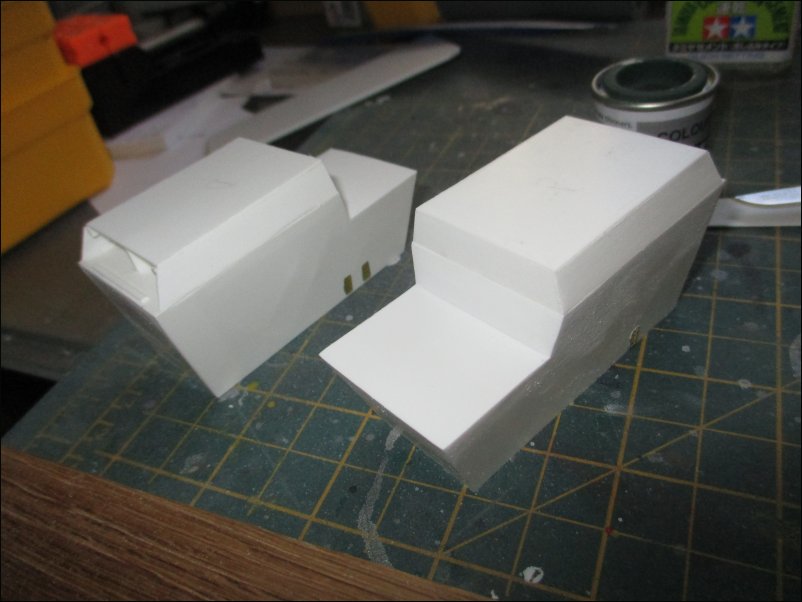
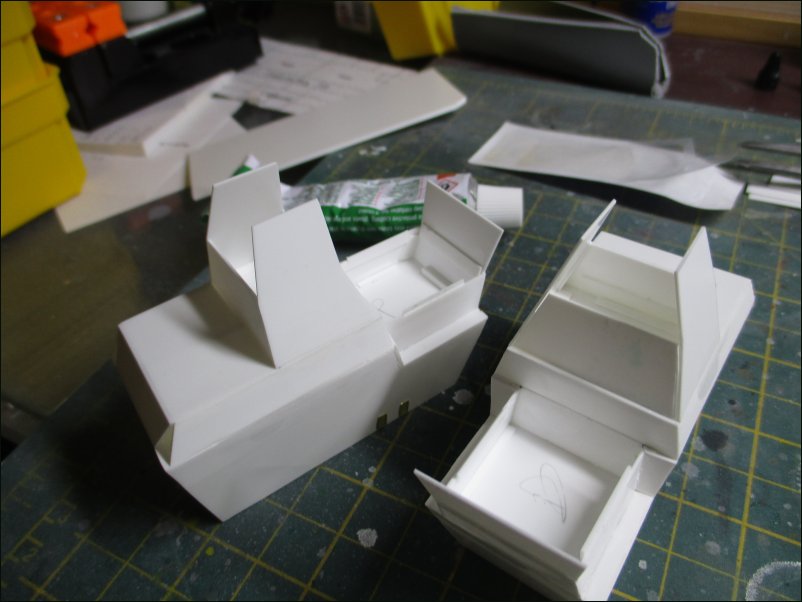
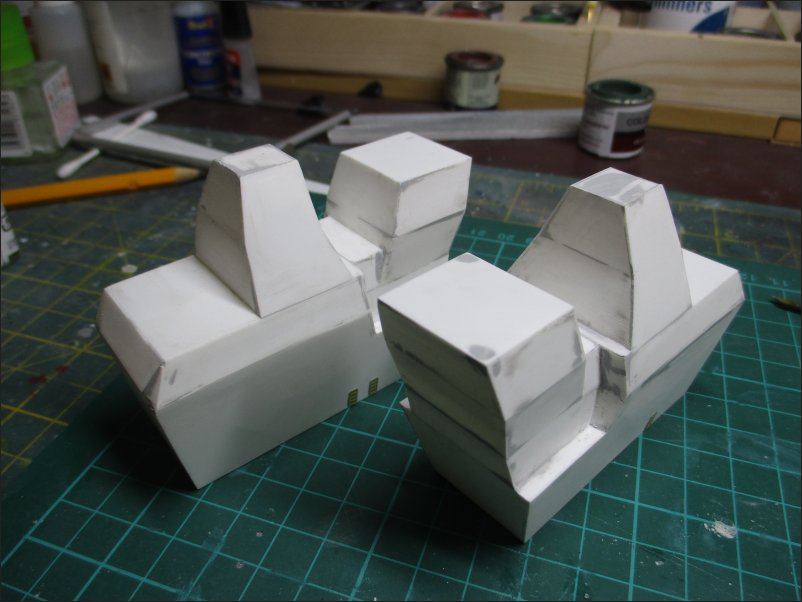
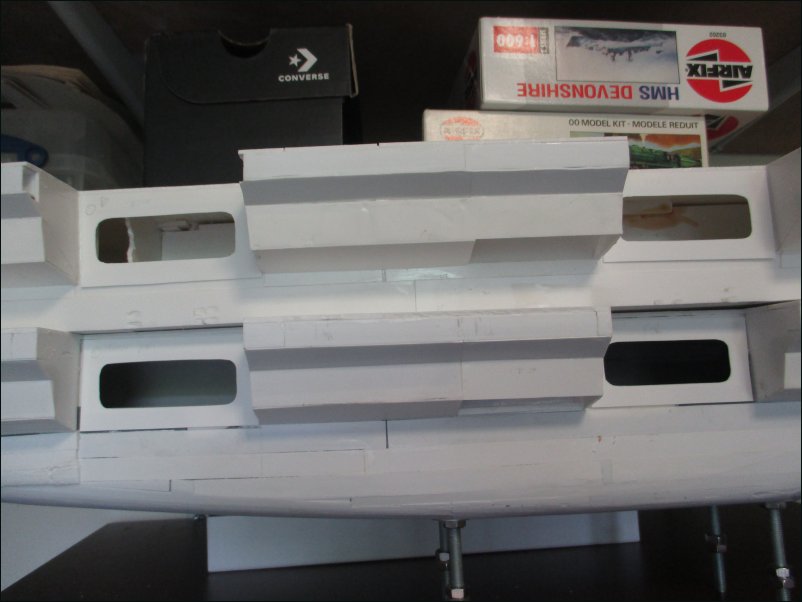
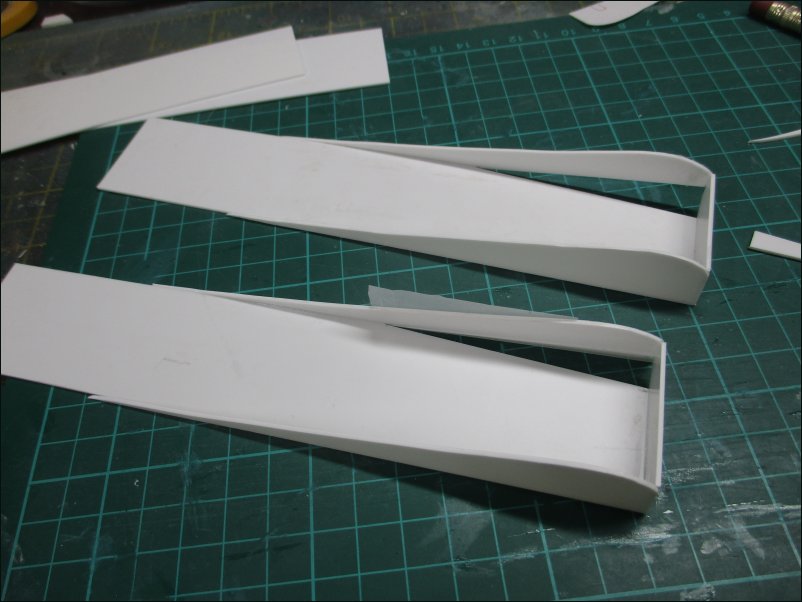
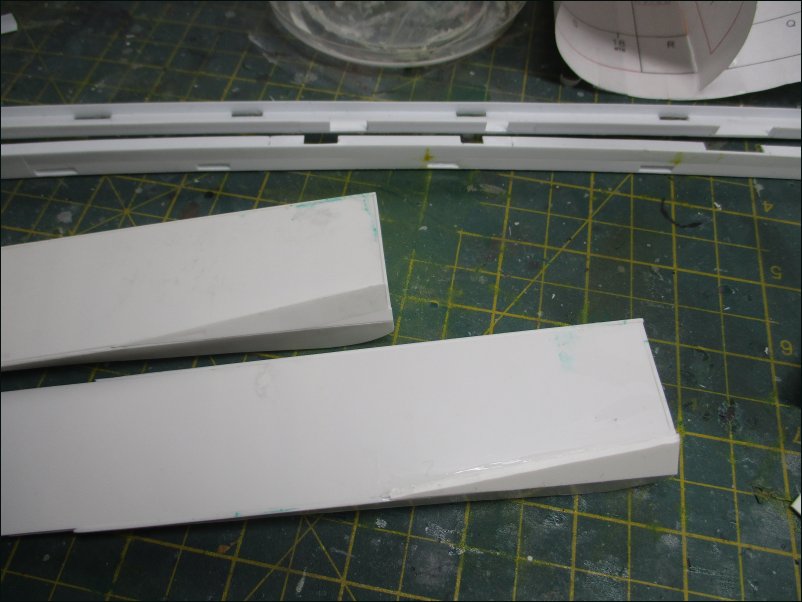
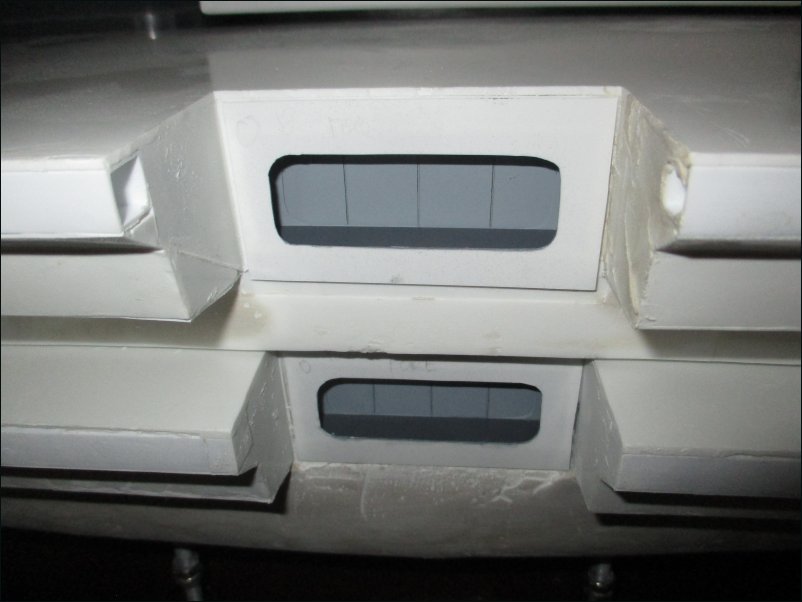
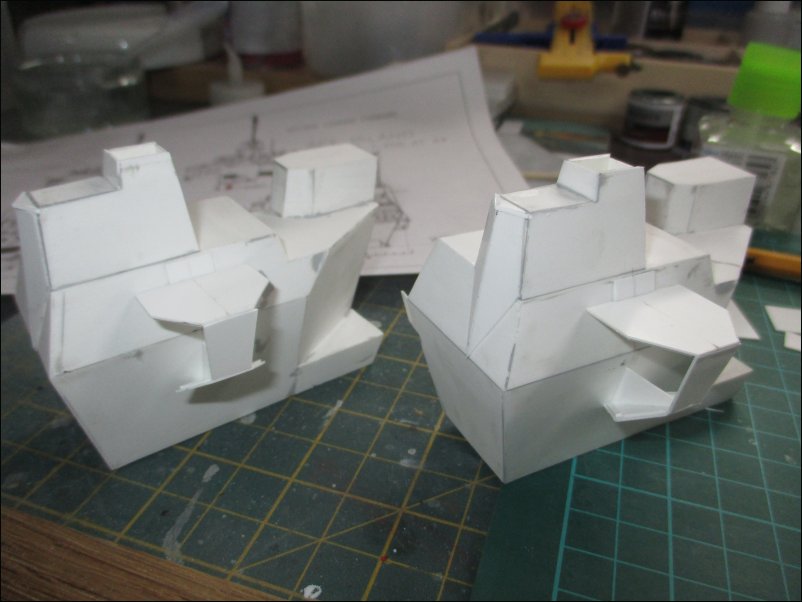
The most complicated part of this build is the construction of the Forward (Ship Control) and Aft (Flyco) Islands. Because of this, I decided to build the islands for both ships at the same time. Here are the Aft Islands:
Pic 008:
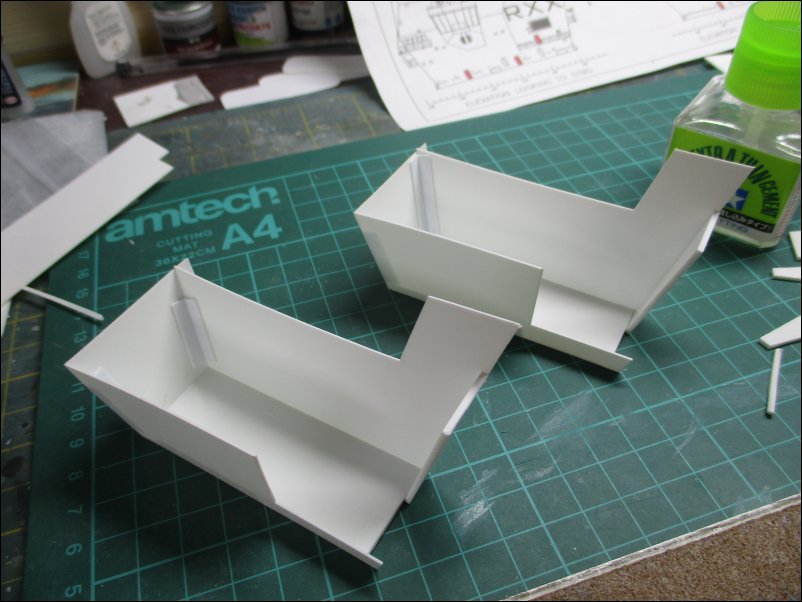
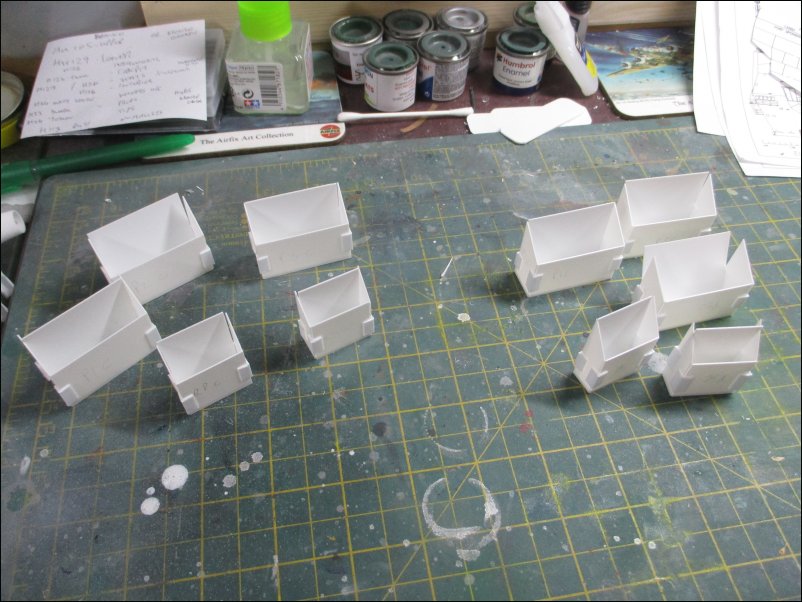
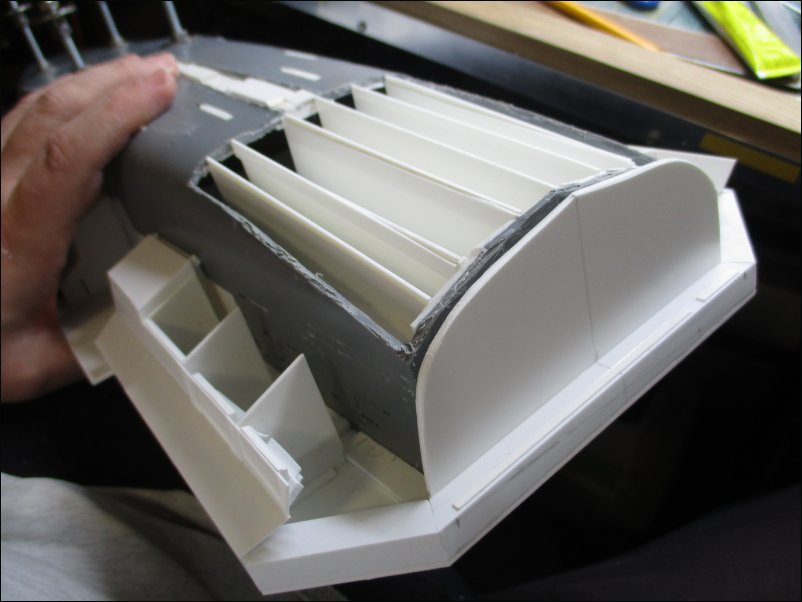
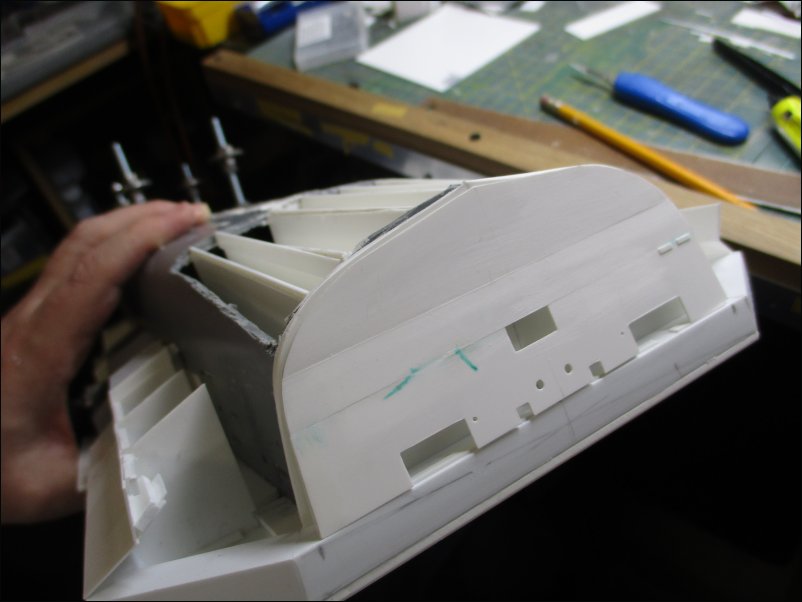
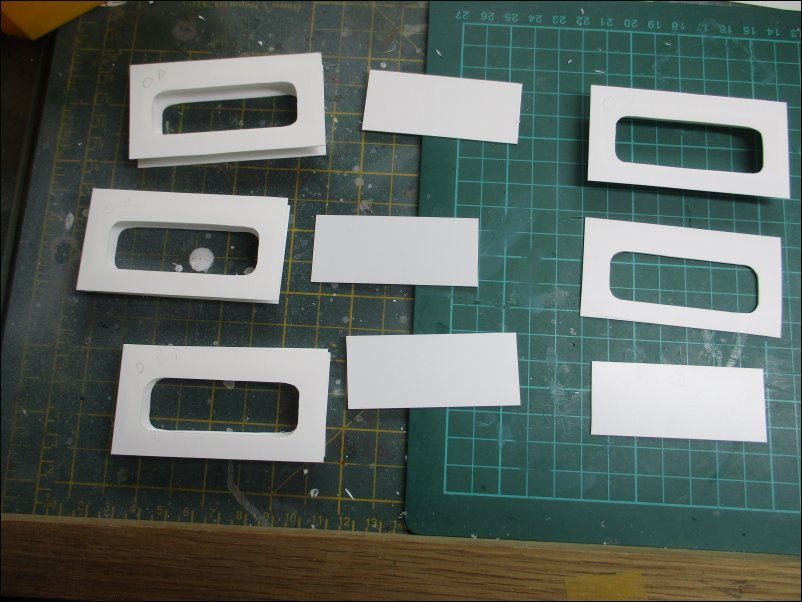
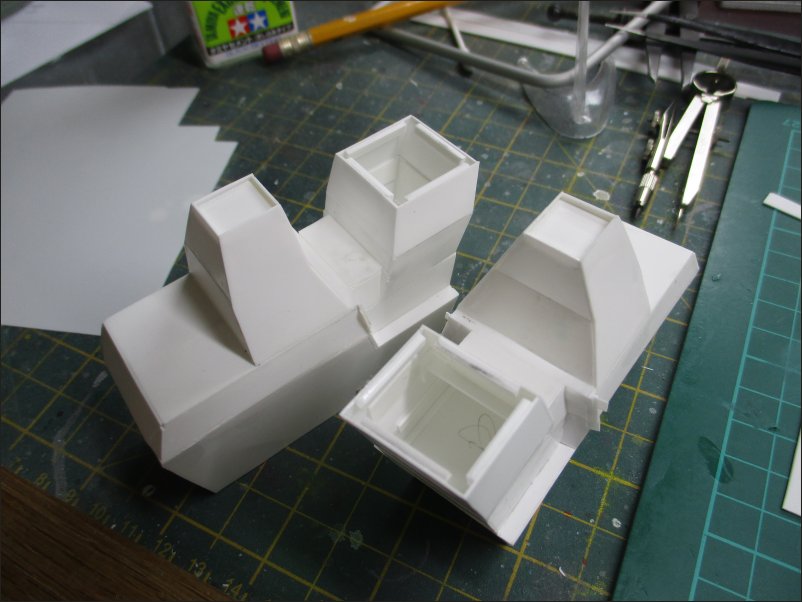
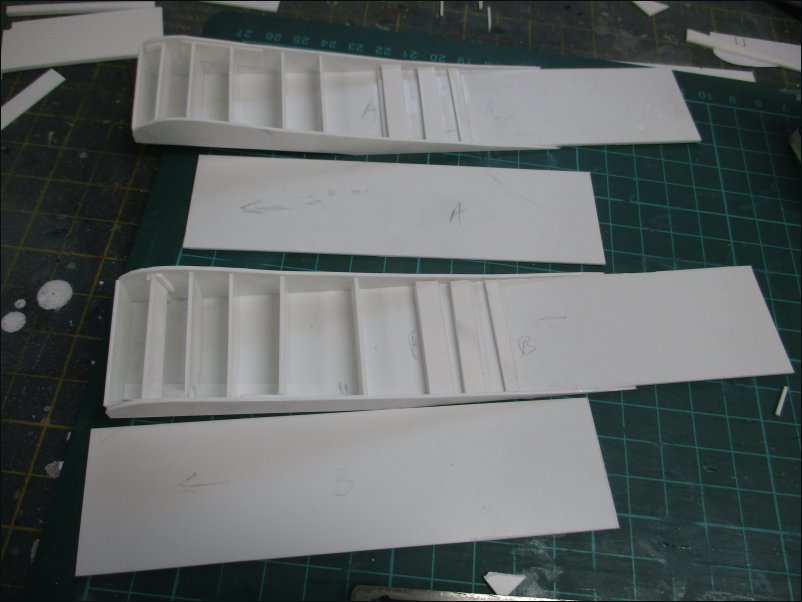
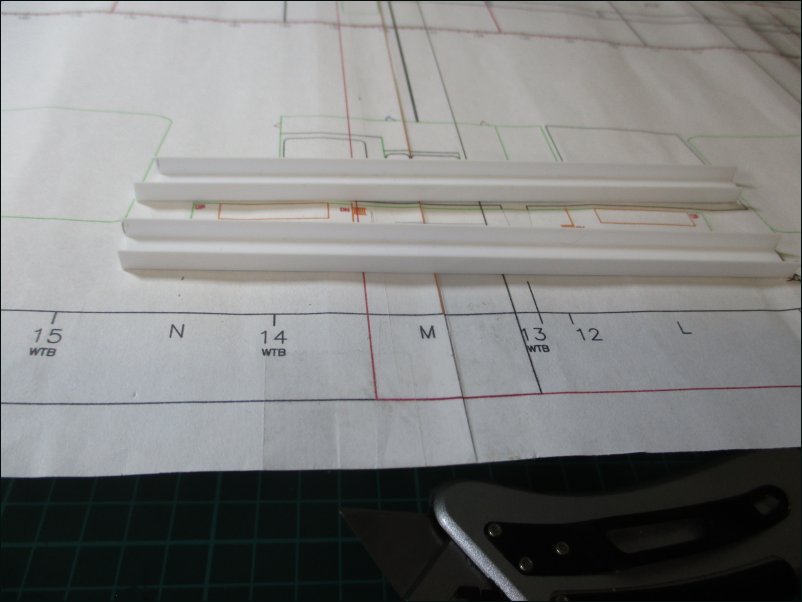
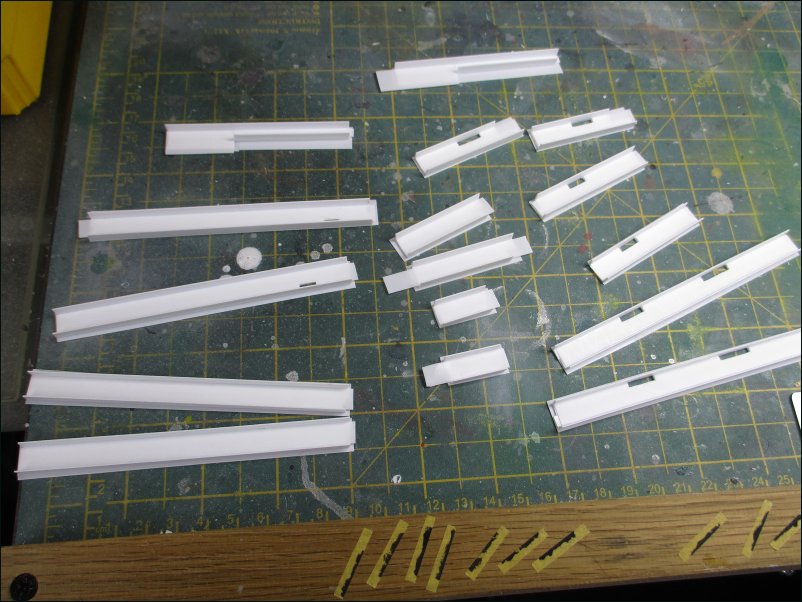
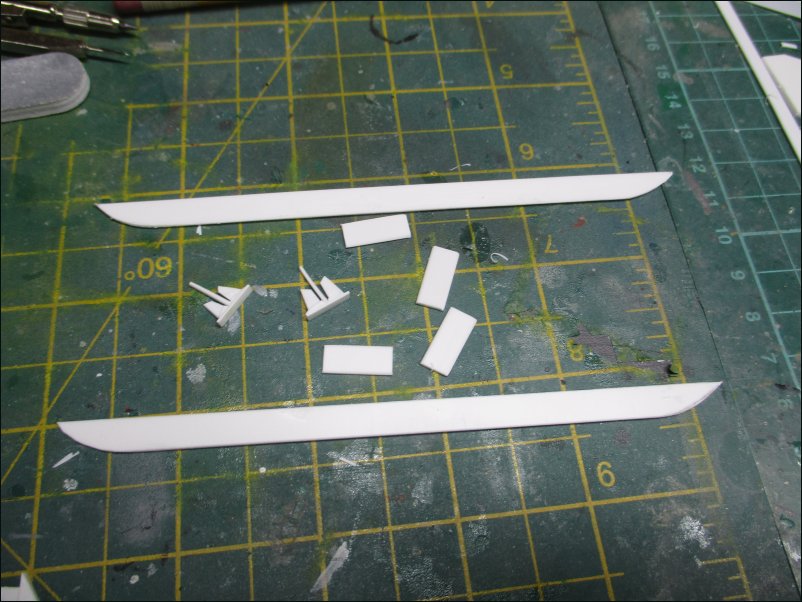
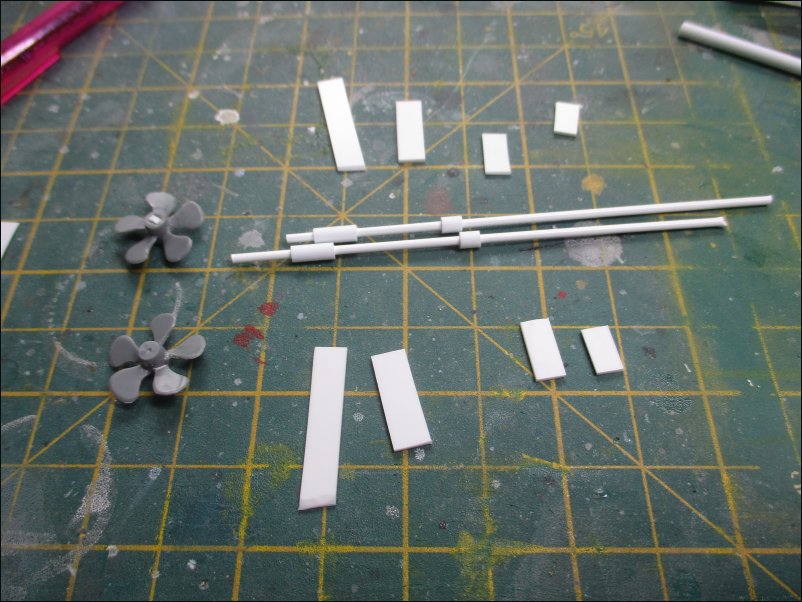
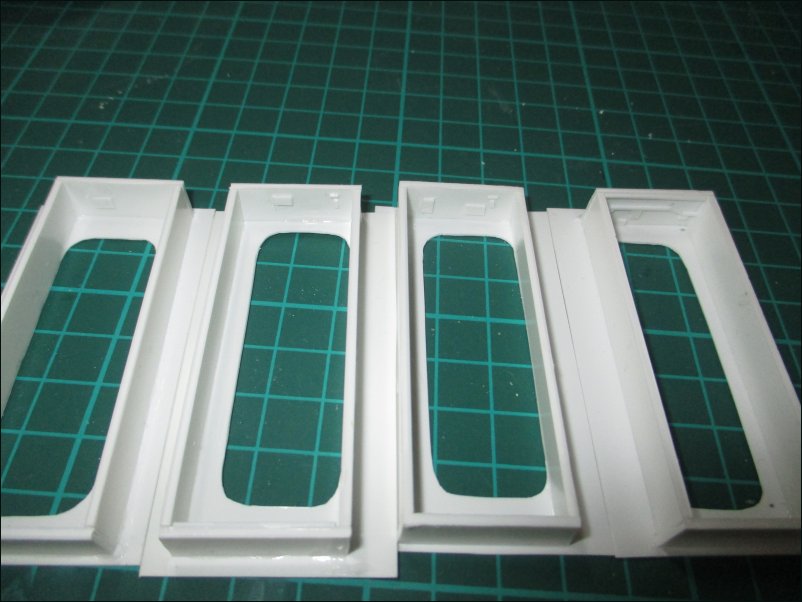
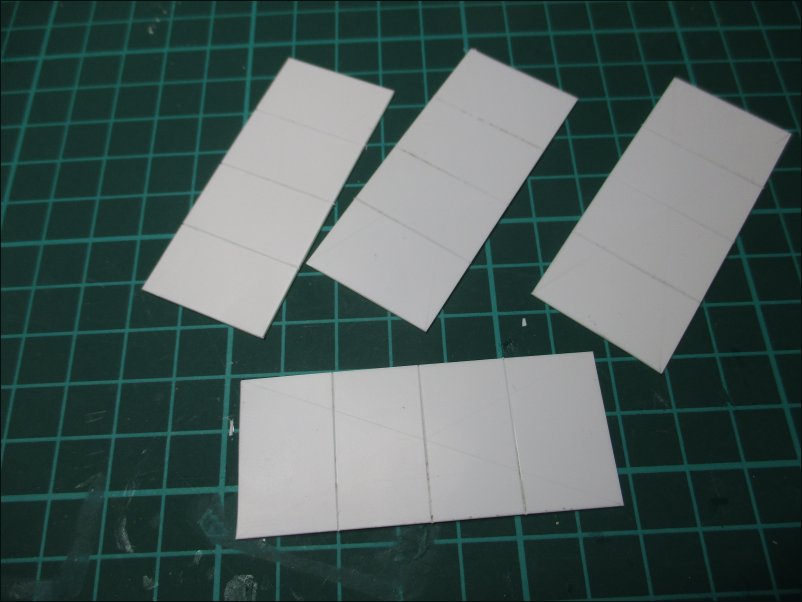
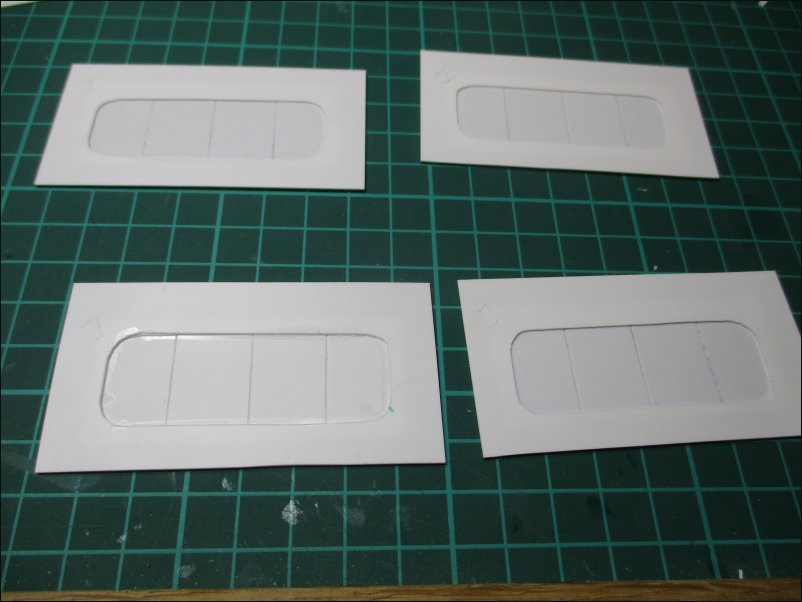
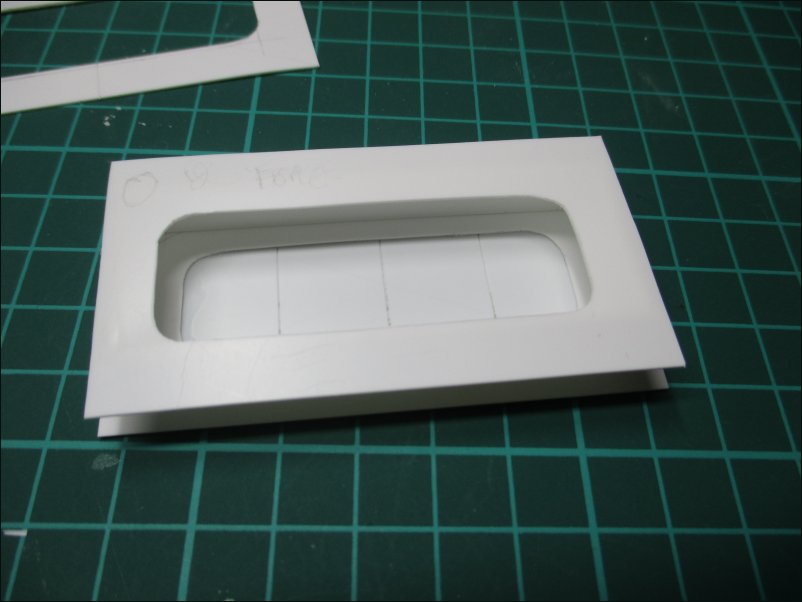
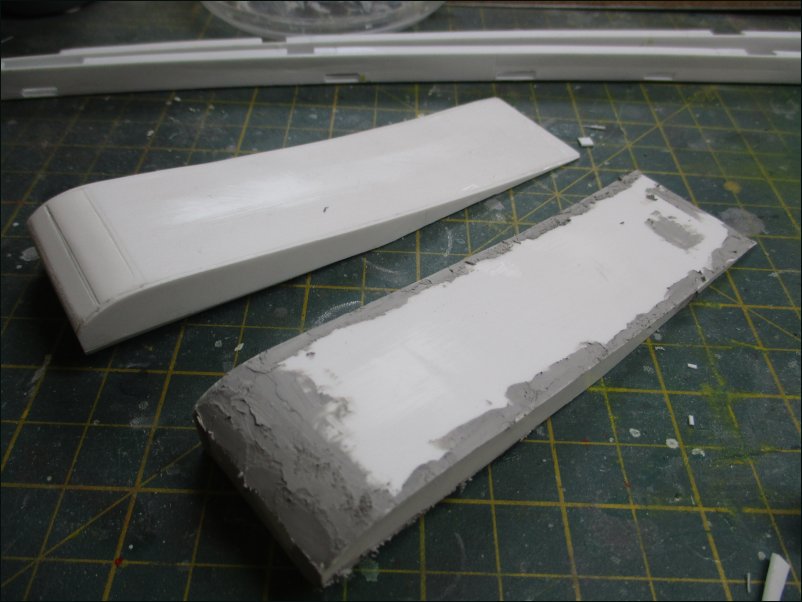
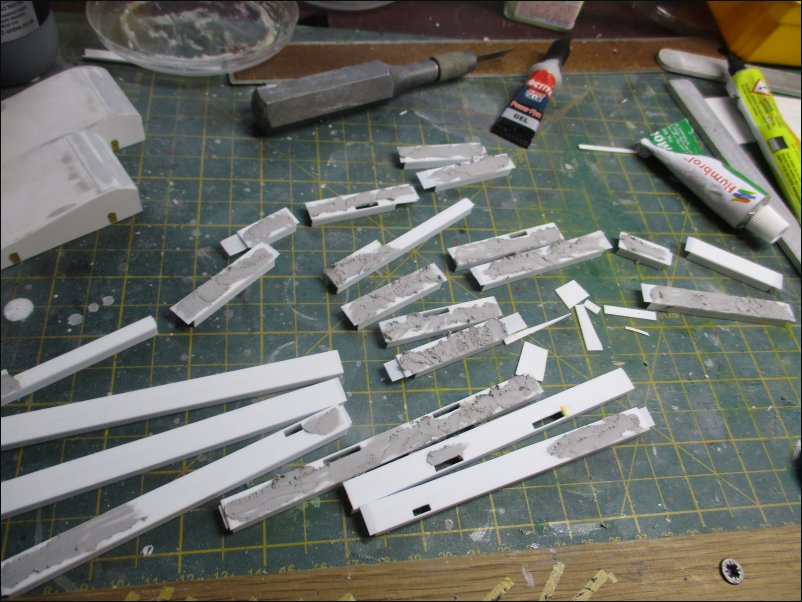
The plastic card is rather thin (0.20mm) and requires plenty of framing to prevent "dishing" of the panels:
Pic 009:
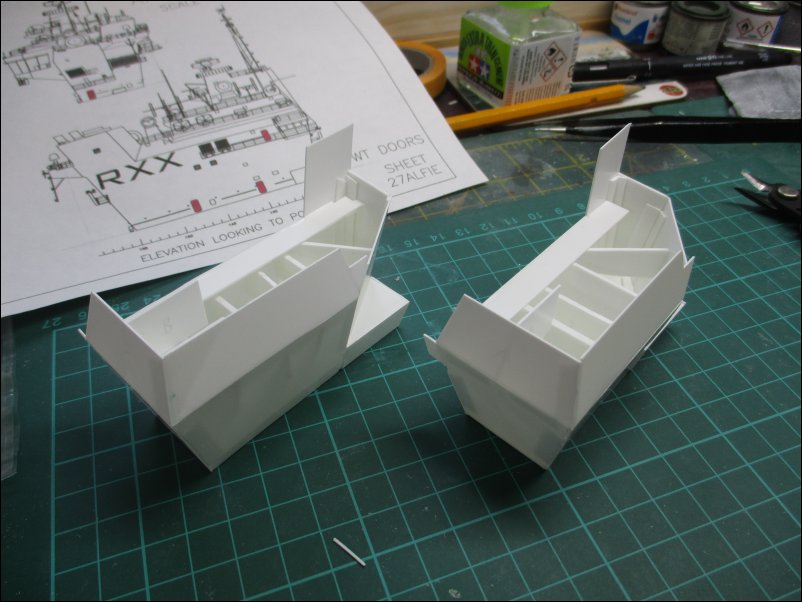
Pic 010:
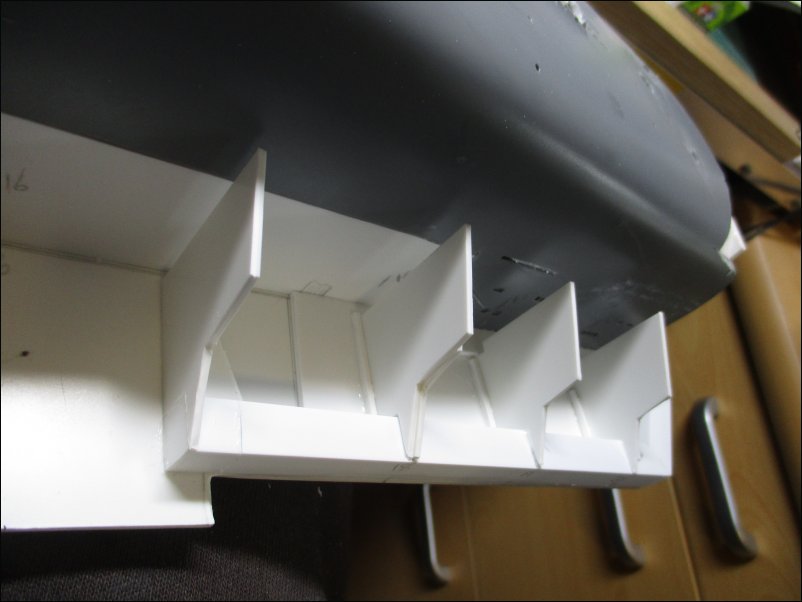
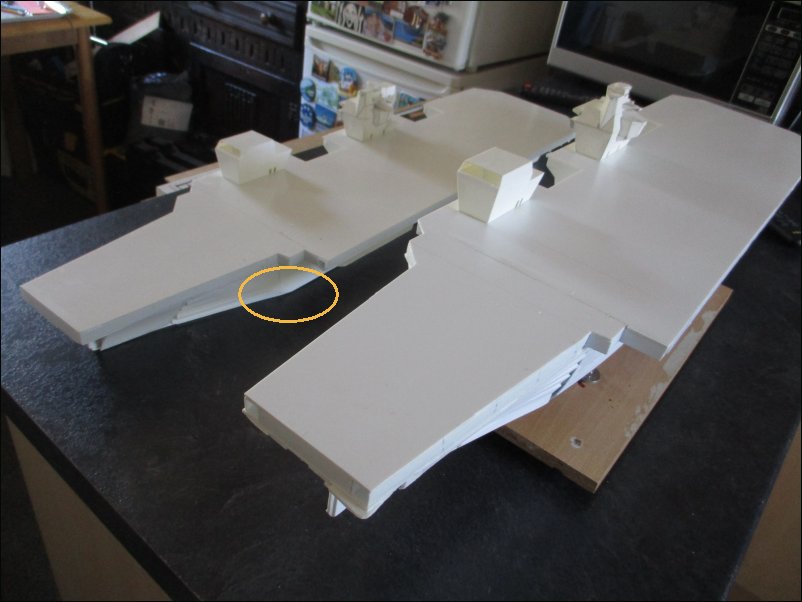
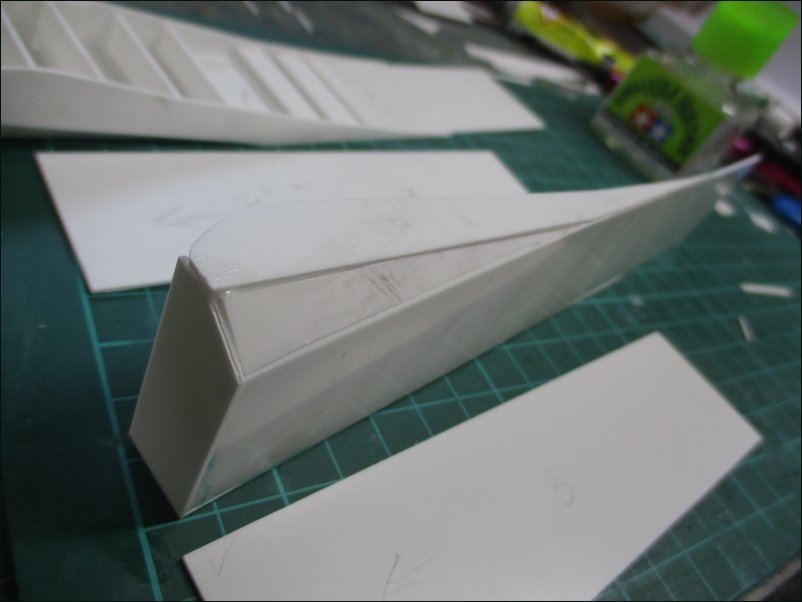
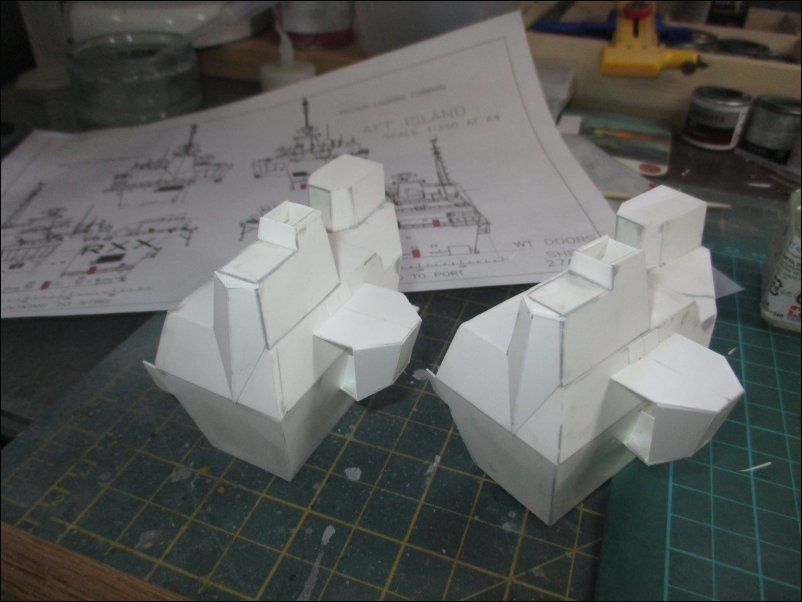
Here the two islands have been placed on the Flight Decks of the two builds. You can see the full-hull version to the rear:
Pic 011:
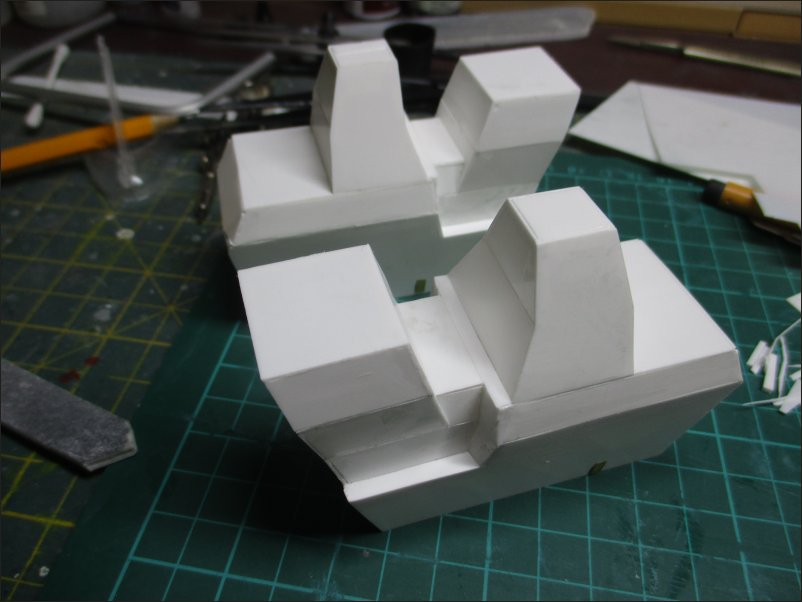
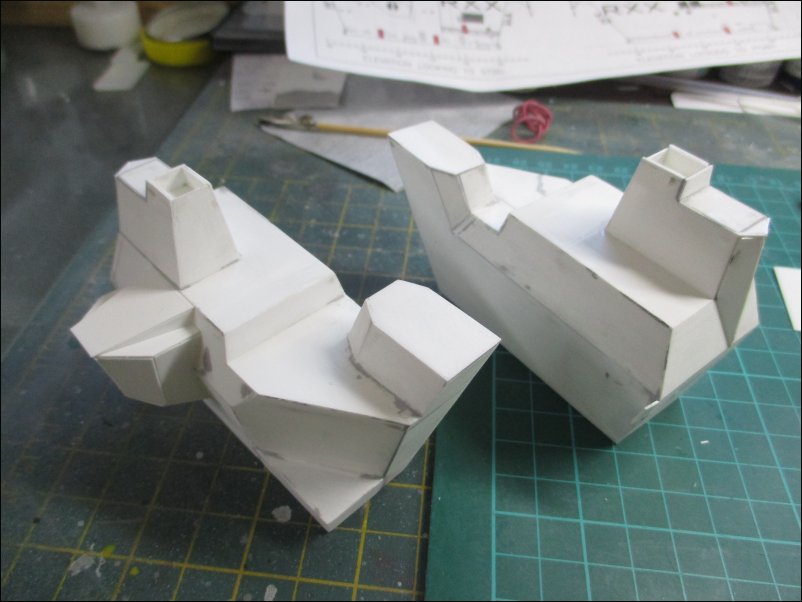
Bit more work:
Pic 012:
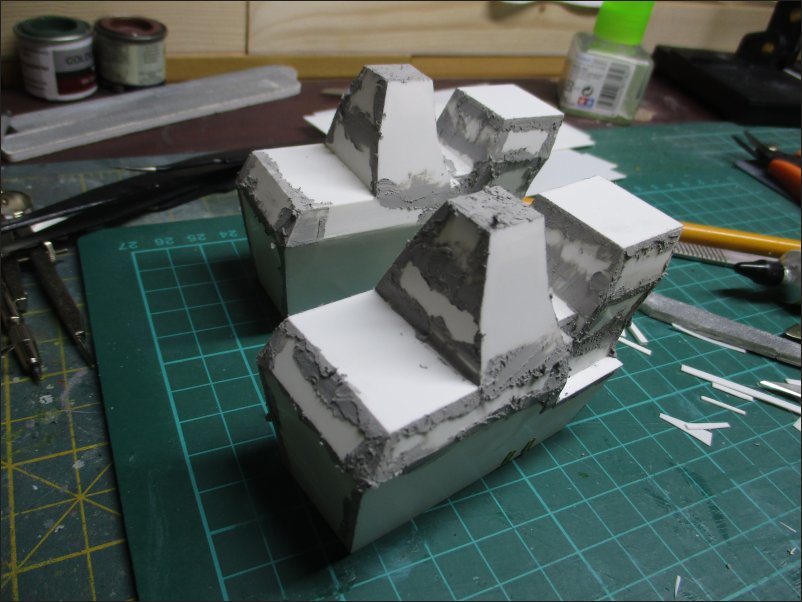
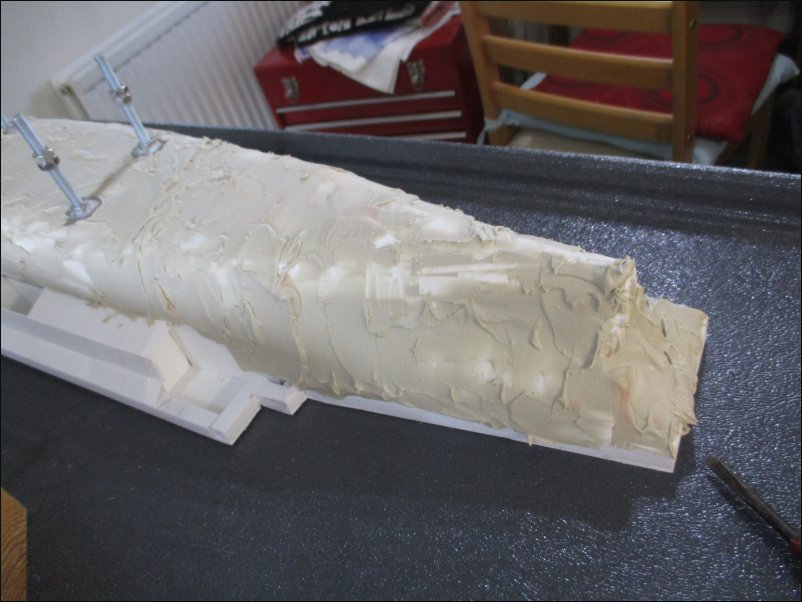
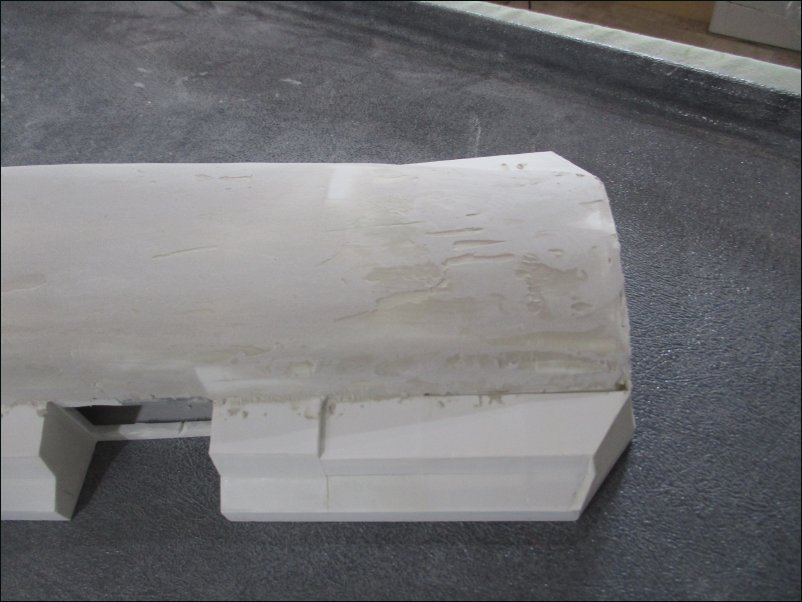
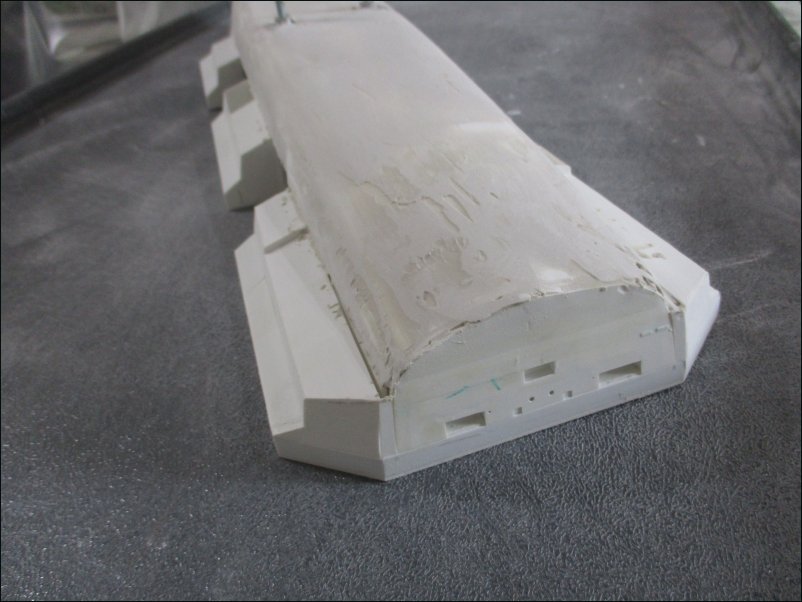
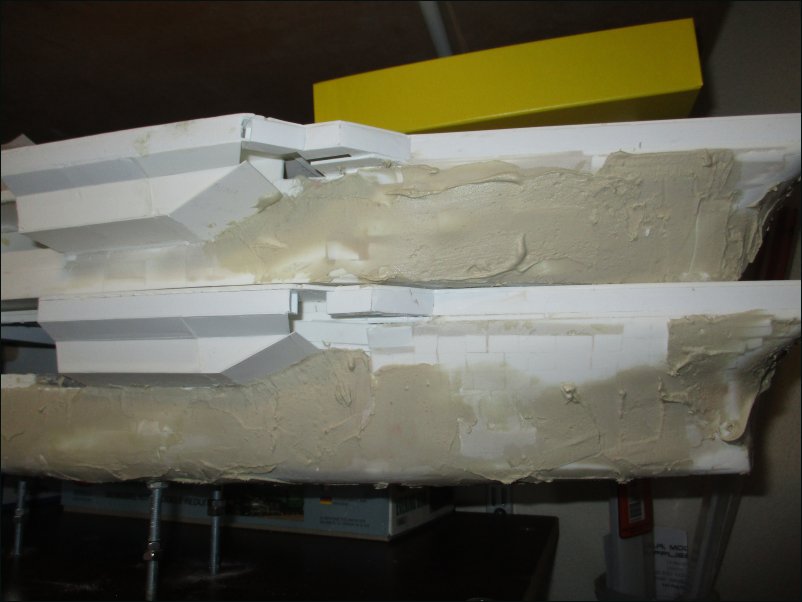
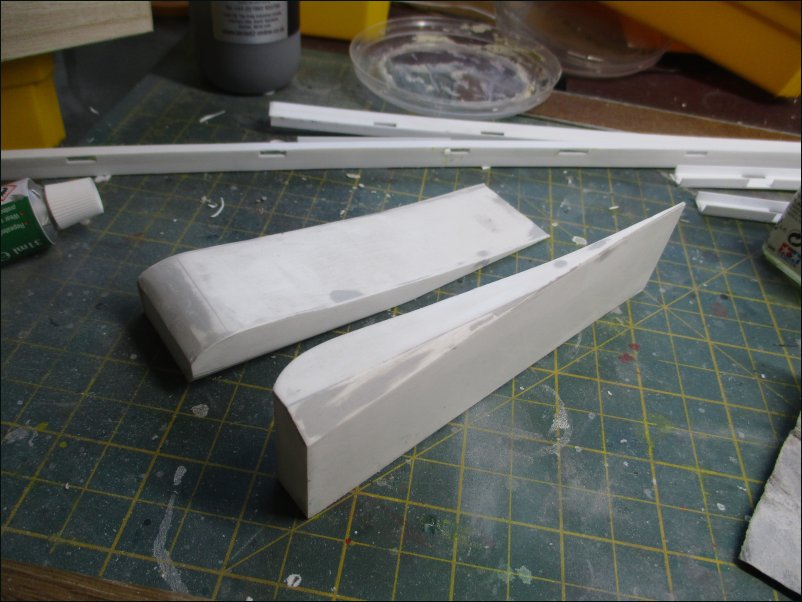
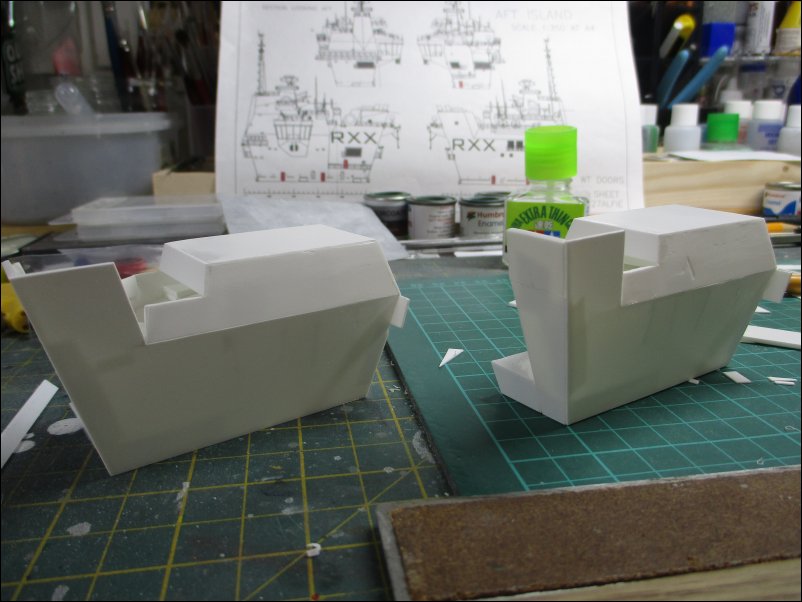
I do like using lots of filler:
Pic 013:

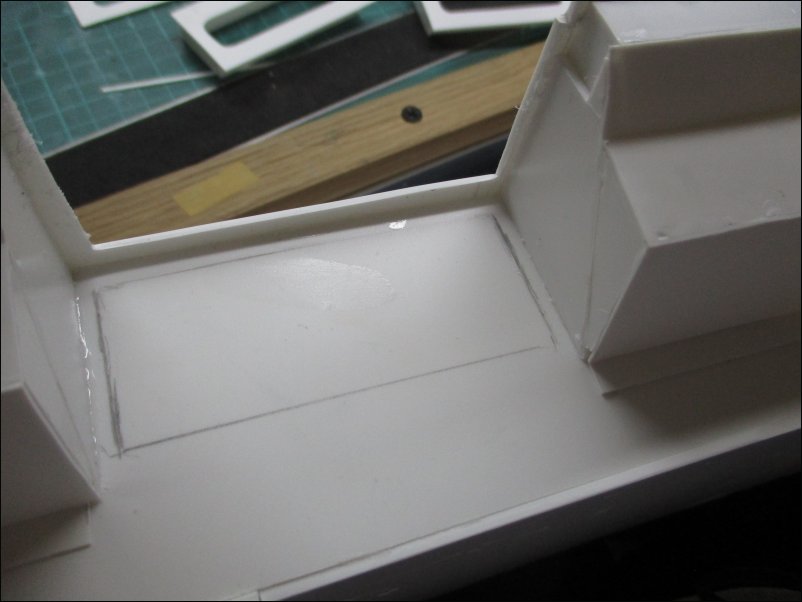
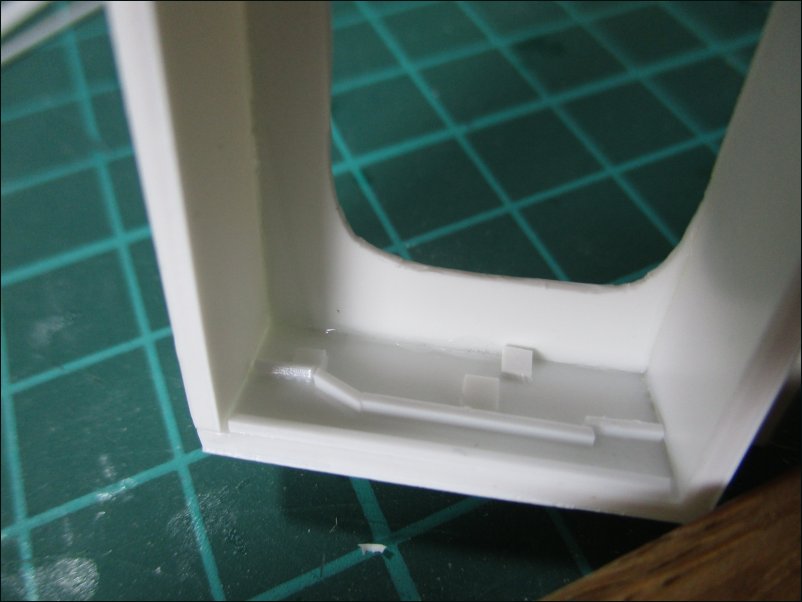
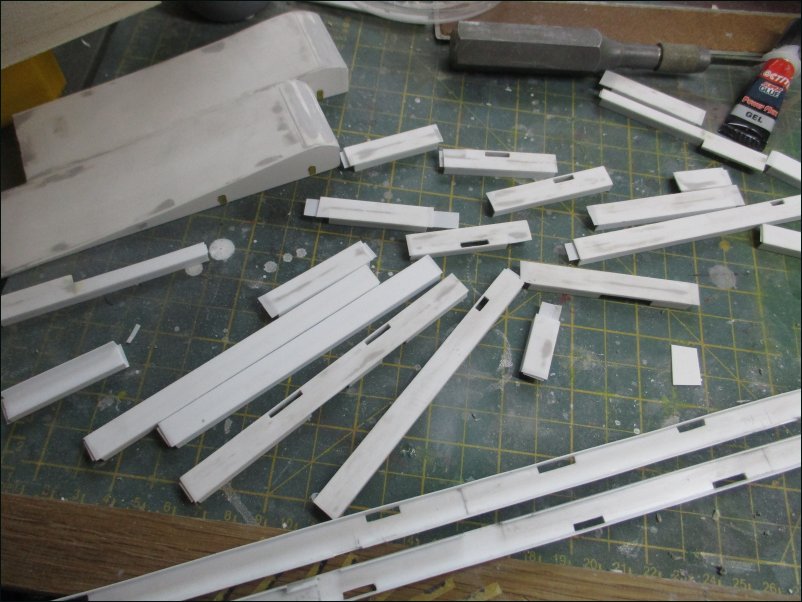
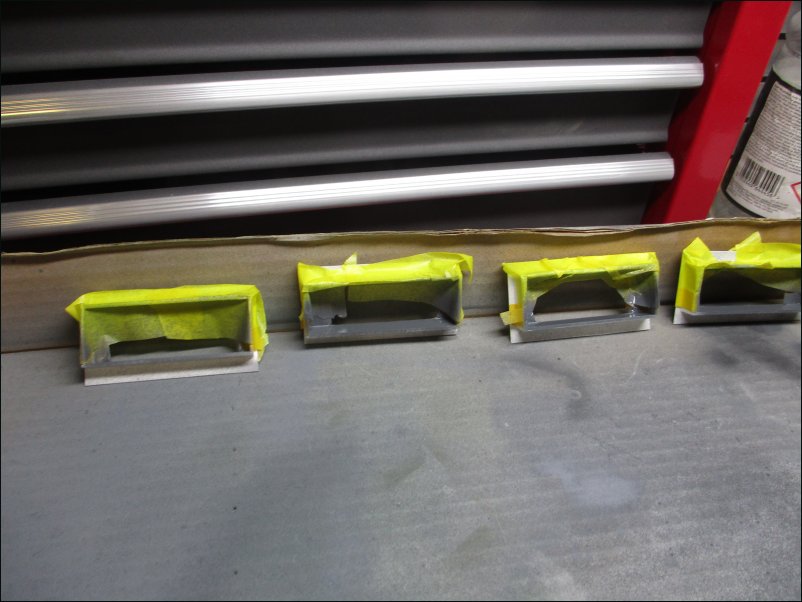
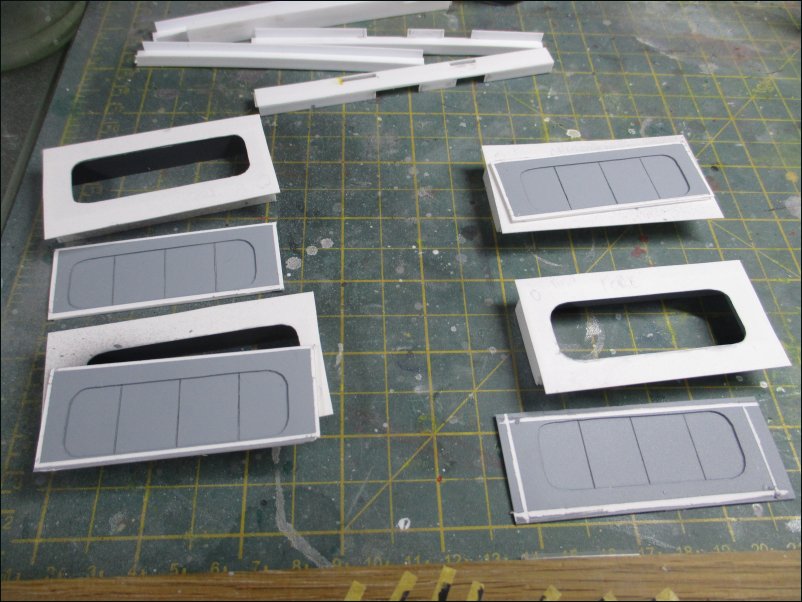
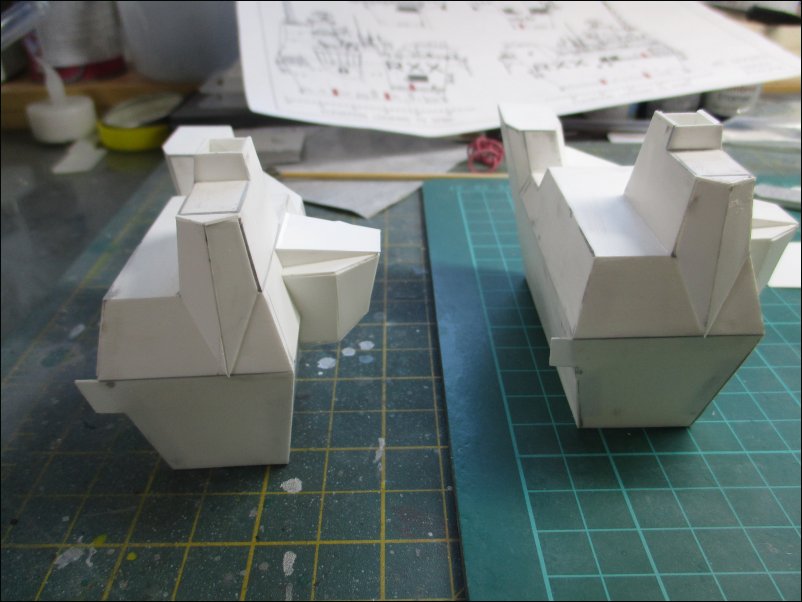
Sanding of filler was completed and then I moved onto the assembly of the Flying Control Rooms:
Pic 014:
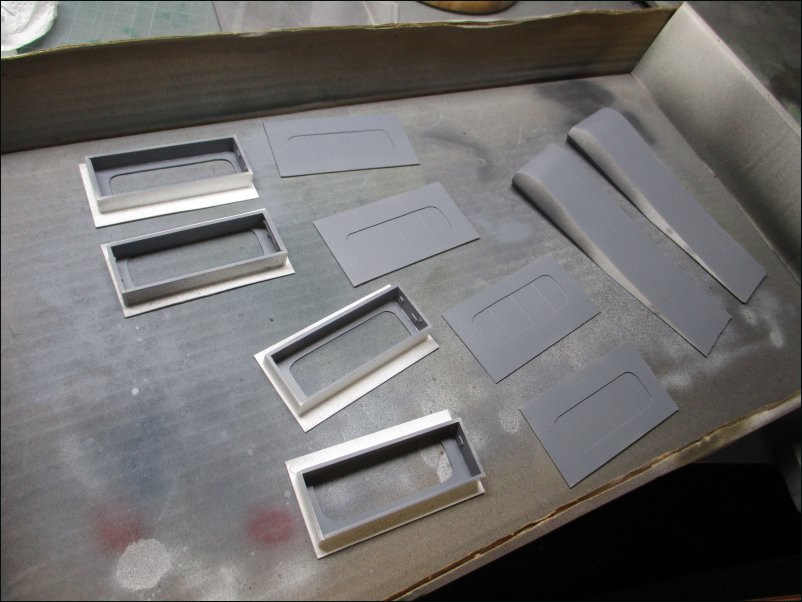
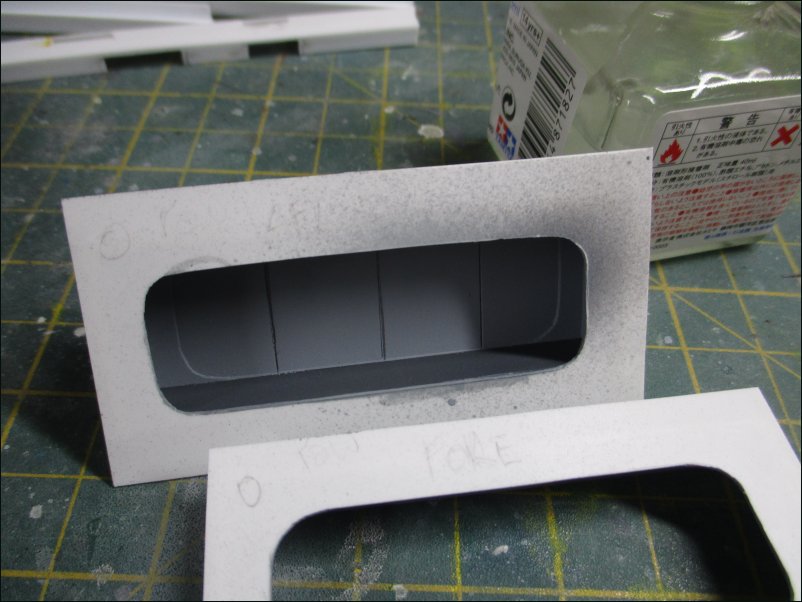
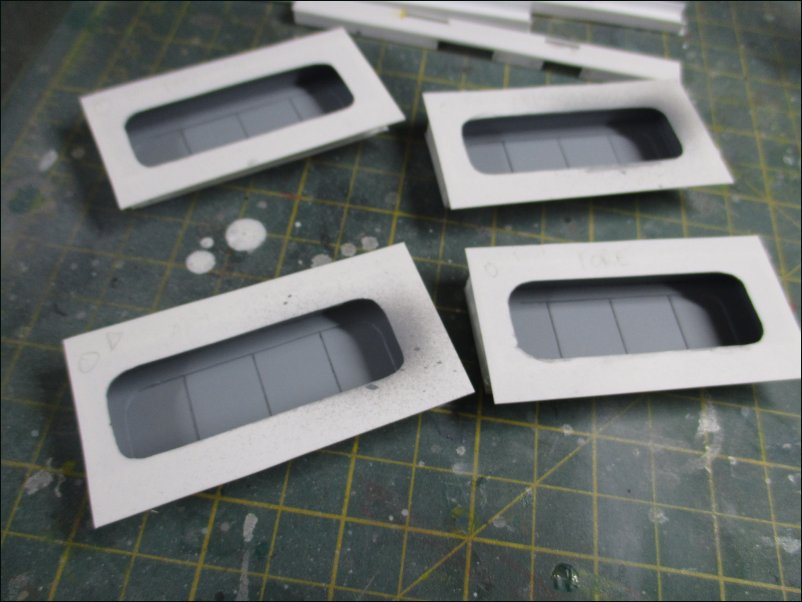
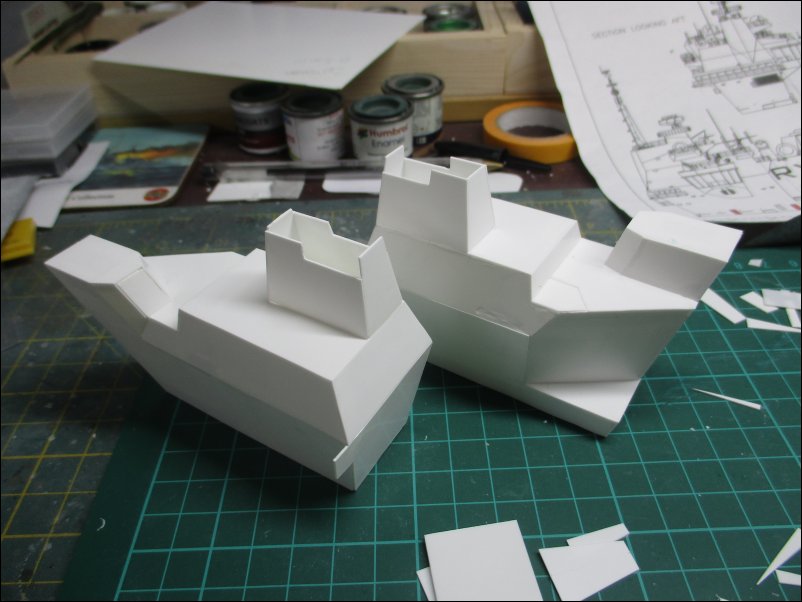
I did consider having acetate glazing but after some experimentation I decided that it would not be easy to do a good job:
Pic 015:
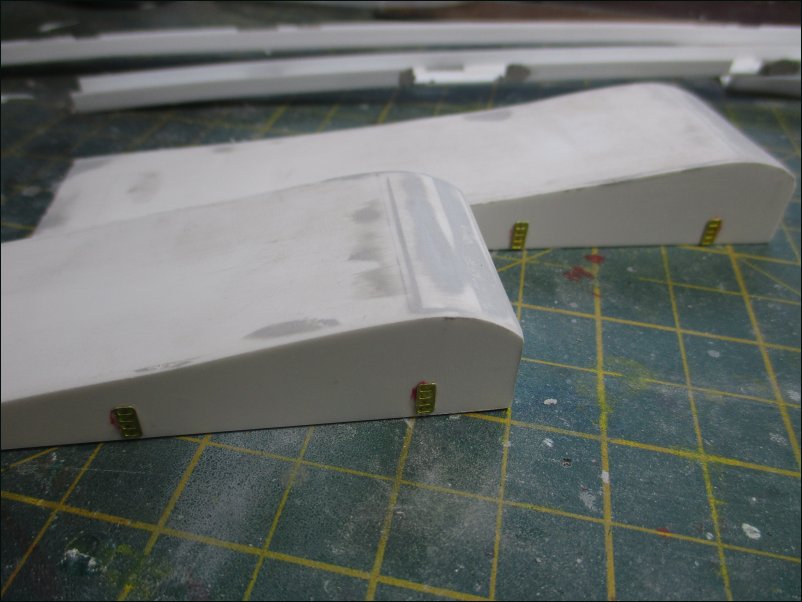
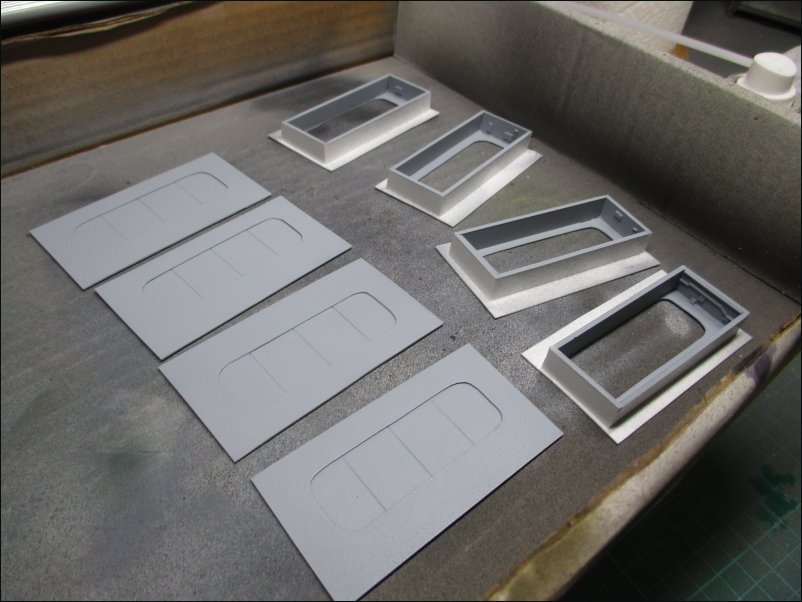
Another view showing the multiple facets of the Aft Island:
Pic 016:
View from ahead:
Pic 017:
That's all for now
Dave
Background to this build
In April 2014, the Royal Navy contacted Airfix to commission a model of HMS Queen Elizabeth (R08) that was under construction in Rosyth Dockyard. Airfix asked me to scratch-build a 1/350 modelwhich was subsequently displayed at the naming ceremony of HMS Queen Elizabeth in Rosyth on 4th July 2019. Thereafter it’s permanent home was the Wardroom of HMS Queen Elizabeth:
Pic 001:
In April 2019, I was again commissioned by Airfix, this time to scratch-build a 1/350 model of HMS Prince of Wales, the second of the Queen Elizabeth Class aircraft carriers. It would be shown at SMW 2019, Telford and thereafter it’s permanent home would be the Hornby Hobbies Visitor Centre in Margate.
I hope that you enjoy following this build which may seem a bit unconventional in some parts. There were some problems to overcome but the worst difficulty was having to cope with severe concussion that I suffered five weeks before Telford. It was touch and go as to whether I would complete it in time but I only managed it by leaving off photo-etch and some other small details.
To use an old Chinese proverb “a journey of a thousand miles starts with a single step”. This is the first of many sheets of plastic card used in the build:
Pic 002:
Although this build would be constructed mainly of plastic card, I would be using a Tamiya 1/350 USS Enterprise hull to give it some inner strength. The hull was shortened in length, all sponsons removed and keel removed and openings blanked off with plastic card. Plastic card was used to fill in the missing parts of the sides and clamped. Note that I have used the cut out section of hull to brace the new join of the midships and aft sections of hull:
Pic 003:
Forward section (bow excluded) glued in place:
Pic 004:
Putting aside the hull to dry, I cut out the Flight Deck. Being 80cm long, it would be a right handful in the confines of my modelling den:
Pic 005:
This situation was made worse by the fact that I was building two at once (a waterline version for myself)
Pic 006:
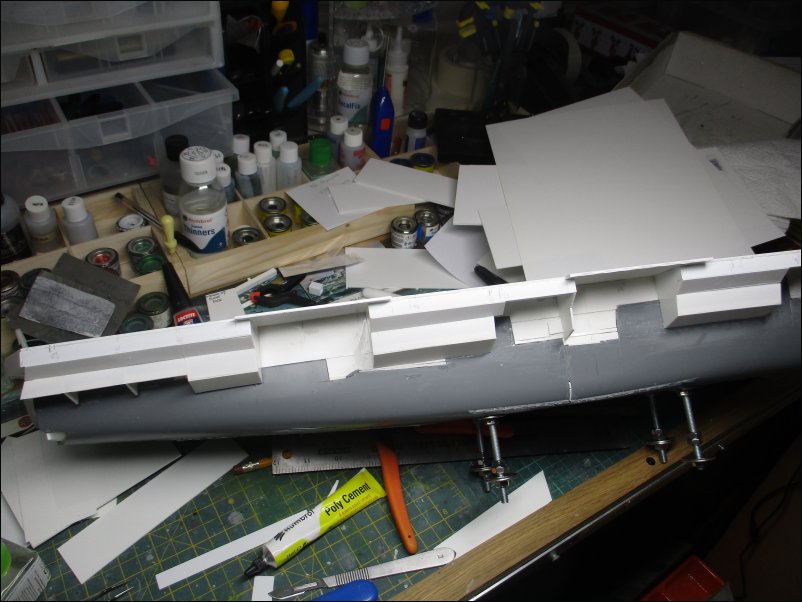
Once the hull had dried, I drilled four holes which were fitted with four 80mm M6 bolts epoxied in place. The model was then secured to a temporary chipboard base that would be used until the final day of the build (the Flight Deck hasn’t been glued in place yet):
Pic 007:
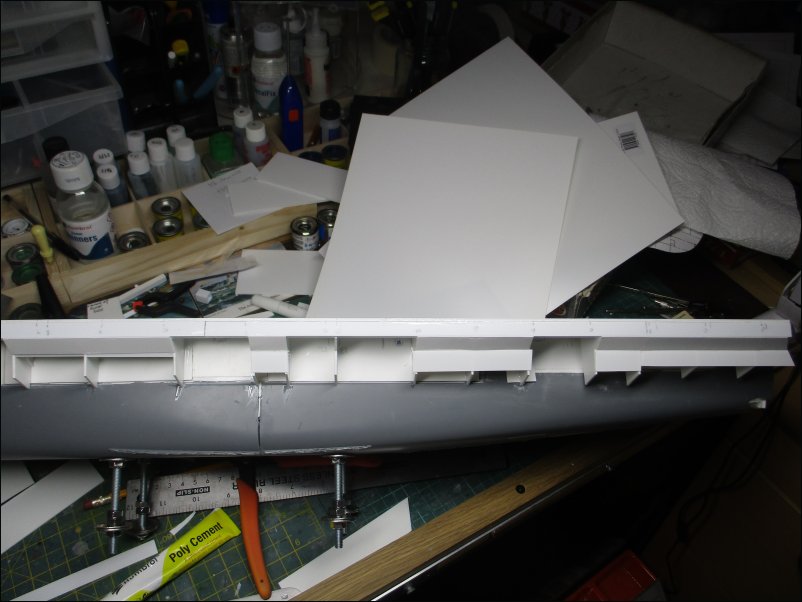
The most complicated part of this build is the construction of the Forward (Ship Control) and Aft (Flyco) Islands. Because of this, I decided to build the islands for both ships at the same time. Here are the Aft Islands:
Pic 008:
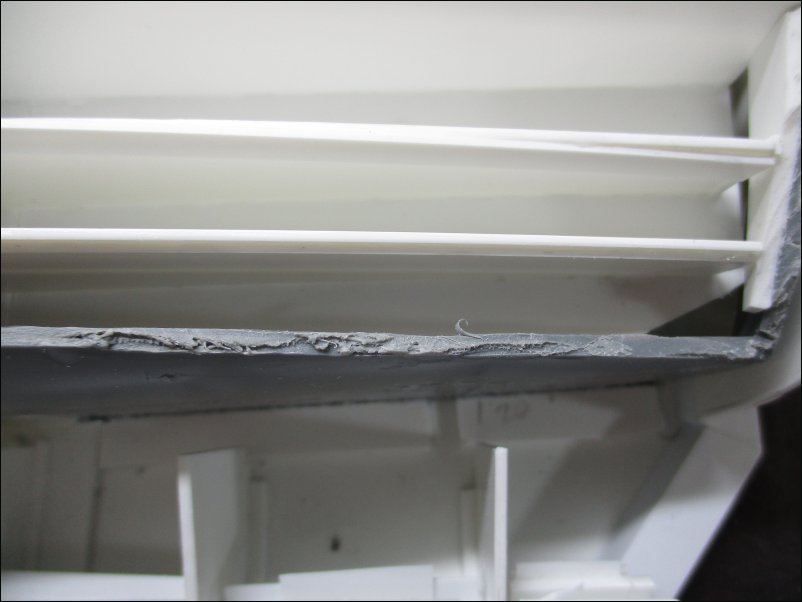
The plastic card is rather thin (0.20mm) and requires plenty of framing to prevent "dishing" of the panels:
Pic 009:
Pic 010:
Here the two islands have been placed on the Flight Decks of the two builds. You can see the full-hull version to the rear:
Pic 011:
Bit more work:
Pic 012:
I do like using lots of filler:
Pic 013:
Sanding of filler was completed and then I moved onto the assembly of the Flying Control Rooms:
Pic 014:
I did consider having acetate glazing but after some experimentation I decided that it would not be easy to do a good job:
Pic 015:
Another view showing the multiple facets of the Aft Island:
Pic 016:
View from ahead:
Pic 017:
That's all for now
Dave
Last edited: