G
Guest
Guest
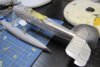
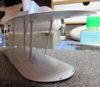
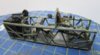
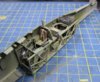
Liking the look of this one, a lot!And more. The cockpit machine gun is already quite nice. But Eduard want me to cut the barrel off and replace it with theirs. Except theirs is flat. Time to invent the DIY PE rolling machine. Ok, it's a drill bit and two cotton buds (with the buds removed) but it worked.
View attachment 287650
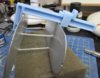
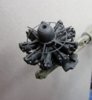
Ending up looking like this.
View attachment 287651
If you are a bit familiar with the swordfish, you might remember this is the gun that sticks out from the cockpit then sits in a recess of the fuselage. This can make painting the fuselage a bit difficult, do by adding the new barrel later on in the build, I can avoid all that trouble - we'll see.
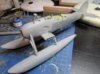
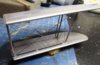
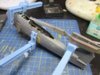
Tamiya tolerances can be quite tight with even a layer of paint upsetting things. So, as I prepare for priming, I've masked the cockpit mating surfaces to avoid having to scrape paint of later. It might help, it might not, again, we'll see later.
View attachment 287652
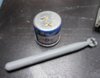
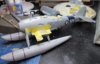
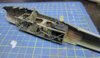
And finally, all primed. With a bit of luck (and after three fish tanks, two lawns and a bit of dead heading) I might get some colour on and maybe even a bit of building.
View attachment 287653
Right, next job, lawn mower.


")