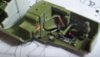
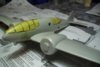
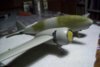
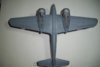
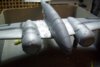
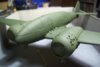
I think I'm just about ready to close this fuselage up, the side windows are fitted from outside.
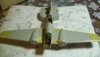
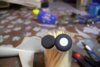
Really enjoyed the photo etch, there's a learning curve here for me.
Not too happy with the camera (the big black box in the rear office) but not sure what to do with it. M
View attachment 59028
View attachment 59029
View attachment 172054
View attachment 172055
Really enjoyed the photo etch, there's a learning curve here for me.
Not too happy with the camera (the big black box in the rear office) but not sure what to do with it. M
View attachment 59028
View attachment 59029
View attachment 172054
View attachment 172055