Theme editor

Scale Model Shop

Geoffs Trumpeter 1/48 MiG-3

Geoffers

Active member
SMF Supporters
Joined
Jan 26, 2017
Messages
2,690
Reaction score
1,677
Points
113
Age
62
Location
Shropshire
First Name
Geoff
Location
Shropshire
1/3
Thread owner
Firstly thank you to Neil for hosting this group build.

This will be my entry, I collected it from the Post Office this afternoon.

IMG_5942.webp

This will be my first ever Trumpeter kit build so I’m interested to see how it goes together.

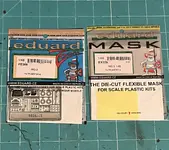
It looks nicely detailed and I have bought an Eduard PE set mainly for the seat belts and a mask set which makes masking so much easier.

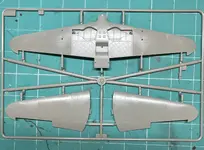
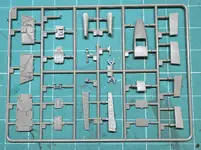
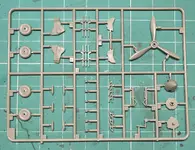
Here’s the plastic parts.
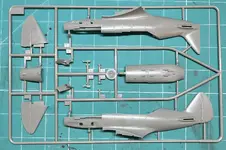
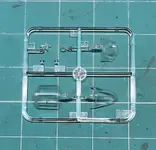
IMG_5943.webpIMG_5944.webpIMG_5945.webpIMG_5946.webp

Clear parts look quite nice.
IMG_5947.webp

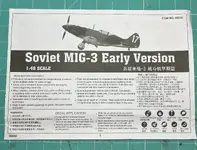
Instructions.
IMG_5949.webp

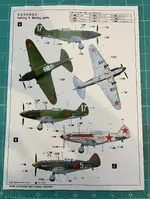
Paint guide
IMG_5950.webp

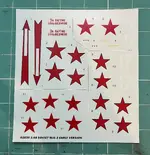
Transfers.
IMG_5948.webp

Extras.
IMG_5952.webp

That’s it then, I might start it next week depending on progress with my other builds.

Thanks for looking 👍

Geoff.
 
Good to see a Prop version of a Mig too, looking forward to this,
 
Thread owner
Nice choice Geoff.
Thanks Joe 👍

Excellent choice, sir. Which paint scheme were you thinking of?
Cheers Chris, I’m going for the third scheme “white 5”. I quite like the yellow spinner 🙂. Trumpeter don’t give any information regarding the schemes but I’ve done a bit of digging and I think was apparently a flown by Soviet ace Alexander Pokryshkin.
Good to see a Prop version of a Mig too, looking forward to this,
Thanks Neil 👍

Great choice Geoff
Cheers Steve 🙂

Geoff.
 
Last edited:
Thread owner
A little late to the party but the build is finally underway 🥳

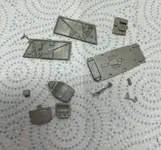
I’ve basically just removed all the parts needed from the runners and given them a clean up.
The small parts had a tiny bit of flash but otherwise it was just a case of trimming the attachment nubs.

Cockpit is fairly detailed and I’ve got some PE to jazz it up a bit.

IMG_5973.webp

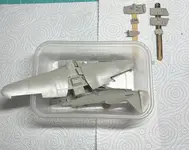
I’ve glued the wings together now and mounted all the cockpit parts to lolly sticks ready for paint.

IMG_5975.webp

Once the cockpit is sorted it should go together quickly as there really doesn’t seem much too it 🤞

Hopefully another update soon.

Thanks for looking 👍

Geoff.
 
All the best people are fashionably late to the party, Geoff, so welcome! Beverages are available in the kitchen, cold or hot, your choice. Enjoy.
 
Thread owner
All the best people are fashionably late to the party, Geoff, so welcome! Beverages are available in the kitchen, cold or hot, your choice. Enjoy.
Cheers Neil, sorted 🍺 😅

Nice start Geoff. I think that White 5 scheme is going to look great.
Thanks Joe, yes I thought it looked a bit better than the others 👍

Geoff.
 
Thread owner
Hello,

Despite my lack of updates I have been labouring away with it 😅

Firstly was getting the cockpit sorted and painted up.
Some PE to add too which slowed it down a bit.
Paint colours where a bit of a puzzle as different colours were used at ditstages and also depending what material was used as it’s a mixed wood/metal construction.
In the end I settled on what you can see in the picture.
I used UV glue for the first time to replicate the instrument panel glass. I didn’t realise that there was a bit of an overspill but apart from that I’m happy with the effect it gives.

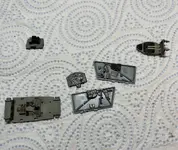
Here are the parts after weathering.
IMG_6015.webp

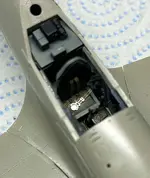
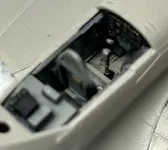
This was then joined together before being sandwiched between the two fuselage halves.

IMG_6034.webp
IMG_6035.webp

Apologies the pictures aren’t the best 😕

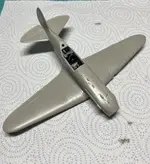
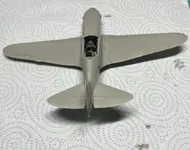
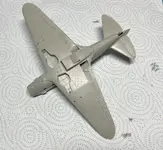
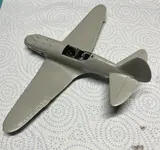
The rest of it has been built up, wings and horizontal stabilisers added and the nose area built up.
It all went together with no particular problems and here’s how it’s looking.

IMG_6042.webp
IMG_6045.webp


IMG_6044.webp

IMG_6043.webp

Just the flaps to add and a bit of a clean up then it will be ready for priming 🙂

Hopefully another update soon, thanks for looking 👍

Geoff.
 
With all those inlets, it's a good job they made the engine cover a separate piece, rather than putting the seam down the middle

Don't even think about the potential nightmare of filling and sanding that! Brrr!
 
Thread owner
Looking very nice indeed Geoff
Thanks Ian 👍

With all those inlets, it's a good job they made the engine cover a separate piece, rather than putting the seam down the middle

Don't even think about the potential nightmare of filling and sanding that! Brrr!
You’re right Chris it would have been, let’s just say challenging 😵‍💫

Geoff.
 
Back
Top