Theme editor

Scale Model Shop

Tamiya 1/48 A 10A Thunderbolt

  • Thread starter Thread starter Guest
  • Start date Start date
Status
Not open for further replies.
Thread owner
Thanks Allen, I'm hoping the painting goes as well. First time doing a 3 colour camouflage and quite a tricky shape. No pressure!
 
Thread owner
Aircraft camo is easy to apply compared to tank camo — at least here you have pretty smooth shapes without lots of little details, racks, open hatches, overhangs, and other stuff getting in the way :) In other words, you’ll probably do fine, given the job you did of the single colour on the Sea King.
 
Thread owner
Tank camo doesn't usually wrap around underneath :tongue-out2: , but I do see what you mean.

I still haven't decided how I'm going to go about it yet. I'd love to try freehand but with the ins and outs of areas like the engines and tail fins I'd have to be really careful about overspray. I've been looking at a few different masking methods like paper templates, "soft" edges with blue tack / silly putty, or just plain old hard edges with tape (which would be more in my comfort zone) so there are plenty of choices.

I have a few days to think it over though as I'm back to work tomorrow which will give me very limited bench time. I'll probably just have time to build a few of the rockets and missiles up.

Oh, and having seen the ugly box version of the GAU-8 I've ordered a PE version. Another new skill to learn :smiling3:
 
Thread owner
Tank camo doesn't usually wrap around underneath :tongue-out2: , but I do see what you mean.
I’d rather have that than, say:

View attachment 340219

:)

That’s from the US Army’s official instructions, BTW; the measurements are in inches, for the real thing of course. Divide by 35 for what the average modeller would have to make of it.

I still haven't decided how I'm going to go about it yet. I'd love to try freehand but with the ins and outs of areas like the engines and tail fins I'd have to be really careful about overspray.
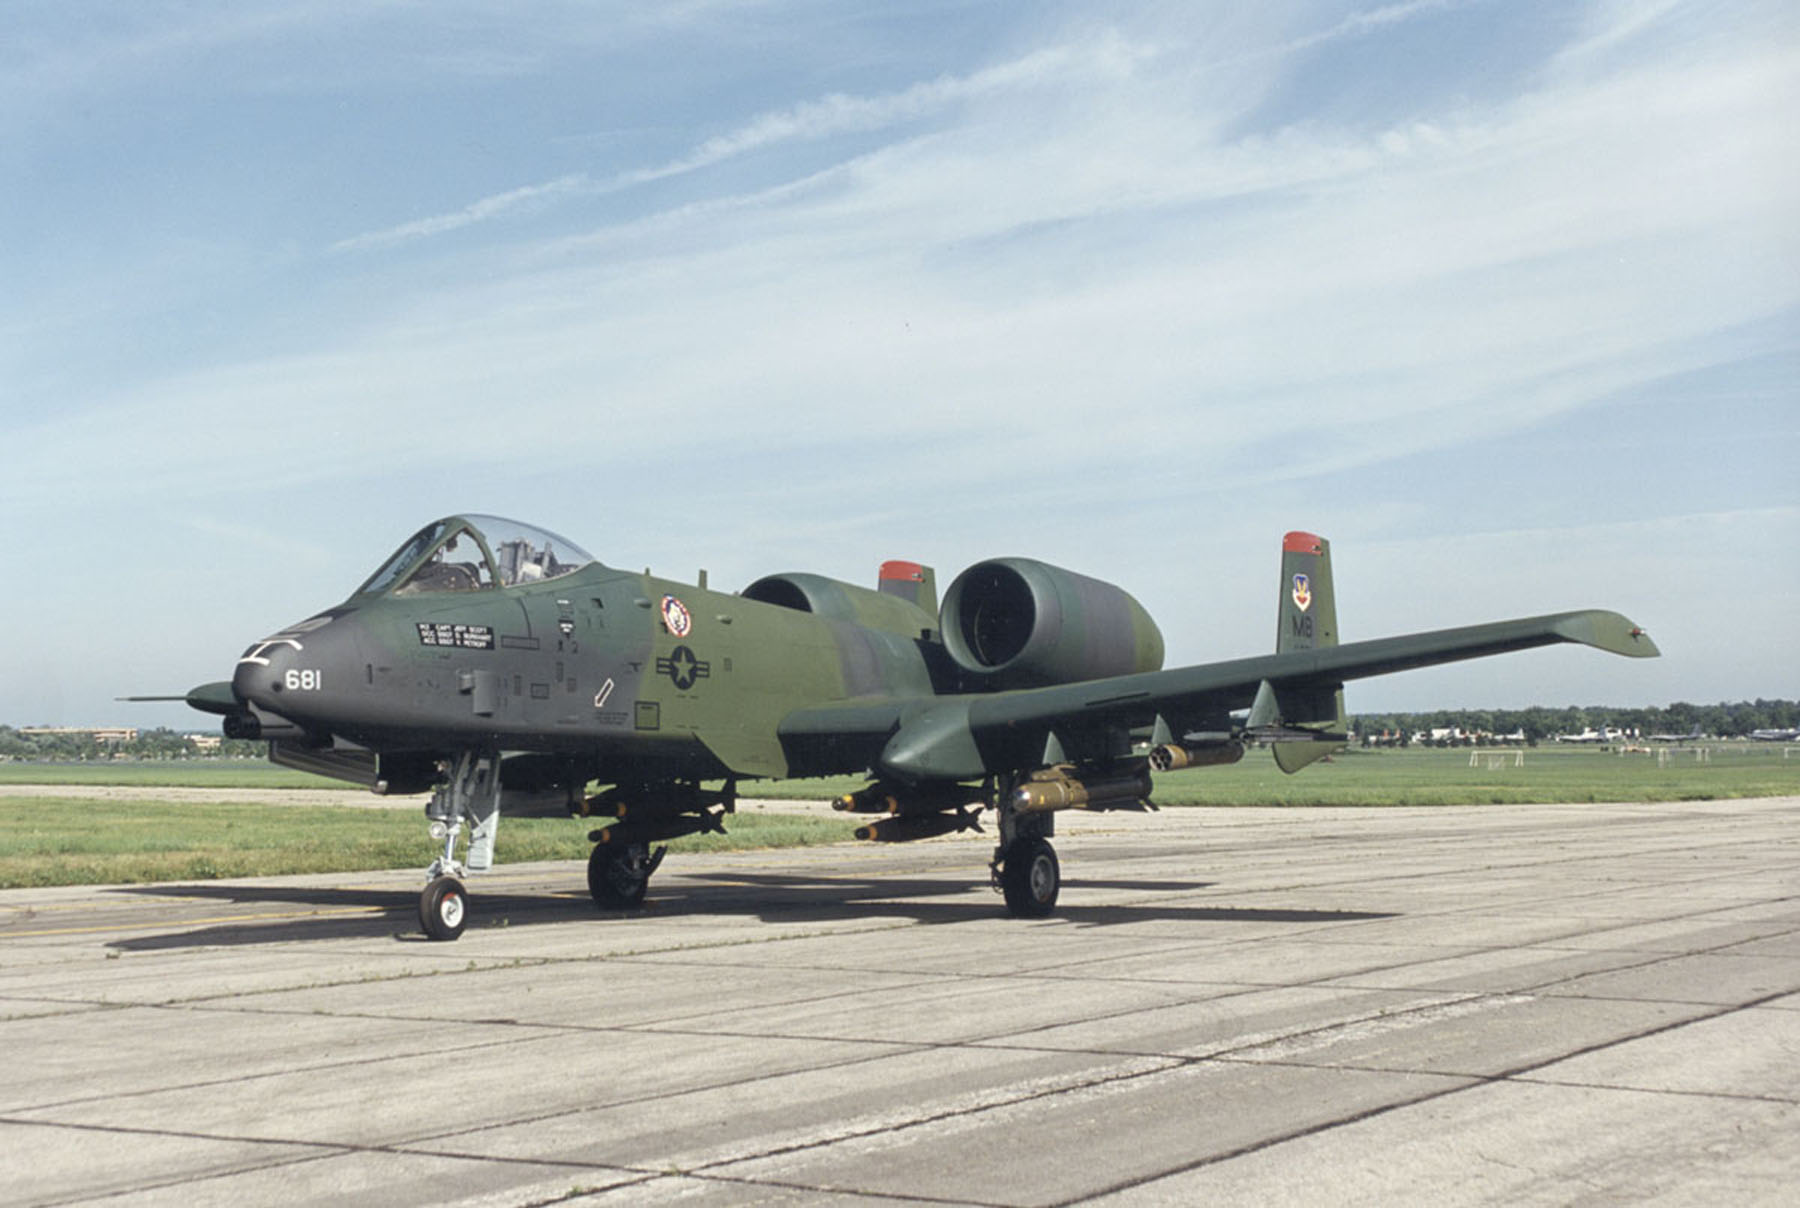
If you’re aiming for realism rather than artistic value, you may want to start with asking yourself how soft the edges are in the real world — in other words, how wide the soft edges to the camouflage would end up being on your model. I have no idea about USAF painting instructions, but for the camouflage shown above, the official rule (§28h on page 36) is that:—

overspray which can be discerned at 50 feet will be considered sloppy painting and will be corrected.

… which for a 1/35 scale model would mean that the camouflage should appear hard-edged when viewed from more than about half a metre away (assuming average eyesight, anyway). You don’t actually see many models with camo that appears hard-edged from that distance but soft from closer by, though — most tend to have too soft edges to the blotches, or are completely hard-edged due to masking or hand-painting.

Which is to say, if this level of realism isn’t what you’re after, then more overspray on the camo isn’t a problem. See the recent Vietnamese Su-27 model by @TranDuy for an example. The camouflage on it looks really good, even though if you compare it to a photo of the real thing, you’ll see that it has far too soft edges to be realistic. Still, I think the Vietnamese air force might do well to repaint their planes to match the model, rather than the other way around :)
 
Thread owner
Thank for the insight Jakko.

This is the scheme I'm going for, or at least something close. Realism isn't much of an issue for me, although all of the real life pictures I've seen tend to have a mixture of fairly hard and quite soft transitions between the colours anyway, so I don't think anything will look too out of place. I much prefer the look of a softer edge though, like in the example you link to, which is why my first thought was freehand.

I'm not yet ready to delve into pre-shading and other such effects so I can just base most of it up in the lightest green and add the darker colours where required.
 
Thread owner
That appears to be fairly hard-edged:

040123-F-1234P-031.JPG


But like you say, it’s unlikely to look very wrong if you paint it with softer edges, and if that’s what you prefer then don’t let anybody stop you :)

I'm not yet ready to delve into pre-shading and other such effects so I can just base most of it up in the lightest green and add the darker colours where required.
I’m not one for pre-shading anyway :) 
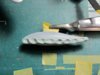
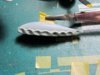
I do like to add a darker colour into the panel lines, but only after painting the rest of the model, and by brush with thin paint or ink.
 
Thread owner
Thanks chaps.

And yes Jakko, like I say I've seen some pictures looking quite hard edges like that but others that looked softer. Unless they were just blurry photos lol
 
Good luck putting the PE GAU-8 together. It's a definite improvement but it's a fiddly little bugger. :)
 
Thread owner
Yes Bob, it looks pretty straightforward from the pictures but I'm sure isn't going to be!

Thanks Richard, that's pretty much what I'm aiming for, although I also find it hard to describe. Not a completely hard line (which I could do easily with tape) but not a faded indistinct transition. I would love to do it freehand but think I need a bit more airbrush experience first. The Blu Tac method is one I've been watching a few videos on, however I actually have the perfect masking product but not sure how well it'll work on the smaller tighter turns of a scale model, as it's a kind of tape that's around 6mm wide.

I feel a few days practising on plastic bottles coming up! :smiling3:
 
Thread owner
Oh, and I was a bit disappointed at how quick this was to put together, but now that I've started on the armaments that's all changed. It seems like it's going to be easily the biggest part of the build!

If I go for the full house there's around 22 rockets, bombs and missiles. Most made out of 2 or 3 parts, some with a separate sub-pylon made out of 2 or 3 parts, and all the resulting glue lines, mould lines and ejector pin marks to sort. Then of course there's the painting where some are several different colours, so I think it's going to keep me occupied for longer than I'd thought :thumb2:
 
:smiling6: :smiling6: Andy, the payload on a Warthog is mighty impressive...takes about as much time as the plane itself but if done well can look good. Some purists will get aftermarket ordnance with less clean up. But I guess you're the no nonsense get all hands dirty type and work on what you have. :thumb2:

Cheers,
Richard
 
Andy

I went for the hard edged camo when I made mine. As Richard mentioned, I did this with bluetac masking.

matte coat.jpg

Best of luck with yours.

John
 
Thread owner
:smiling6: :smiling6: Andy, the payload on a Warthog is mighty impressive...takes about as much time as the plane itself but if done well can look good. Some purists will get aftermarket ordnance with less clean up. But I guess you're the no nonsense get all hands dirty type and work on what you have. :thumb2:

Cheers,
Richard
I might be wrong Richard but I think that's probably the best way for me to learn. No point making it too easy for myself :smiling5:

John, that looks great! If mine were to turn out even remotely close to that good I'd be very happy, but I don't want to try and run before I can walk so will set my standards at a more realistic level. Were the panel lines highlighted with a wash? Really adds some character.

And the PE arrived today. Gosh it's small. I know what you mean by fiddly now Bob. Will need to have my wits about me when I tackle it. Can't imagine what the 1/72 version would be like!

pwMl4MR.jpg
 
Evening Andy,

Wow, that PE is pretty wild! I always was afraid to use PE as I had fears of mucking it up. Not anymore though. I can only say, read the destructions a few times, drink a pint (or 2), have the de-bonder at the ready and dive in Sir!!!

Actually, the only parts that look hard are what is in the little holder in the baggie. Most of all, have fun and don't worry about the blue language. Happens to us all...……..
 
Thread owner
Cheers Allen, I've got to start somewhere, and a pint or two might steady my hands. Great idea! :smiling3:

The bit you refer to is a tube that the other parts have to fit inside, with one of the discs either end. With luck it should turn out like this:

AM-48-081_03-318x240.jpg


The long part is a pitot tube. I can manage that I'm sure but the main assembly is going to tax me.
 
Can't imagine what the 1/72 version would be like
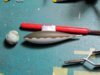
Ive got the italeri ( in a tamiya boxing) A-10 in 1/72 andy and ive got the PE and brass gun for it , and yes it is small ! Im half looking forward to doing it and half dreading it!
 
Status
Not open for further replies.
Back
Top